To understand the difference between a sales tax and a tax class, its helpful to think of your Retail account as a filing cabinet with a drawer for your shop.
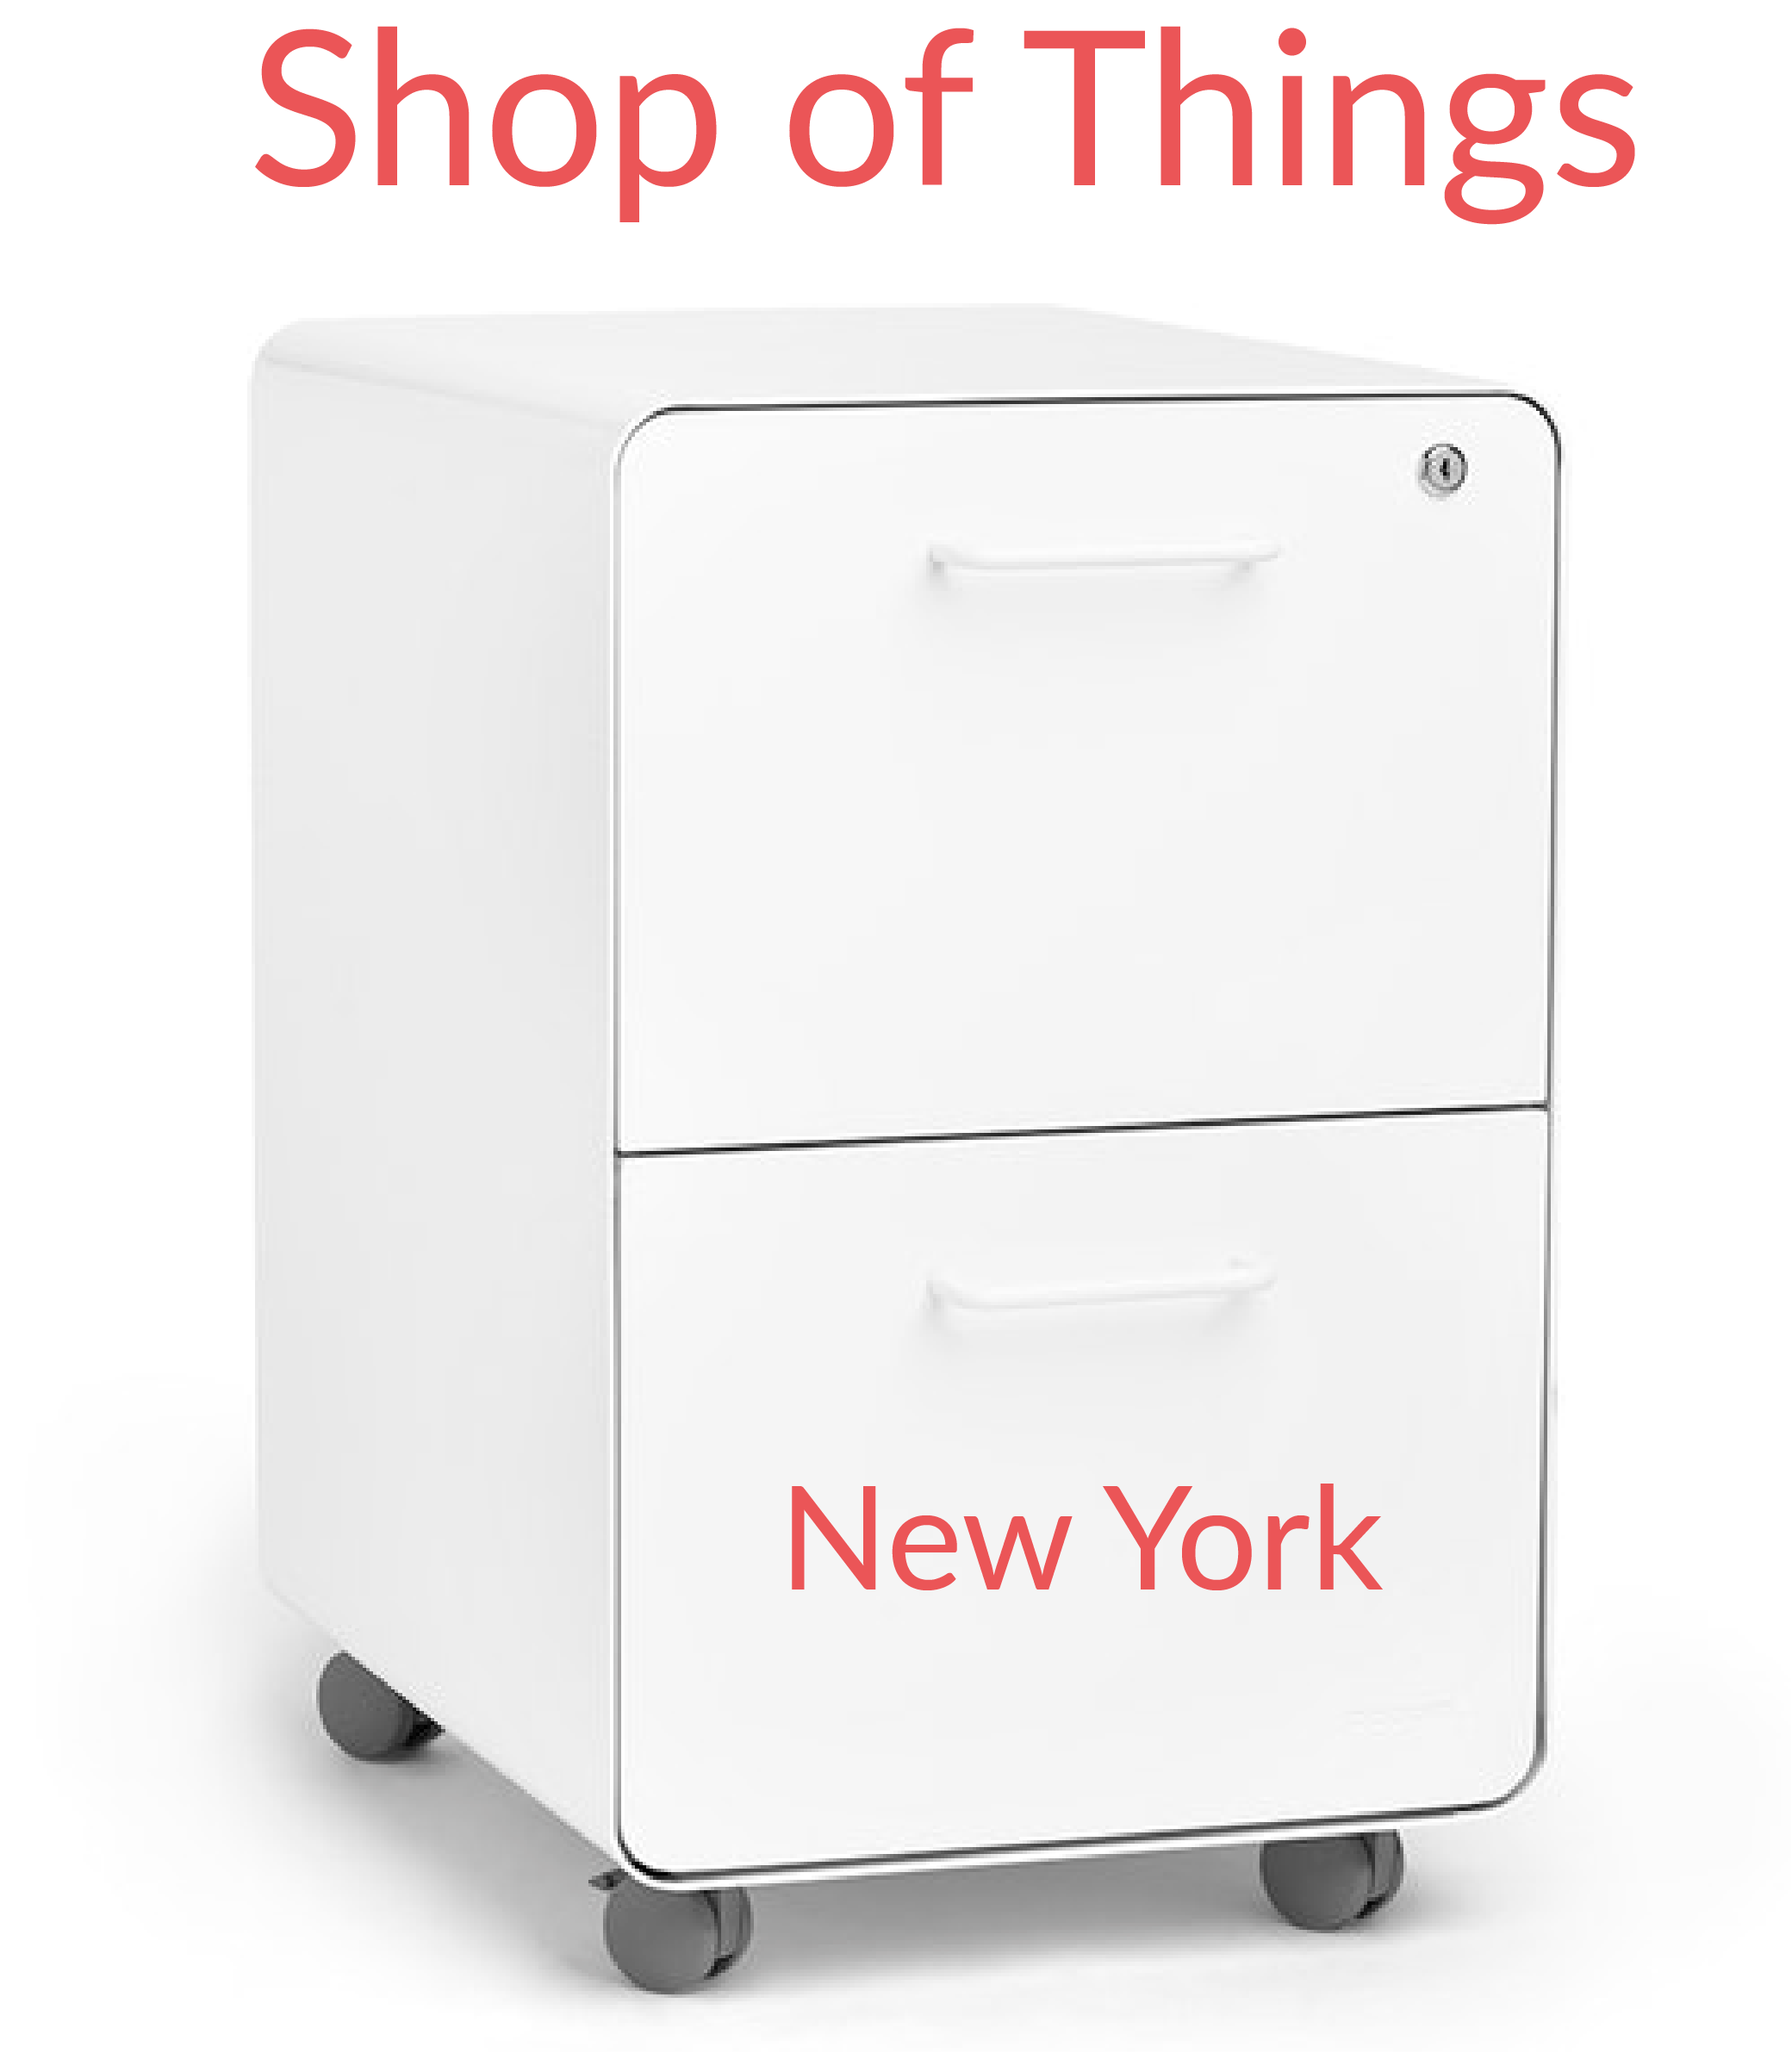
When you log in to a Retail account (filing cabinet) for the first time, the sales tax you set in the Getting Started Wizard determines the sales tax of your shop (drawer). This sales tax in turn determines the default tax rate to apply when you ring up taxable items in your shop.
E.g. If your Retail account (filing cabinet) is called "Shop of Things", your shop (drawer) is located in New York, and your shop's sales tax is set to 8.875%, then all your taxable items are taxed at 8.875%.
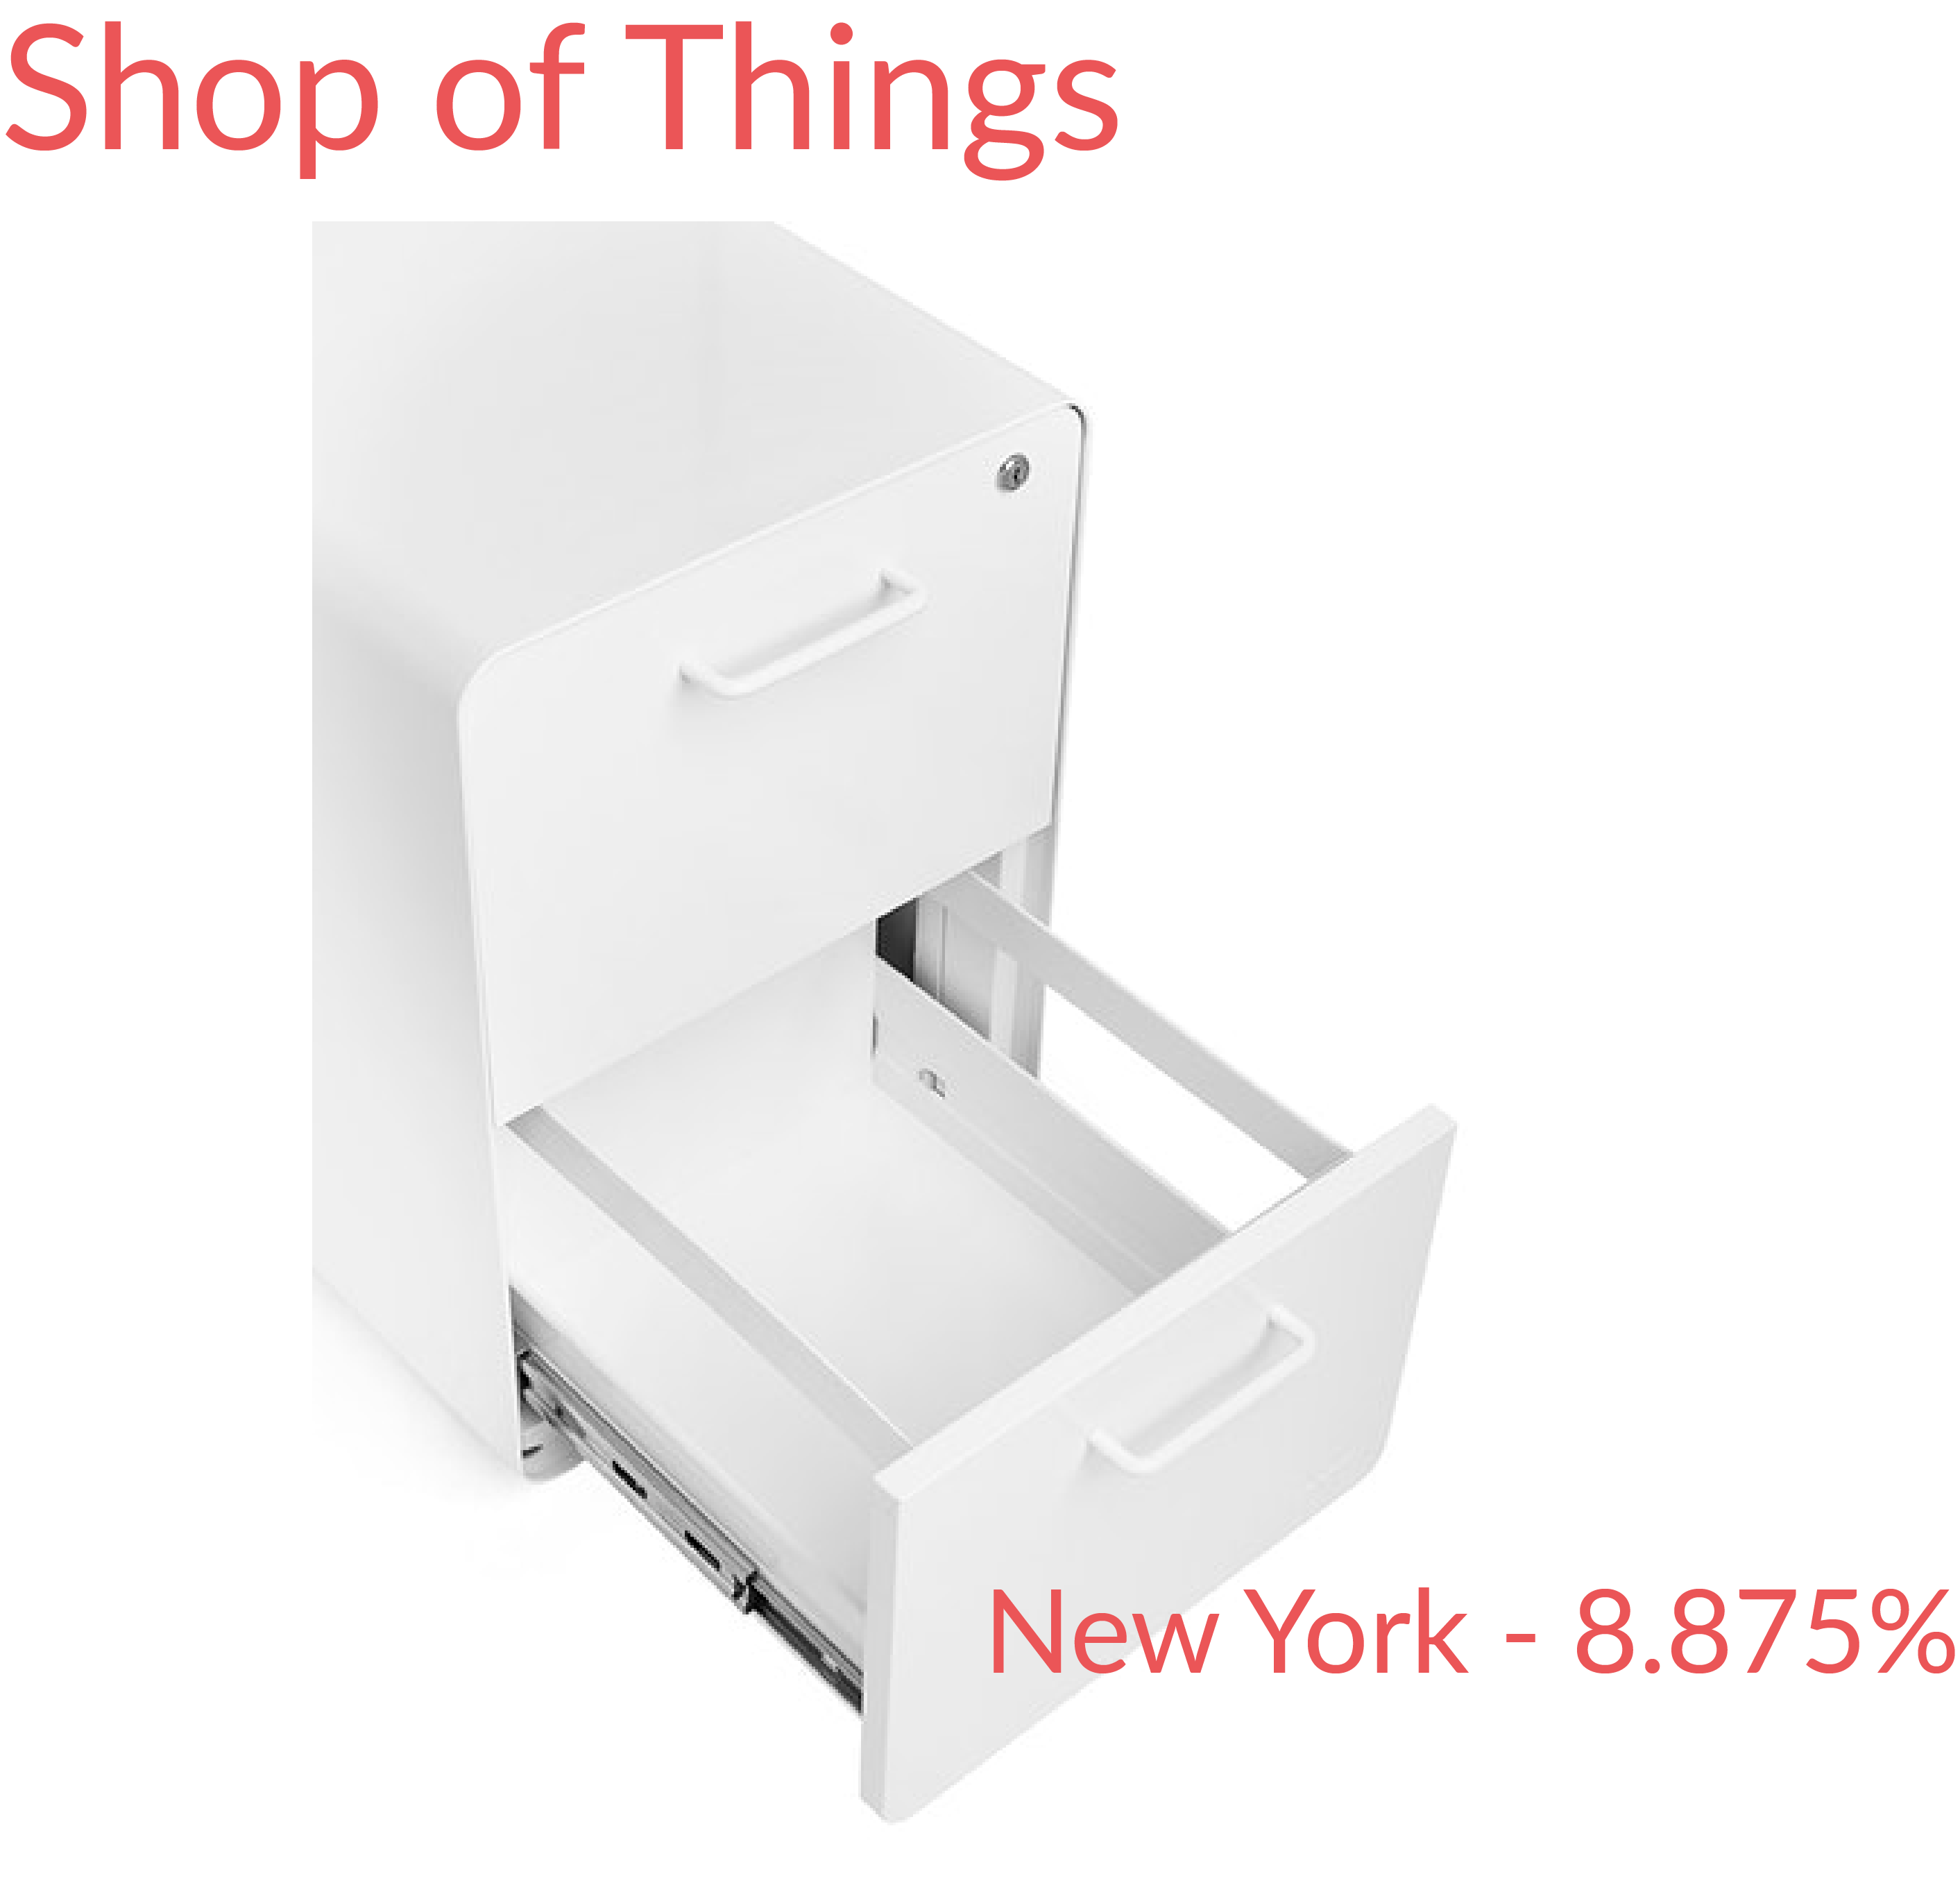
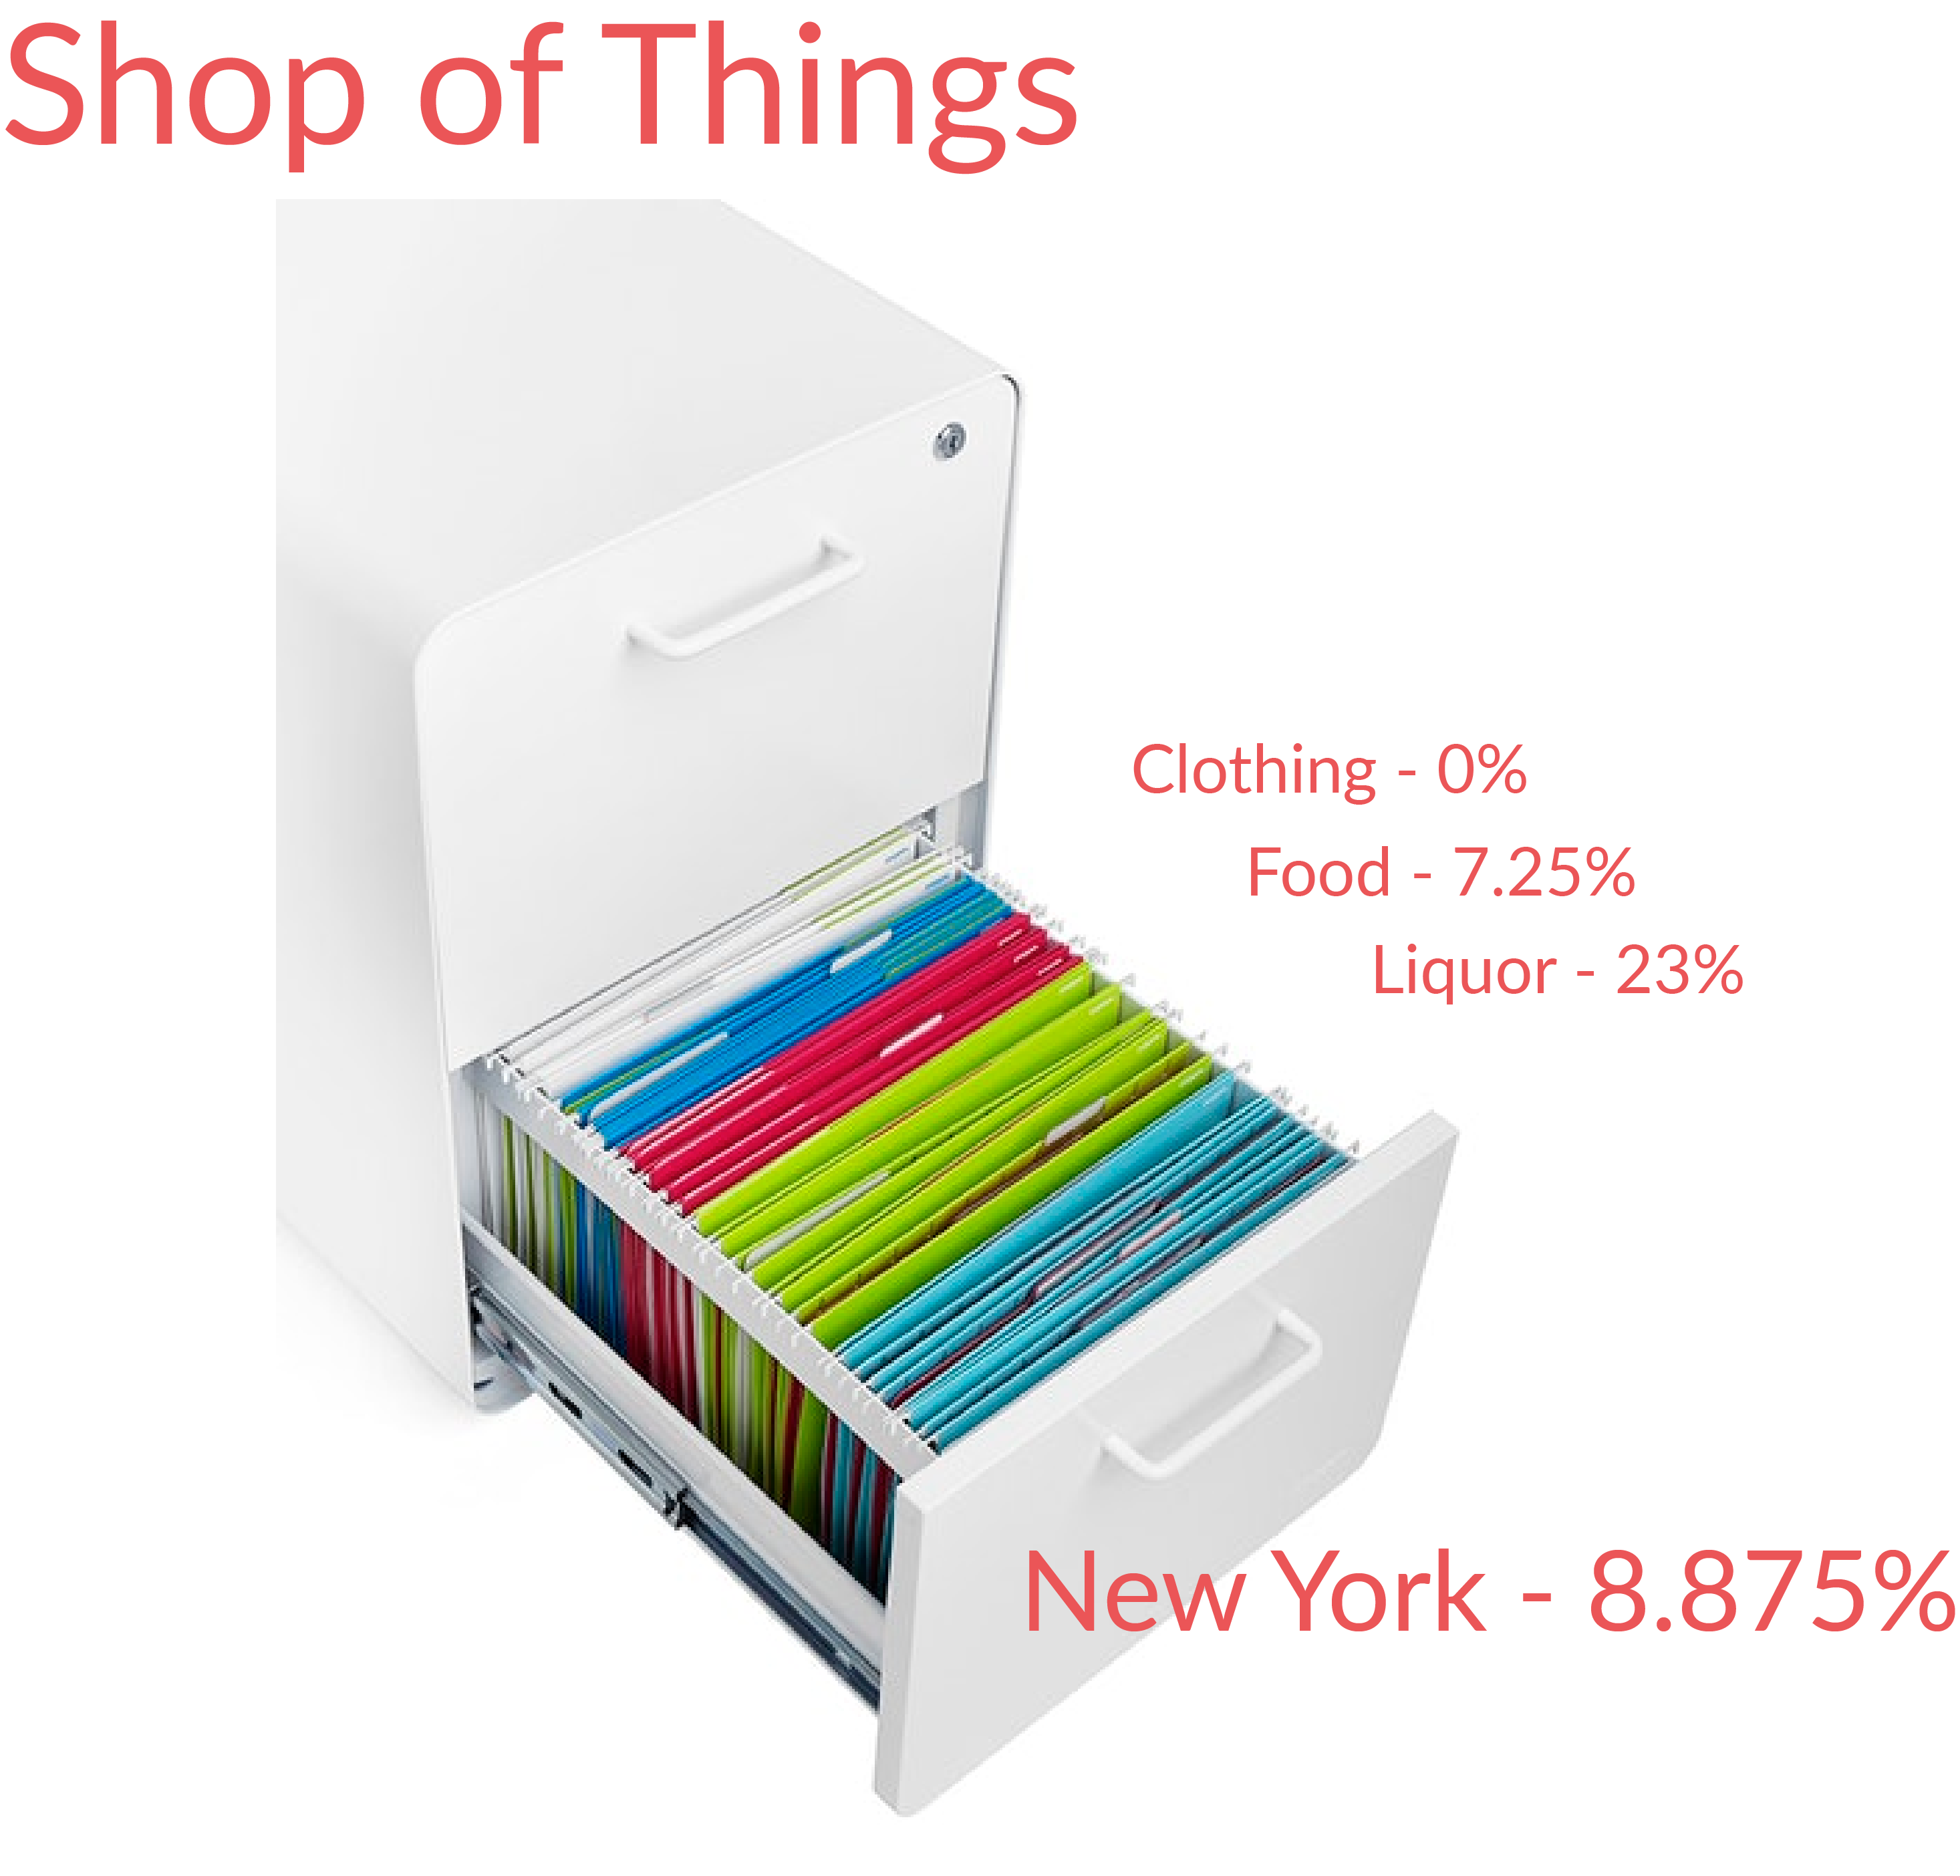
If any of your items are taxed at a different tax rate than your sales tax however, you can add a tax class for them under Settings > Tax Classes. You can think of these tax classes as folders within your shop's drawer. By assigning certain items to a tax class, they'll be filed into a folder and taxed at the correct tax rate when you ring them up at your register.
E.g. If clothing is tax exempt in your shop, the items assigned to the Clothing tax class will be taxed at 0% instead of 8.875%.
Add a tax class
- From the main menu, click Setting > Tax Classes.
- Click + New Tax Class. If the tax class already exists, skip to step 5.
- Enter a class name.
- Click Save Changes.
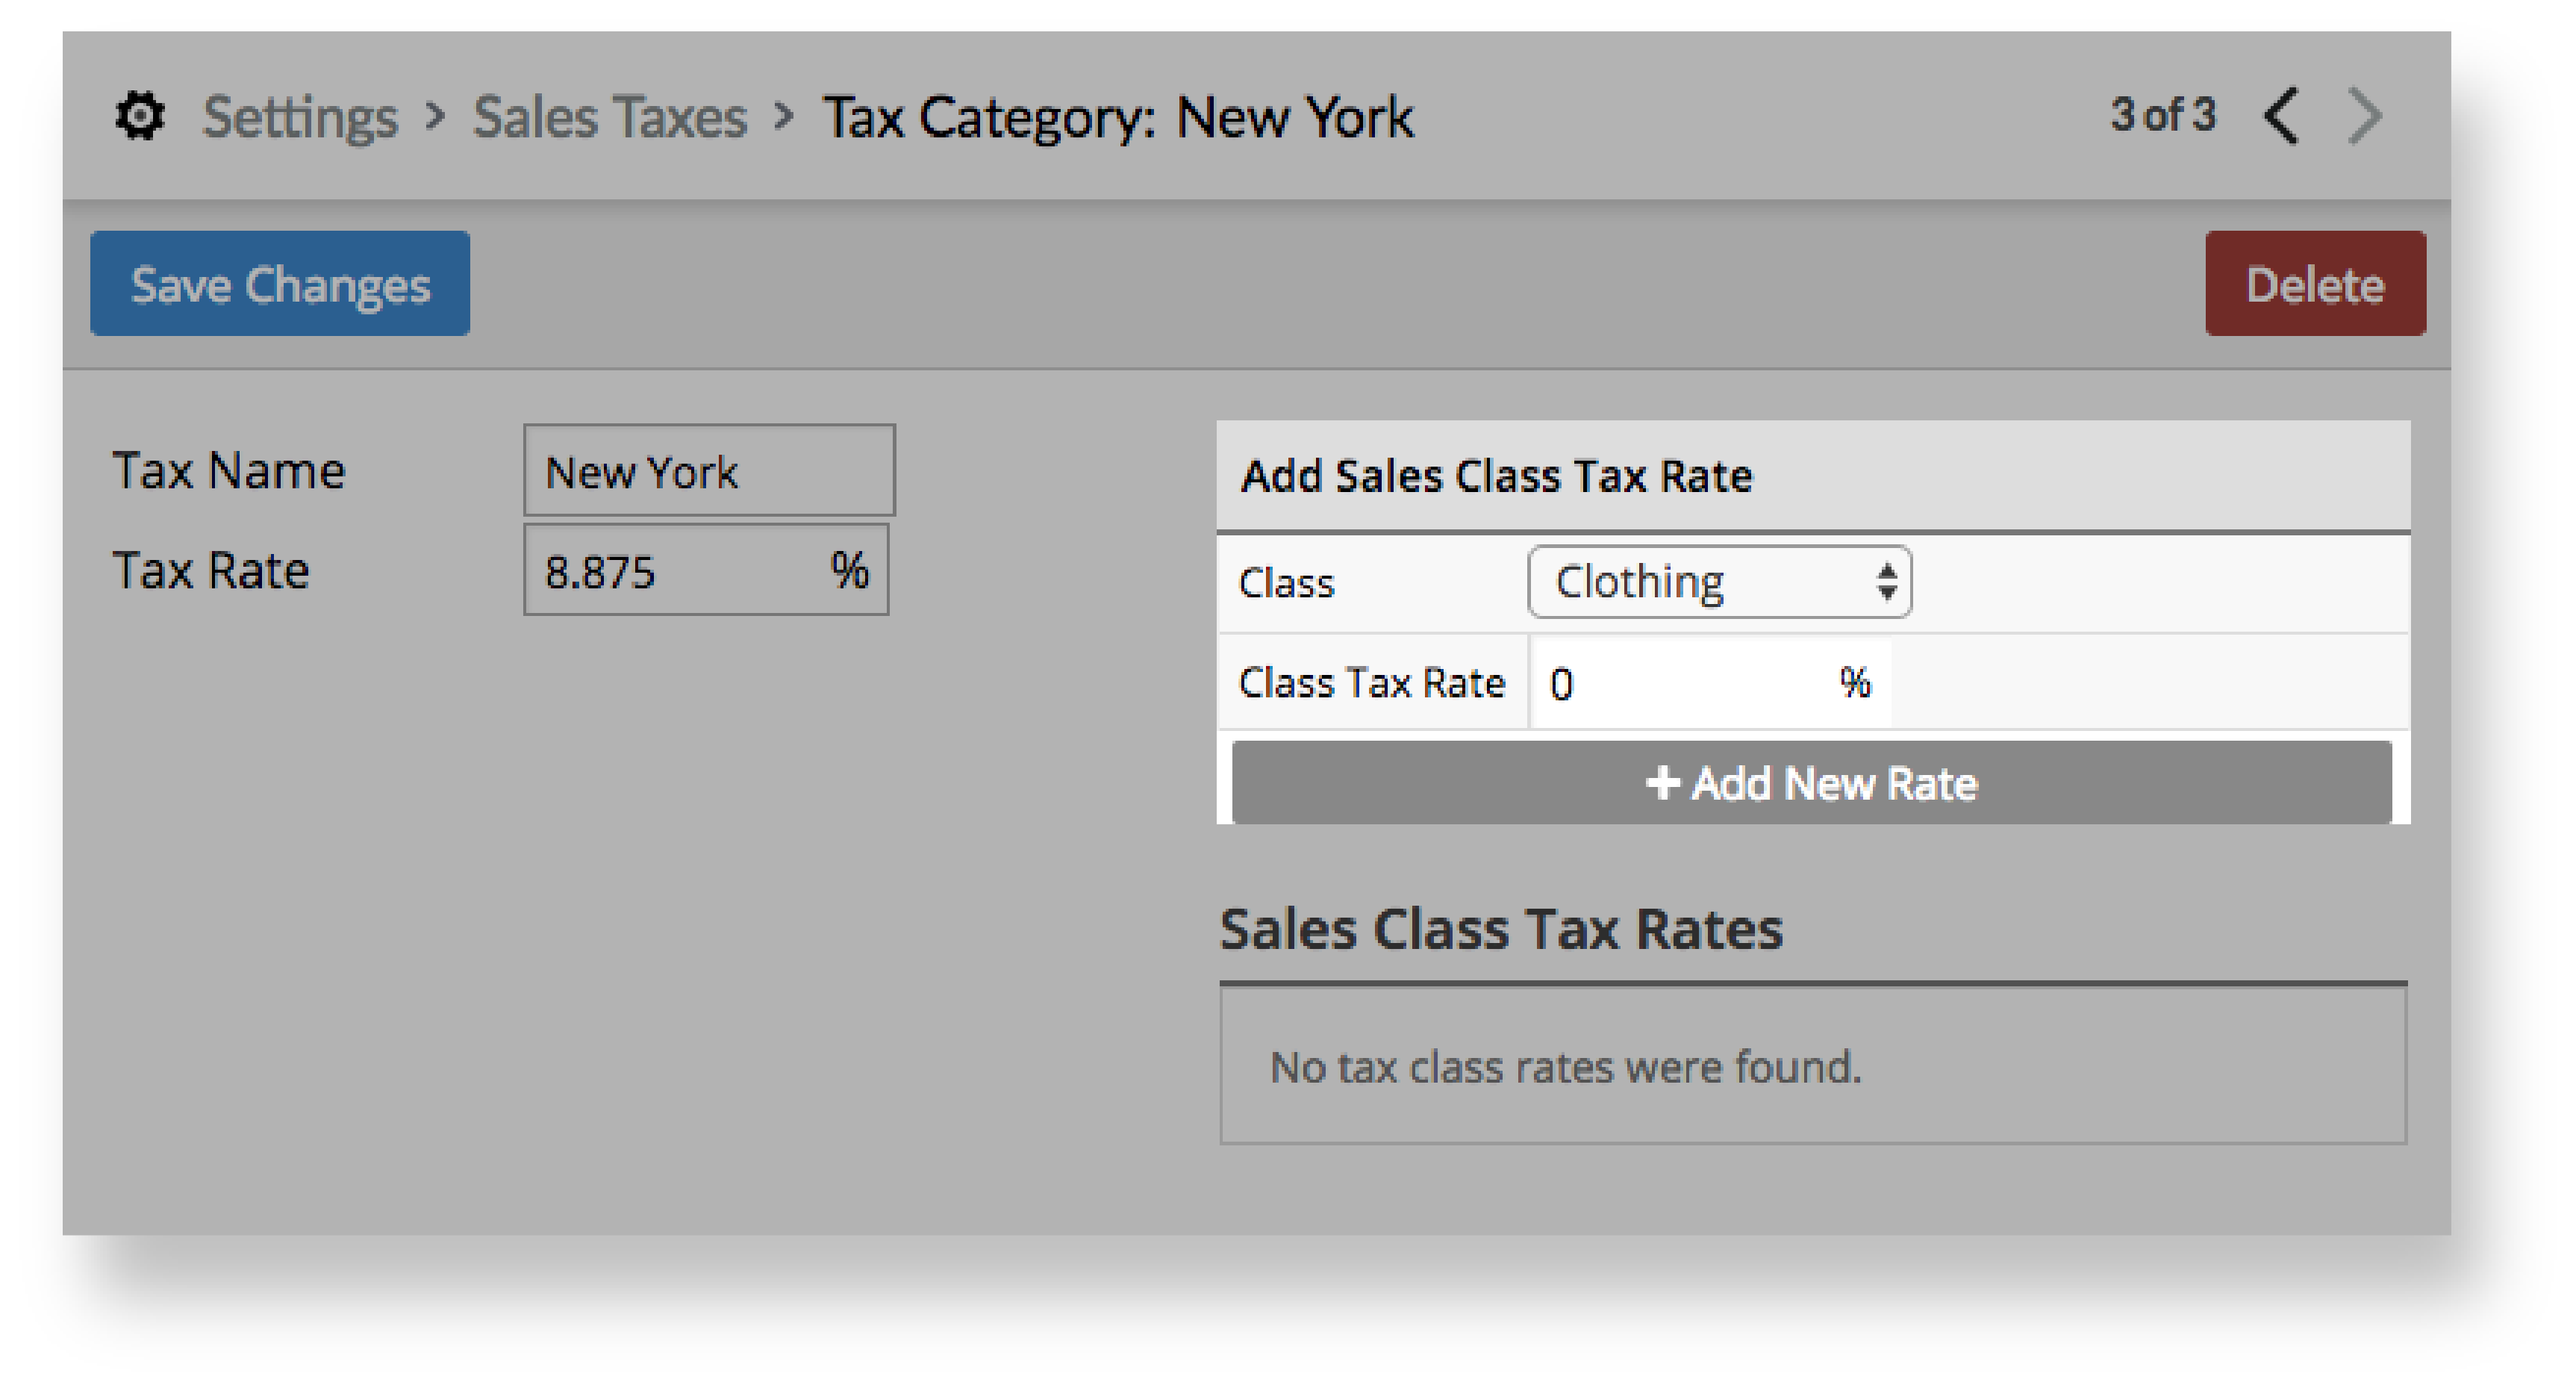
- From the main menu, click Setting > Sales Taxes.
- Click your shop's sales tax.
- From the Class drop-down, select the tax class you previously added.
- In the Class Tax Rate field, enter the tax rate of your tax class.
- Click + Add New Rate.
Assign items to a tax class
Now that you've added your tax classes under your shop's sales tax, you need to assign your items to them.
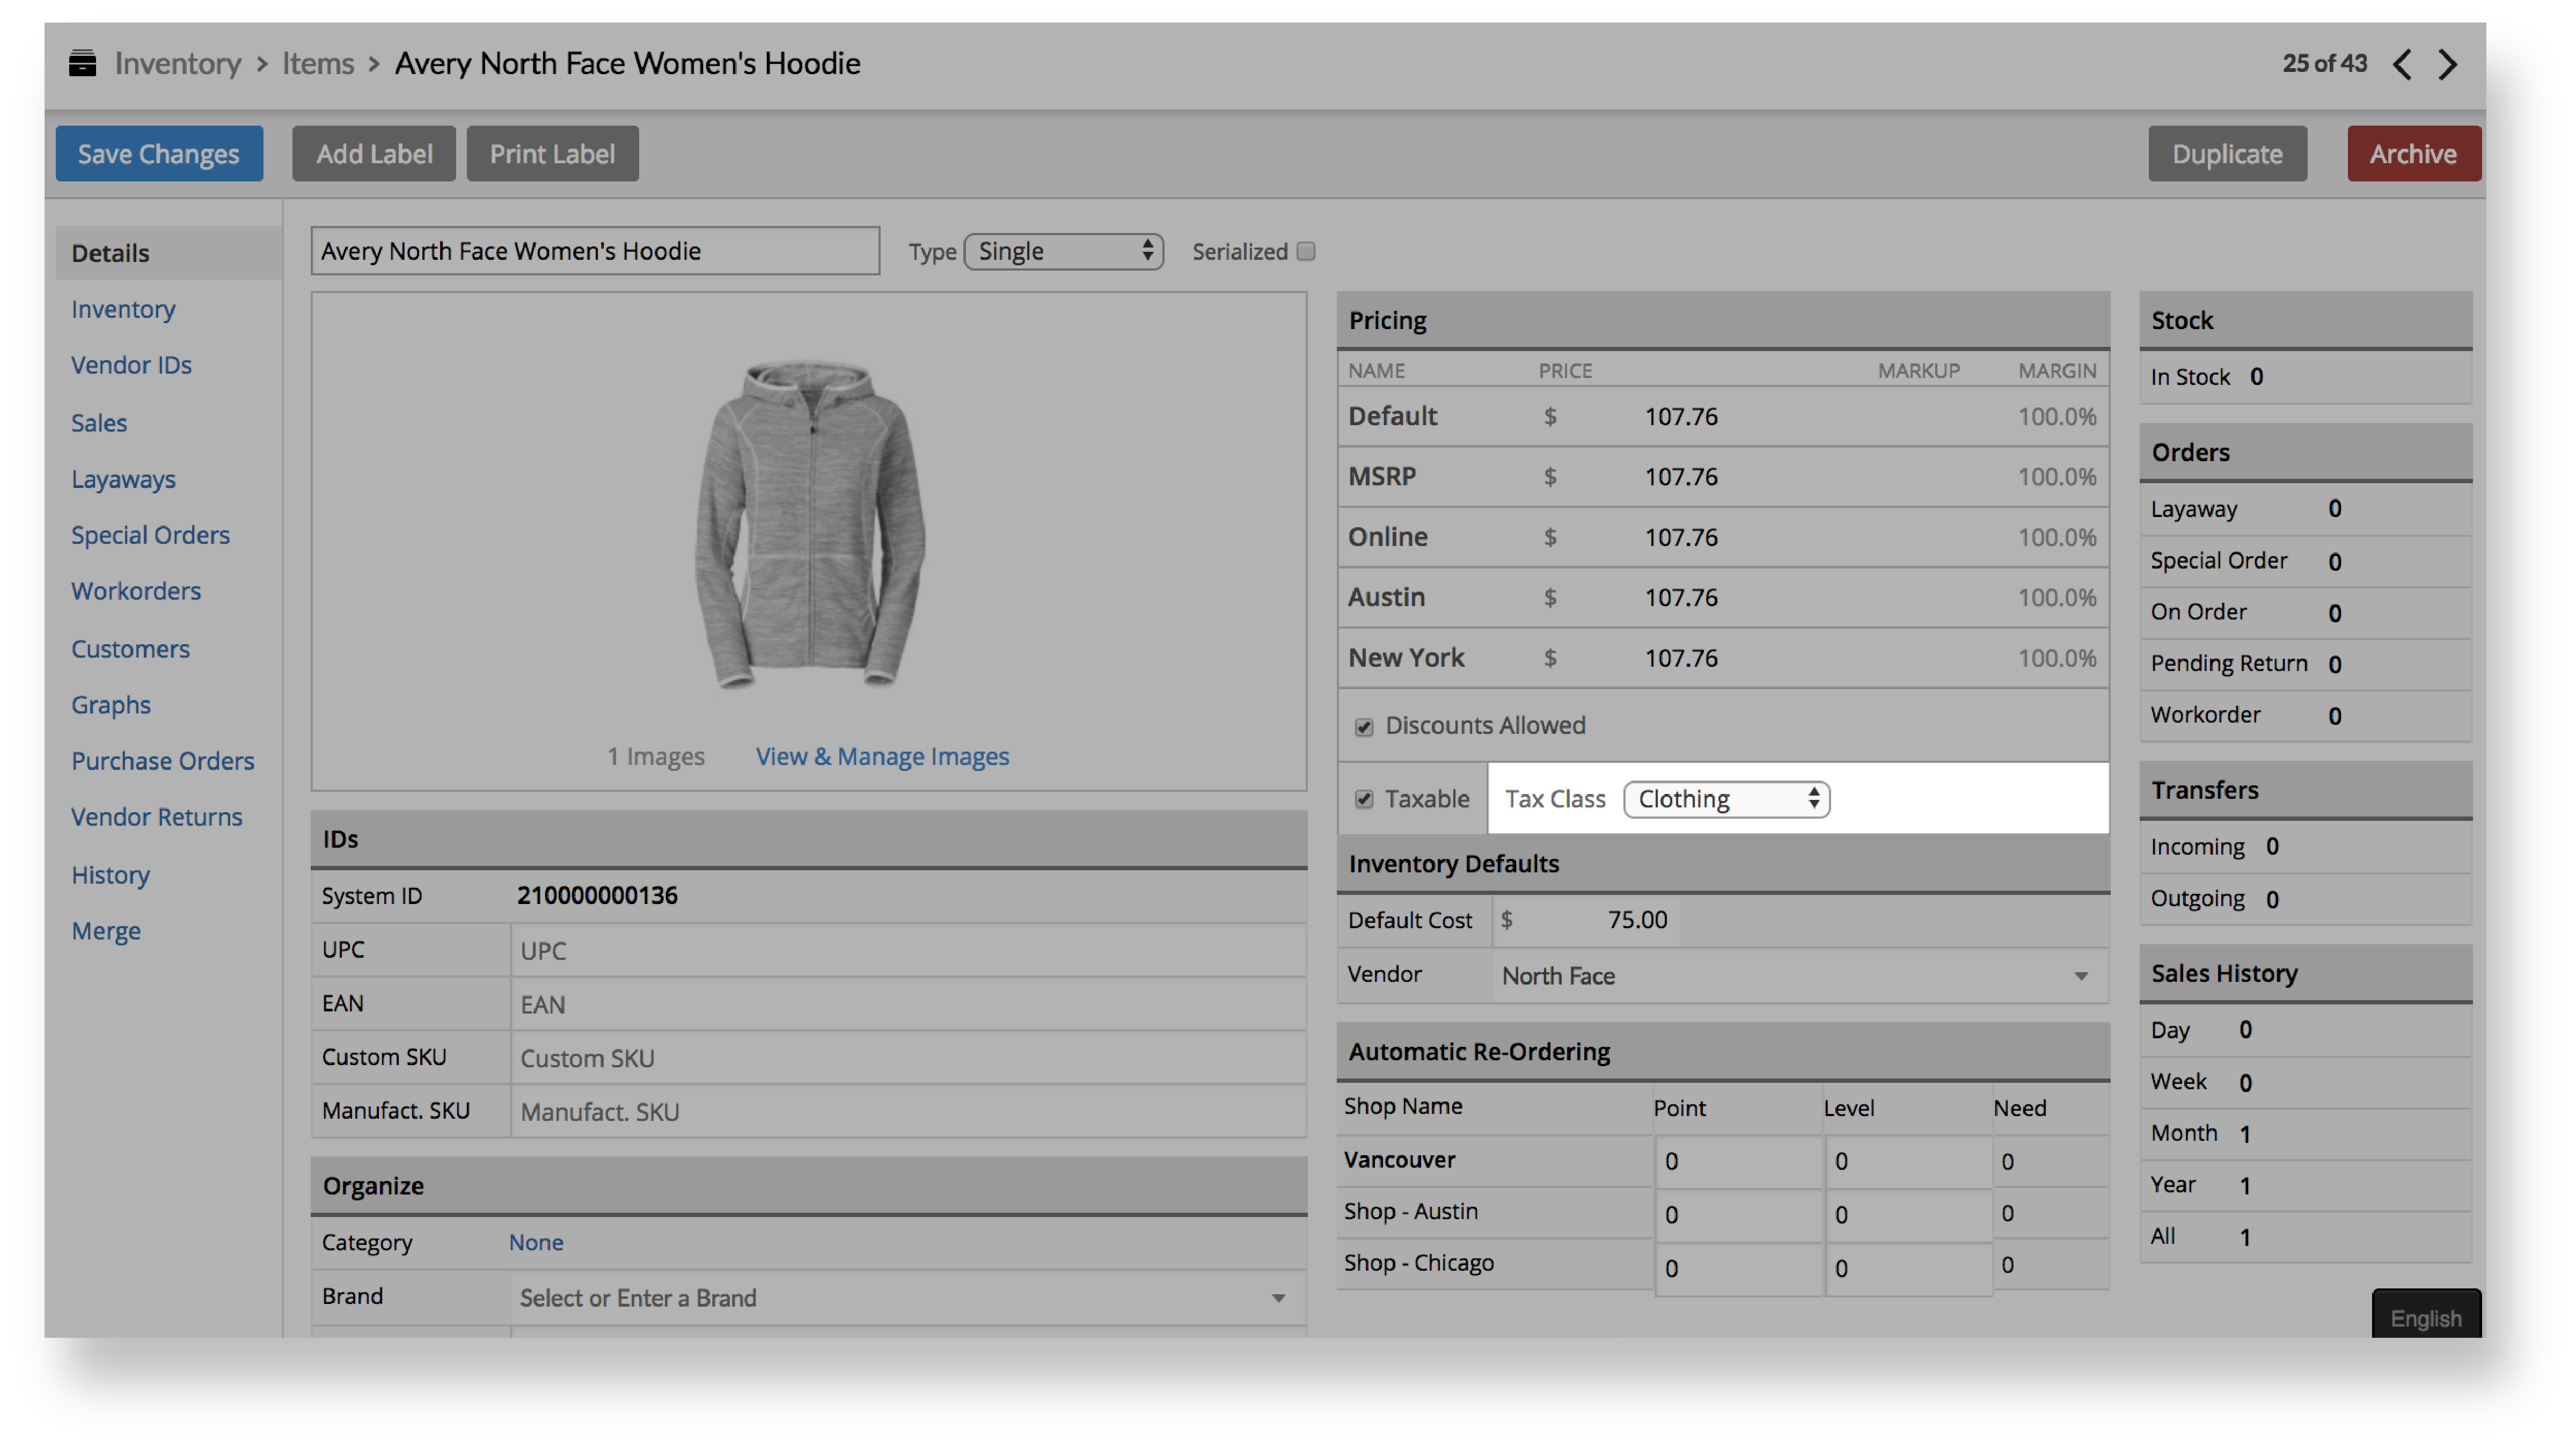
To assign an individual item to a tax class:
- From the main menu, click Inventory > Item Search.
- Click the item you want to assign to a tax class.
- From the Tax Class drop-down, select a tax class.
- Click Save Changes.
To assign multiple items to a tax class from the Quick Edits section, please see our Edit items article.
To assign multiple items to tax classes using the Item Import tool, please see our Importing inventory items article.