Creating a new website is always exciting. Read this article to make sure everything is executed perfectly.
Prerequisites
Before installing Lightspeed eCom:
- Make sure you've completed all the topics covered in the Retail - Guided setup.
- If you have multiple Retail stores in your account, read Selecting the best location.
- If you have more than 250 products in Retail and/or may prefer to set the default product visibility before syncing to eCom, read Deciding later which items to publish.
Installing your eCom store
Follow these steps when installing your eCom store. If you have difficulty, see Reviewing your Retail account settings to install your eCom store:
-
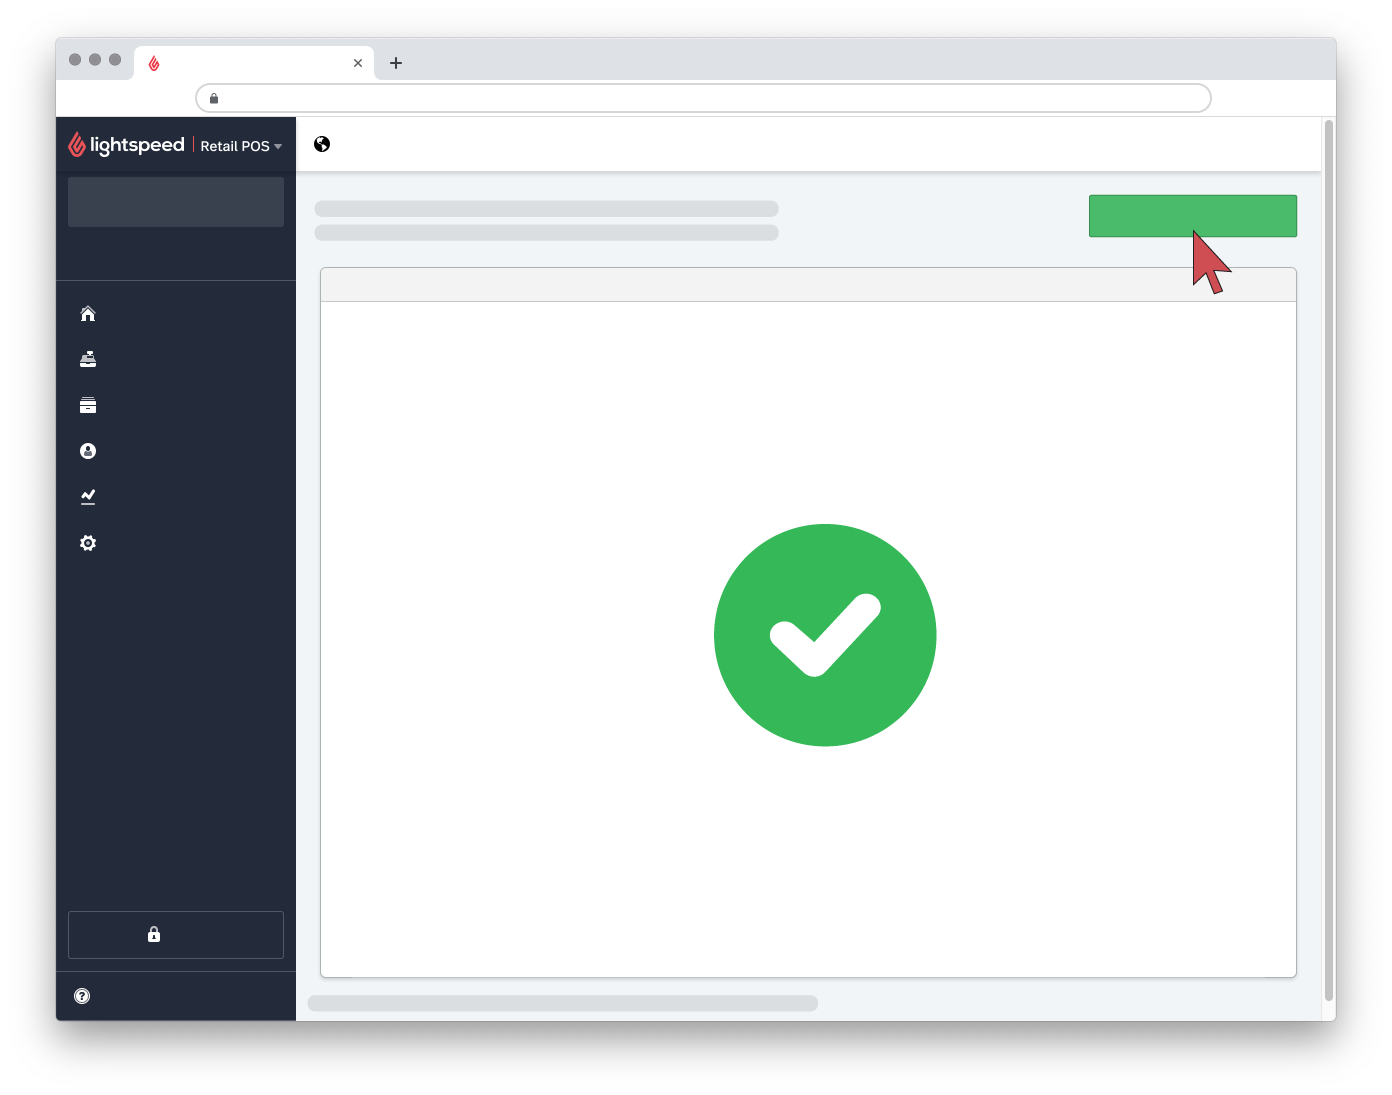
From your Retail account's main menu at the top, click Retail POS > eCom.

- Review the information displayed on the page and click Install Lightspeed eCom.
- Your eCom store has been created. It will be a demo eCom store unless you have subscribed to an eCom plan. To subscribe to an eCom plan, email sales@lightspeedhq.com or speak to your Account Manager. Alternatively, you can contact us to coordinate a phone transfer or a callback request.
Selecting the best location
Make sure to choose the location carefully while installing eCom. Choose a location that:
- Handles the most sales volume
- Frequently has the most items in stock
- Is equipped to ship orders
This is important because:
- Your eCom store will sync its inventory with only one Retail location.
- Only one eCom store can be connected per Retail account.
- After installing eCom, only Support can assist you with changing your location.
Deciding later which items to publish
While installing eCom, select Decide later which items to publish when:
- It's possible you have more products in Retail than your subscription allows. A Retail account with eCom can publish up to 15,000 items to eCom and a maximum of 100 variants per matrix. These variants count towards the 15,000 items maximum. There can also be plan limits: some eCom plans allows a max of 250, others 5000. Once eCom is installed you can publish the required items. To learn how to publish items, click here.
- You would prefer all your products to not be Hidden by default. Once eCom is installed, you can adjust the default product visibility. For instructions, click here.
Reviewing your Retail account settings to install your eCom store
If you're having difficulty starting your eCom installation process, review and adjust the following:
- Your Retail permissions of your Retail account by identifying your employee role in Settings > Employee Setup. If your role has the permissions necessary, you can modify a role's permissions under Settings > Employee Roles. Any role with the following permissions will be able to install Lightspeed eCom:
- eCom - Basic
- Settings - Basic
- Settings - Setup Shops
- Settings - Employee Setup
For more information on how to adjust permissions, visit: Configuring employee roles.
- Your Retail tax model in your Retail account under Settings > General Options.
- The email located in your Retail account under Settings > Locations > the location your eCom inventory will synchronize with > Email as it will be used for your eCom store.
- Your company information under Settings > ShopSetup > the store your eCom inventory will synchronize with. The below fields in your Retail account will be pushed to the Settings > Company, Settings > Account and Settings > Billing Information sections in your eCom store:
- Address (Line 1 and 2)
- Region/Province/State (Region is not required if you're located in Europe.)
- Zip Code/Postal Code/Postcode
- Country
- Email 1
- Company registration number (if available)
- VAT Number (if available)
NOTE: The Region/Province/State and Country fields need to be valid or use the standard international codes. For example, a valid Province name would be Quebec or QC.
- Your Retail logo in Settings > Branding as any changes to it will be pushed to your eCom invoices and automatic emails after installing.
NOTE: This Retail logo setting will not affect your eCom storefront. The logo in your eCom storefront is managed from your design theme's custom settings. For more information, click here.
What's next?
- Learn how to log into your eCom back office