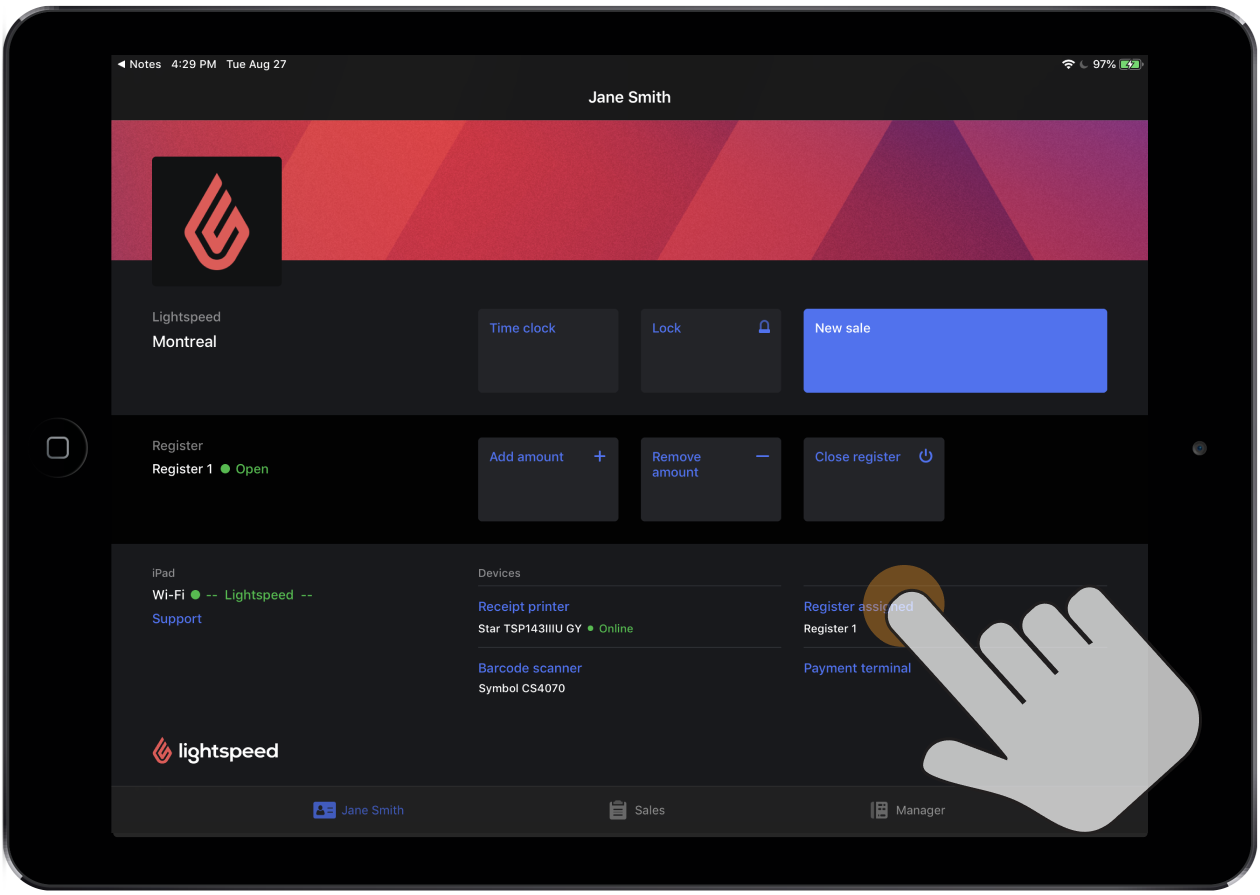
When you sign in to the Retail POS app for the first time, either after downloading the app or updating it to a new version, you need to select a shop and register. This officially assigns the shop and register to your iPad and allows you to navigate freely in your account. The shop and register that you assign to your iPad also display on the Profile screen, at the top of the New sale screen and on the Lock screen.
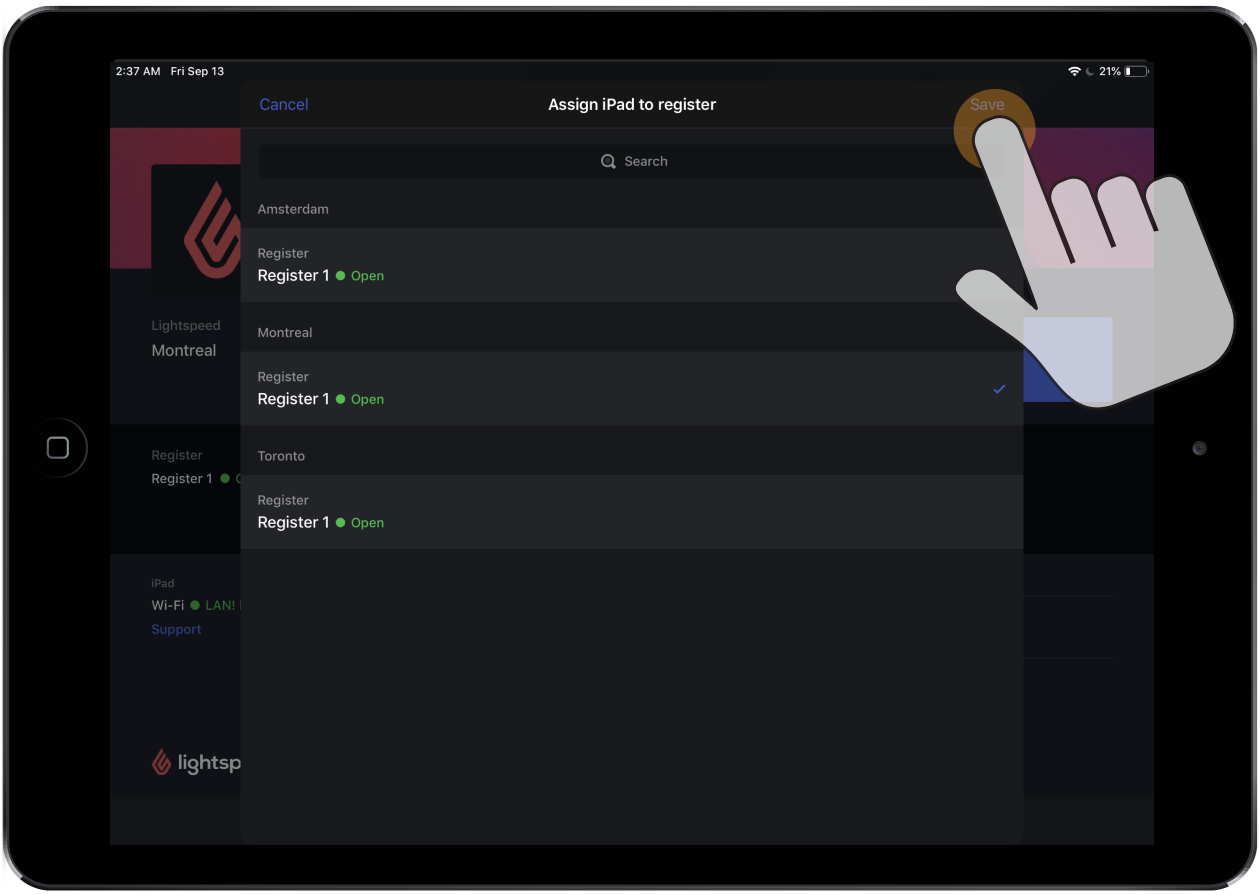
To change your shop and register after this initial sign-in, tap Register assigned on the Profile screen under Devices. From there, you need explicitly select the shop and register you want to assign to your iPad.
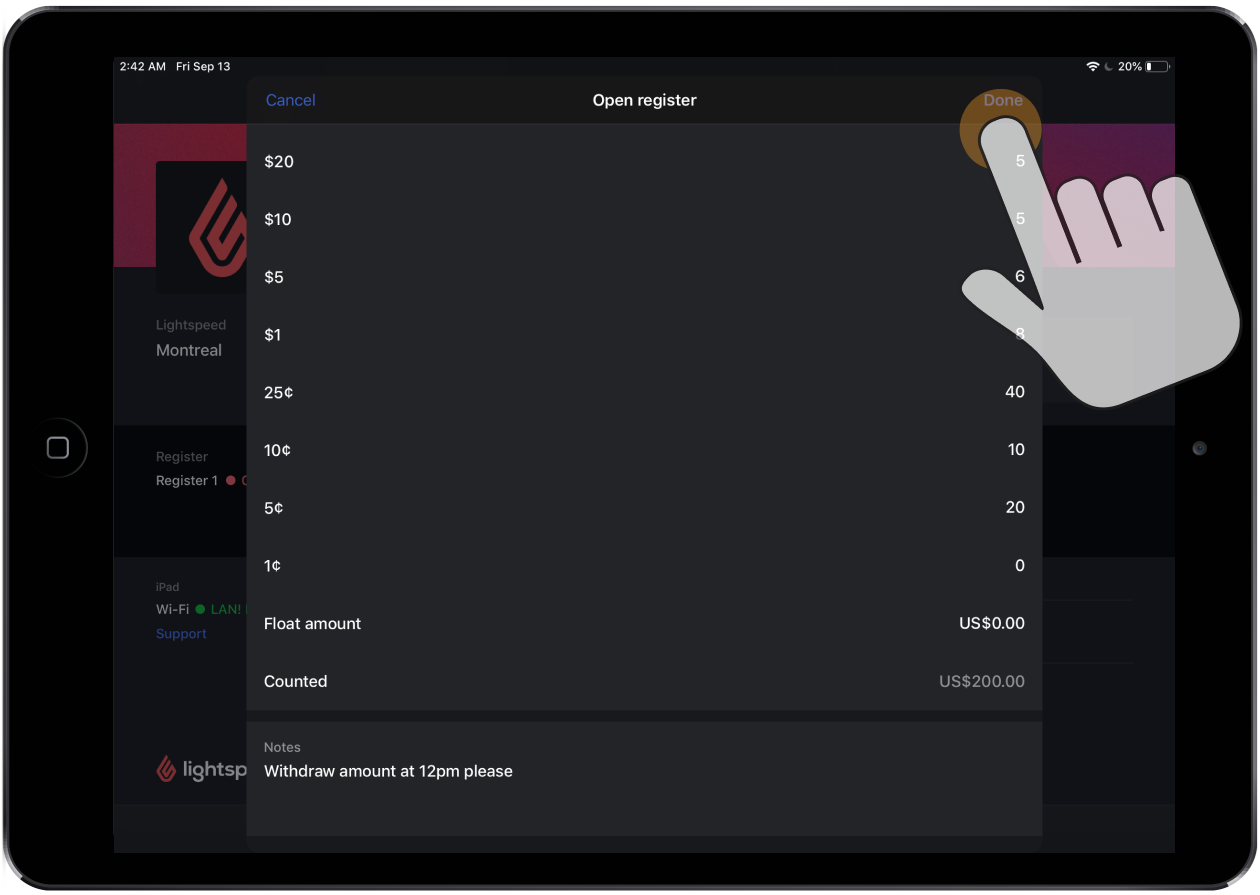
To begin processing sales and refunds in the Retail POS app, however, you need to open your register. This involves counting and entering your cash drawer's opening float in Retail POS. Because opening a register requires you to select and assign it to your iPad as well, you'll always be sure that you and your employees are processing sales and refunds in the correct shop and register.
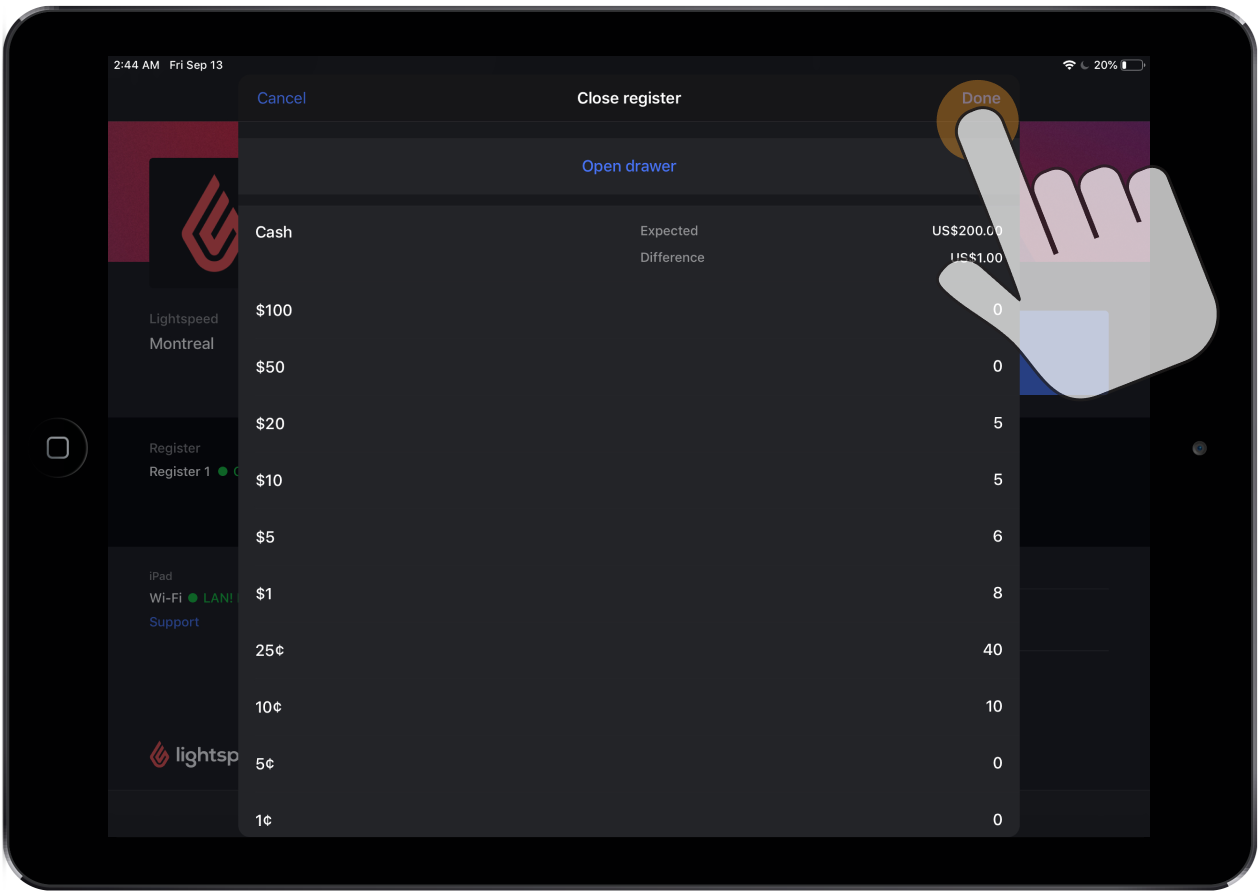
At the end of the day, close your register to see any shortages or overages of funds in your cash drawer (cash and non-cash payment types). This involves counting and entering your cash drawer's closing count in Retail POS.
Now that you've gone over all the basics of managing registers in Retail POS, we recommend reading the example below that matches the shop and register setup you have in your Retail account (single shop vs. multi-shop). They'll help illustrate in context how registers are assigned to your iPads and what happens to them once different employees sign in or enter their PIN. The Multi-shop example also covers how the Limit To Shop setting affects your employees' access.
-
Single shop
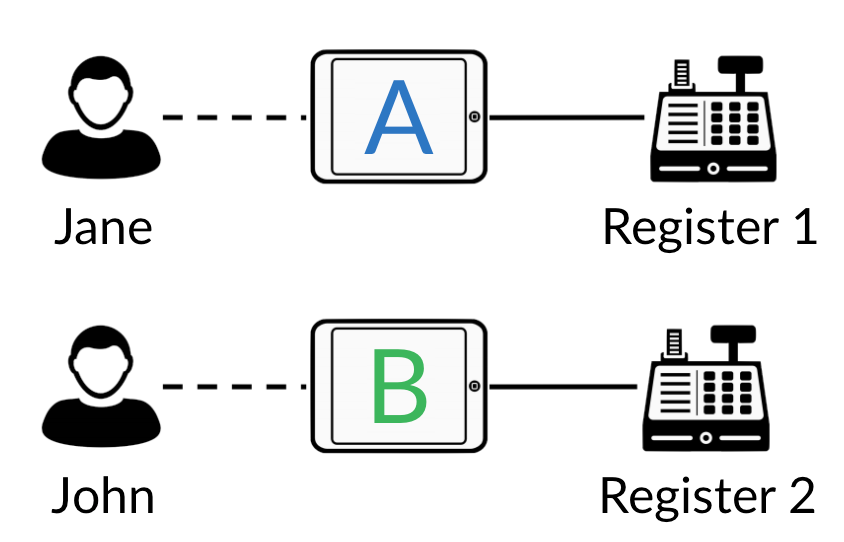
If you have multiple iPads in your shop and you've assigned a different register to each iPad, your registers will remain assigned to those iPads going forward. This is true no matter which one of your employees sign in or enter their PIN. The only way to assign a different register to an iPad is to explicitly do so from the Profile screen.
For example, let's say you have:
- 1 shop
- 2 registers
- 2 iPads
- 2 employees
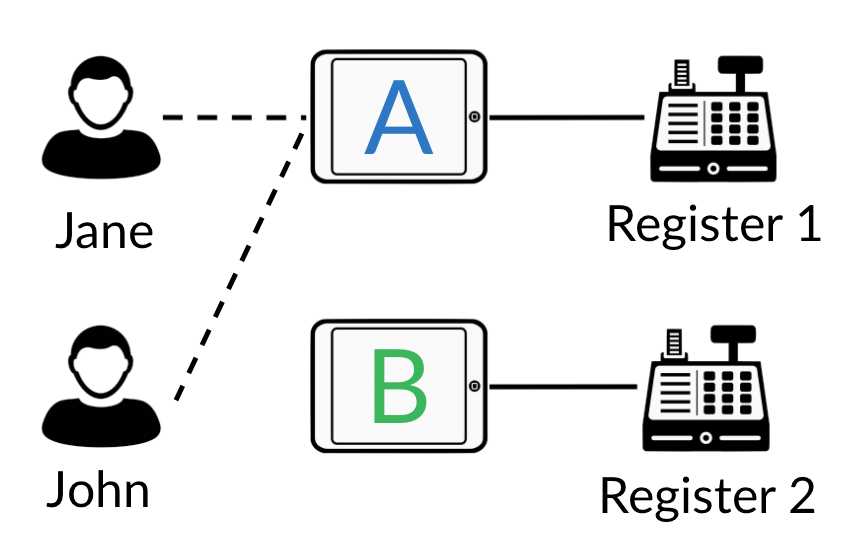
If Jane locks Retail POS on iPad A and John enters his PIN on iPad A, iPad A will remain assigned to Register 1 even if John was previously on iPad B and Register 2.
-
Multi-shop
Like with single shop Retail accounts, if you have multiple iPads in your shop and you've assigned a different register to each iPad, your registers will remain assigned to those iPads going forward. To see an example of how registers are assigned within a shop, please see the Single shop section of this article.
Seeing that you have multiple shops, however, the Limit To Shop setting comes into play if you've restricted your employees access to a shop.
For example, let's say you have:
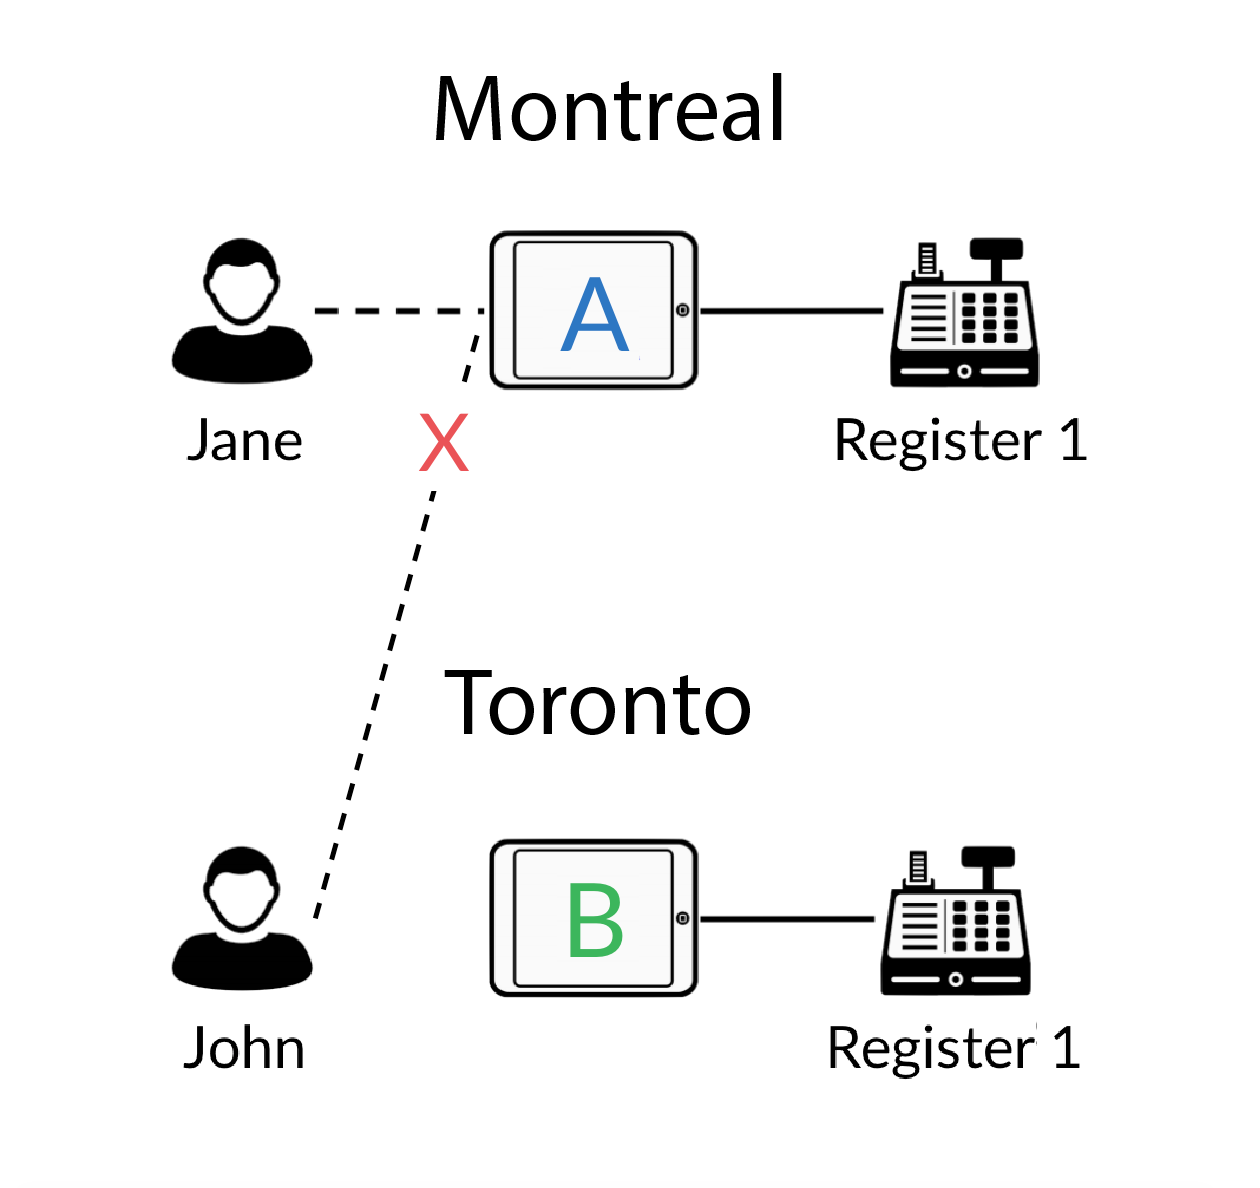
- 2 shops (e.g. Montreal and Toronto)
- 1 register (per shop)
- 1 iPad (per shop)
- 1 employee (per shop)
If Jane's Limit To Shop setting is set to Montreal and John's is set to Toronto, they'll be able to sign in or enter their PIN to access Retail POS on the iPad in their shop. This is because the registers that are currently assigned to the iPads are associated with the shops that they have access to.
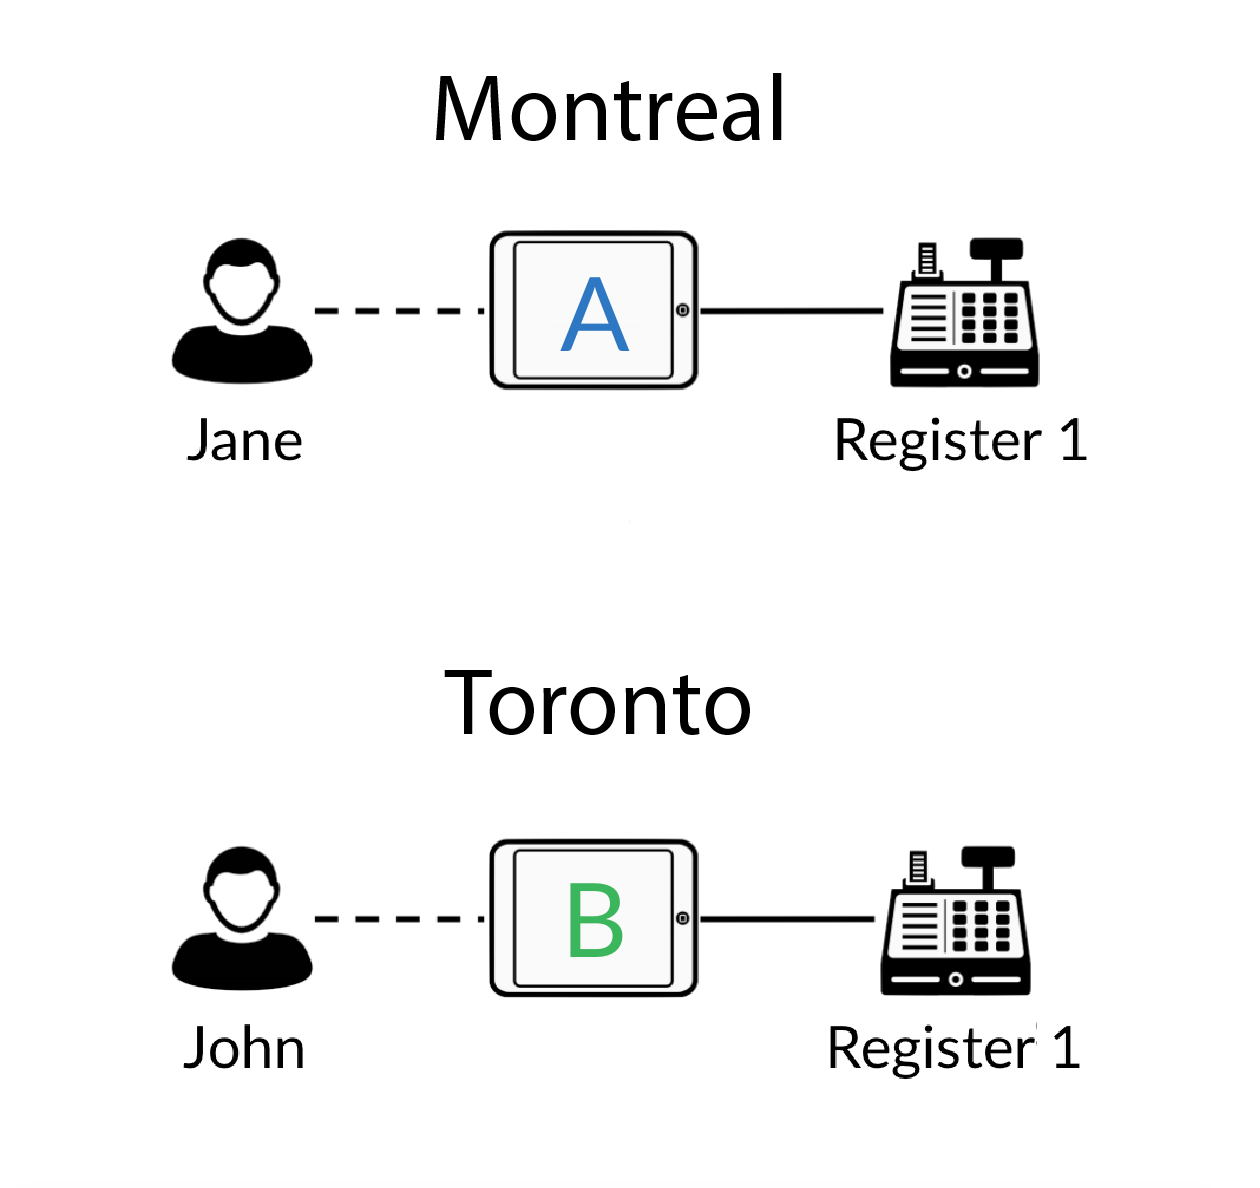
If John travels from Toronto to Montreal, however, he will not be able to sign in or enter his PIN on iPad A. This is because Register 1 in the Montreal shop is currently assigned to iPad A and John's Limit To Shop setting is set to the Toronto shop. For his login credentials to work, his Limit To Shop setting needs to be changed to Montreal or No Restrictions.
