This article covers:
- Setting up an Epson TM-m10 receipt printer with a Bluetooth connection.
- Setting up a Star TSP100III receipt printer with a Bluetooth connection.
- Setting up a Star mPOP receipt printer/cash drawer with a Bluetooth connection.
The Bluetooth connection type connects Bluetooth-enabled receipt printers to your iPad wirelessly. Other receipt printers can be set up using a WLAN connection, LAN cable or USB cable.
What you'll need
Bluetooth supported receipt printer
Epson TM-m10 (Bluetooth)
Star TSP100III (Bluetooth)
Star mPOP (Bluetooth) receipt printer/cash drawer
Printer accessories
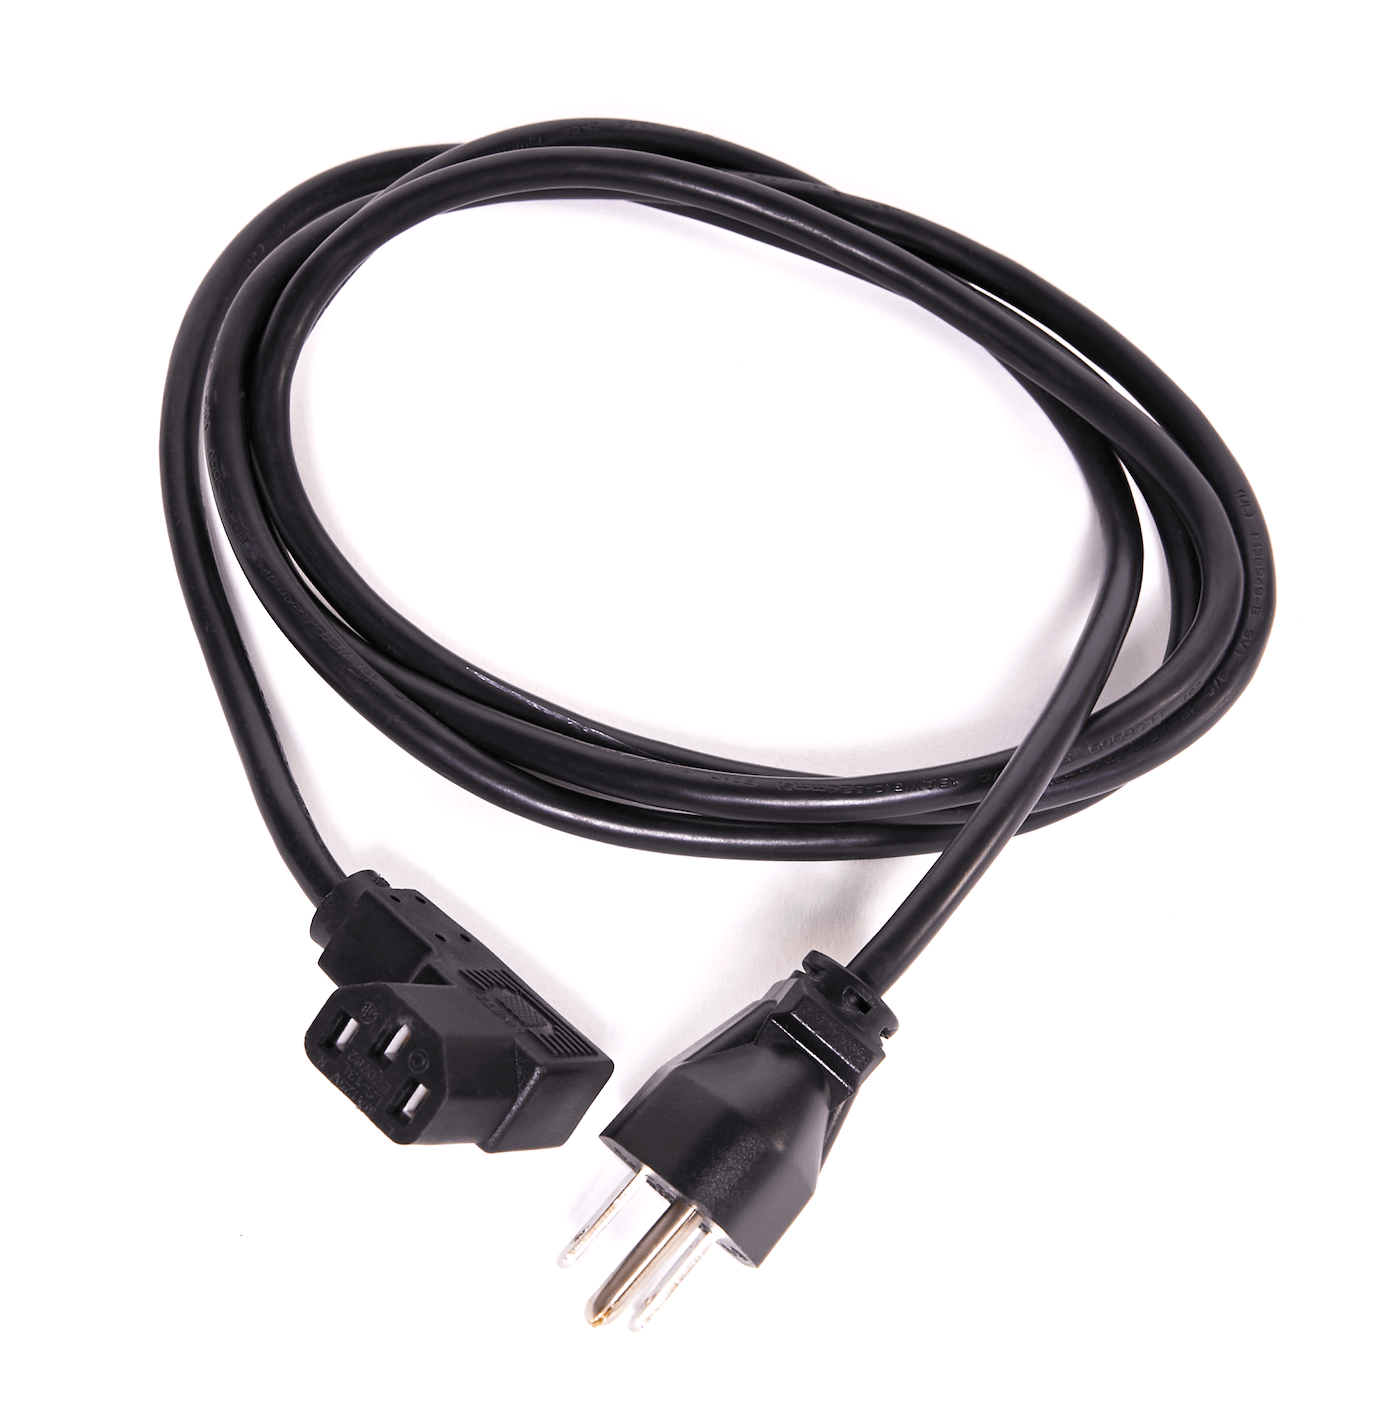
Power cable 
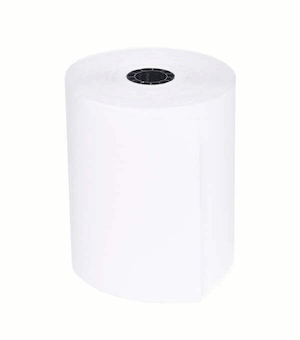
Paper roll 
Setting up your Bluetooth receipt printer
- Connect the power cable to your printer and electrical outlet.
*Some models may require you connect an AC adapter to your printer.
- Turn on your printer.
- The LED lights will turn solid when your printer is ready.
Inserting a paper roll
- Push the lever on the side of the printer and lift the cover upwards.
- Insert the paper roll so the paper feeds from the bottom of the roll and drapes over the top of the paper feed slot. While inserting, make sure the paper roll stays taut and doesn't unroll.
- Pull the paper out past the cutter at the front of the printer.
- Push the cover down until it snaps into place.
Pairing your Bluetooth receipt printer with your iPad
- On your iPad, tap Settings > Bluetooth.
- On the Bluetooth panel, under Devices, select your receipt printer from the list.
Once paired, your receipt printer will display as Connected under My devices.
Connecting your Bluetooth receipt printer to Retail POS on iPad
- On your iPad, open the Retail POS app.
- From the Profile screen under Devices, tap Receipt printer.
- Set the toggle for Automatically print receipt on or off, depending on your printing preference.
- Tap Add printer.
- Under Printers on your network, tap your receipt printer model. It may take a few seconds for your receipt printer to appear.
- Tap Add.
- Tap Done.
Your receipt printer will display as online on the Profile screen under Devices.
Printing a test receipt
- On the Sales screen, tap a completed sale.
- On the Details panel, tap Print receipt > Print receipt.
Your printer will now print a test receipt, confirming it's connected to Retail POS and ready to use.