The Epson TM-m30II-NT receipt printer can connect to your iPad in two different ways:
| USB | Connects directly to your iPad with a Lightning to USB cable. |
| LAN | Connects directly to your network with a LAN cable. Your iPad then connects to your printer through your network. |
In this article, we'll show you how to connect your printer to your iPad with a Lightning to USB cable.
What you need
Depending on if you have a NoAm or EMEA bundle, what you need and what's included in your bundle will differ slightly by region.
In the NoAm bundle, the Lightning to USB cable you need is pre-routed through your iPad stand for you. For the EMEA bundle, you need to use the Lightning to USB cable that came with your iPad.
As for receipt paper, you can use the test roll that came with your receipt printer. It's included in both the NoAm and EMEA bundle. You can also use a full roll—a box of 10 is included with the NoAm bundle. The box is also included in the EMEA but only if you purchased it as an add-on.
The rest of what you need is the same across regions and is included in both the NoAm and EMEA bundles.
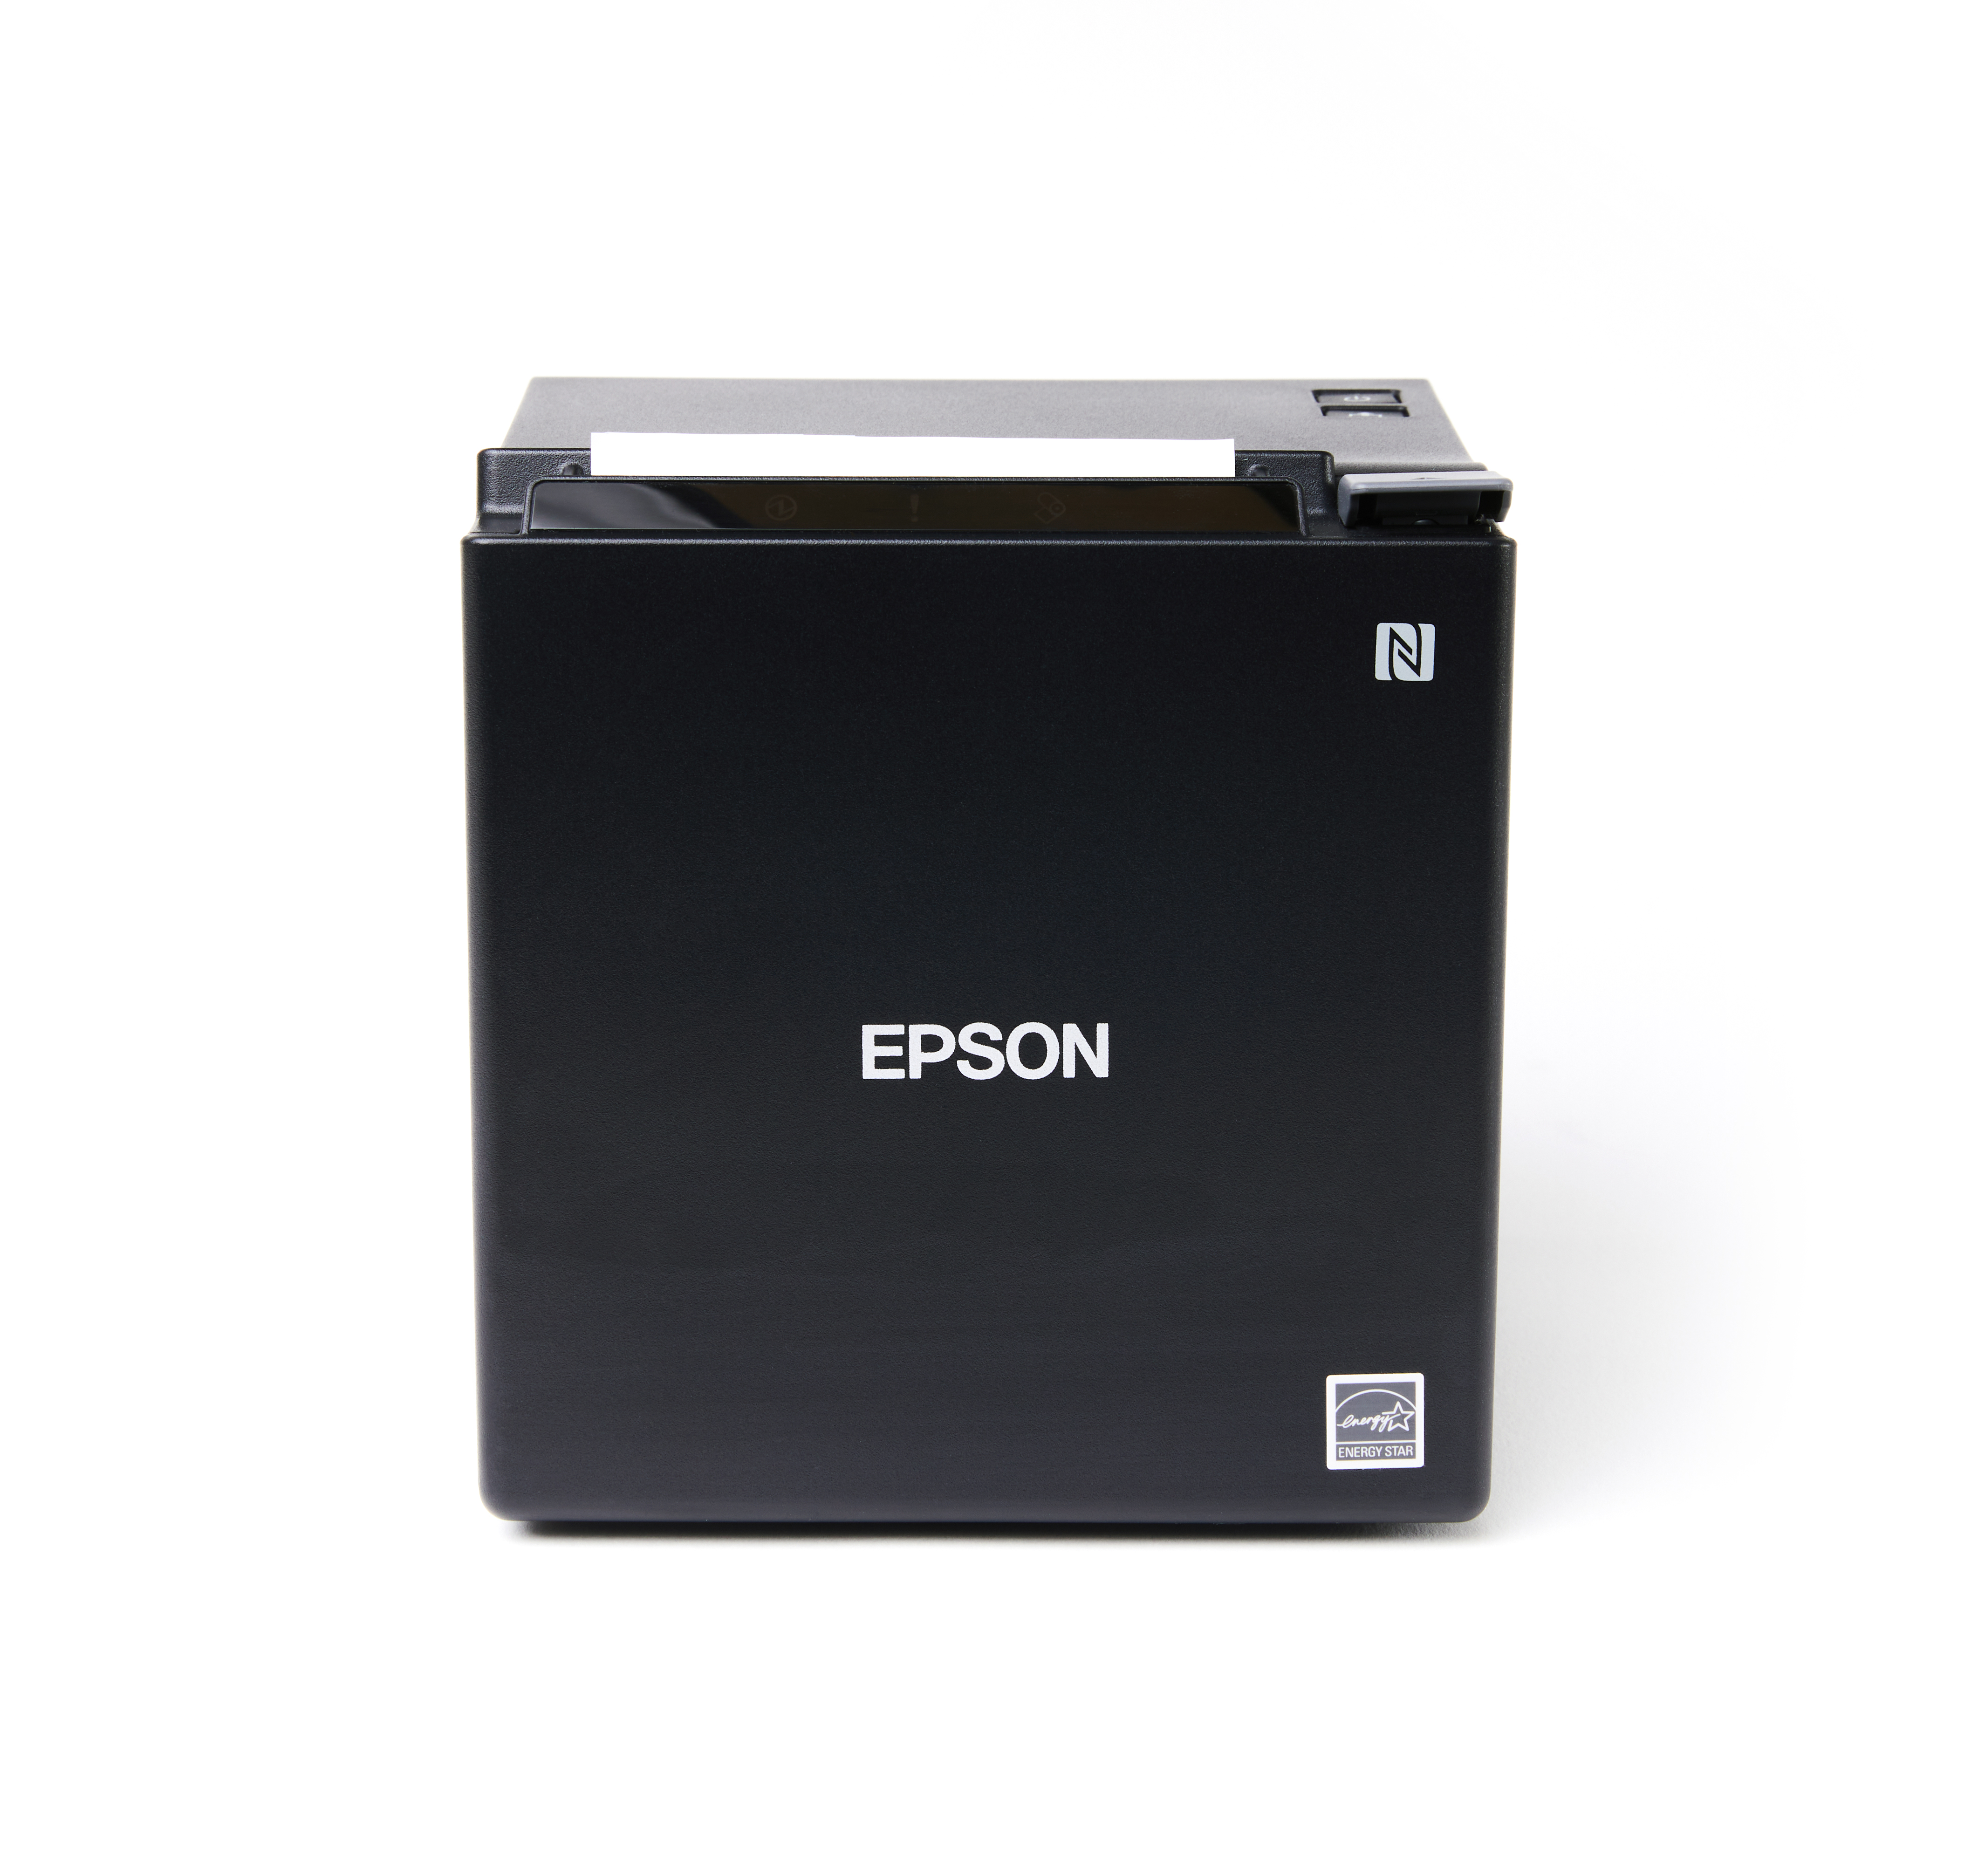
Epson TM-m30II-NT receipt printer
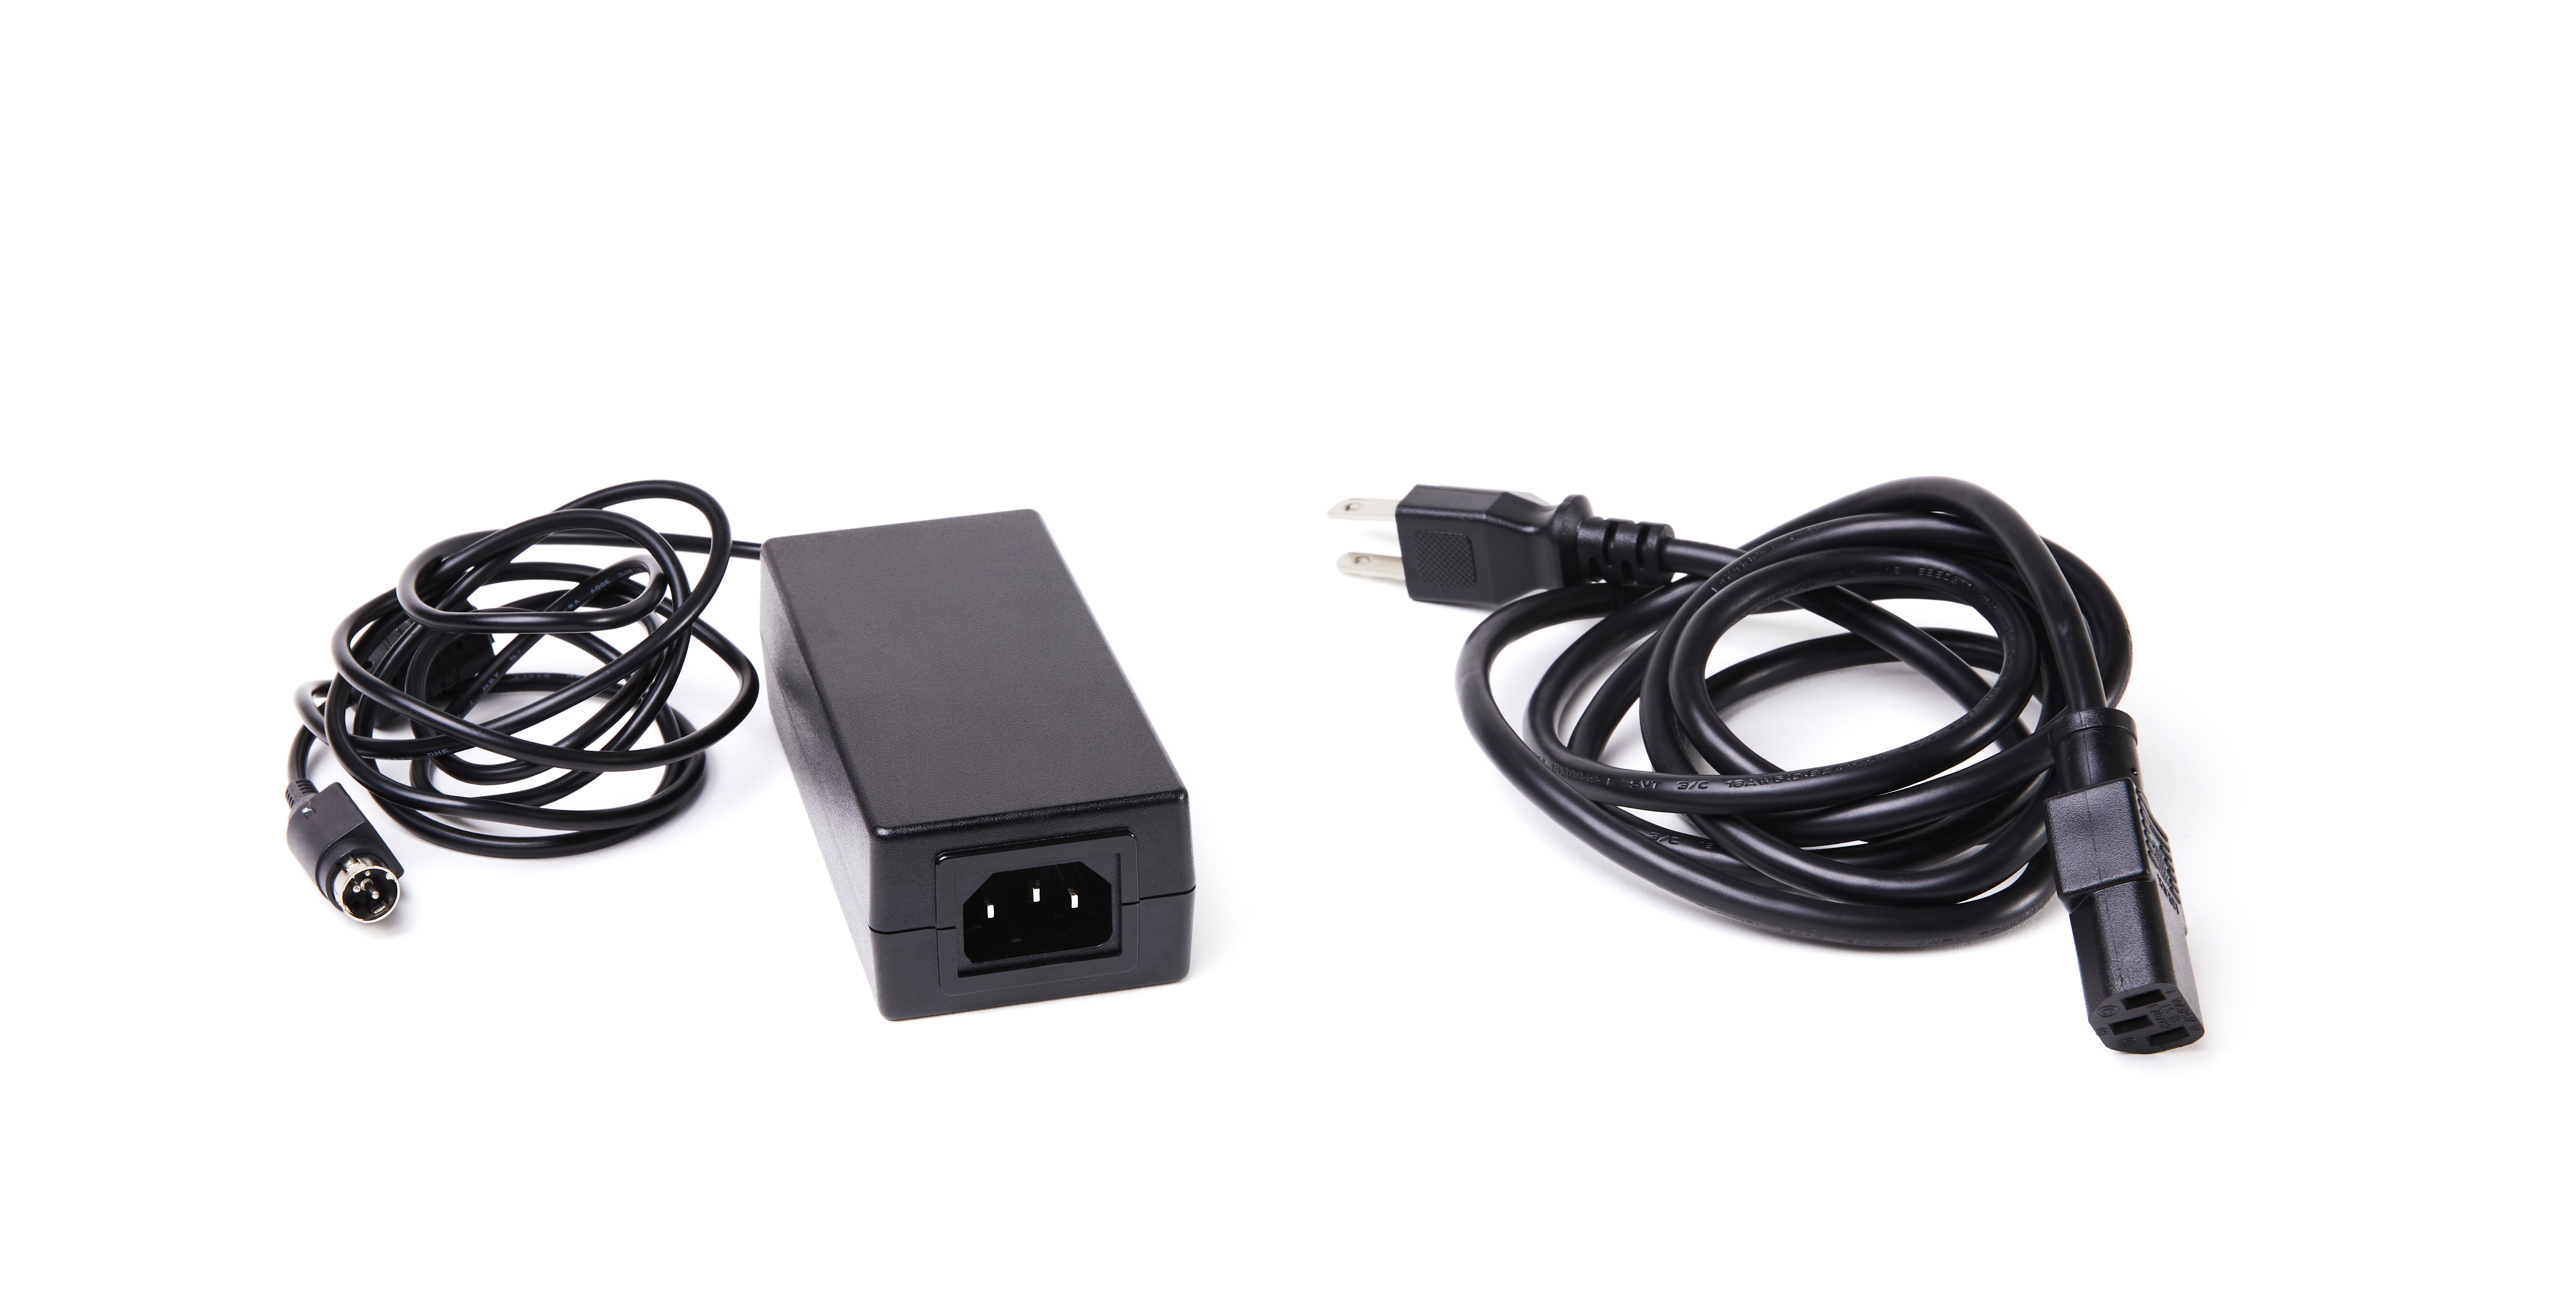
AC adapter and AC cable
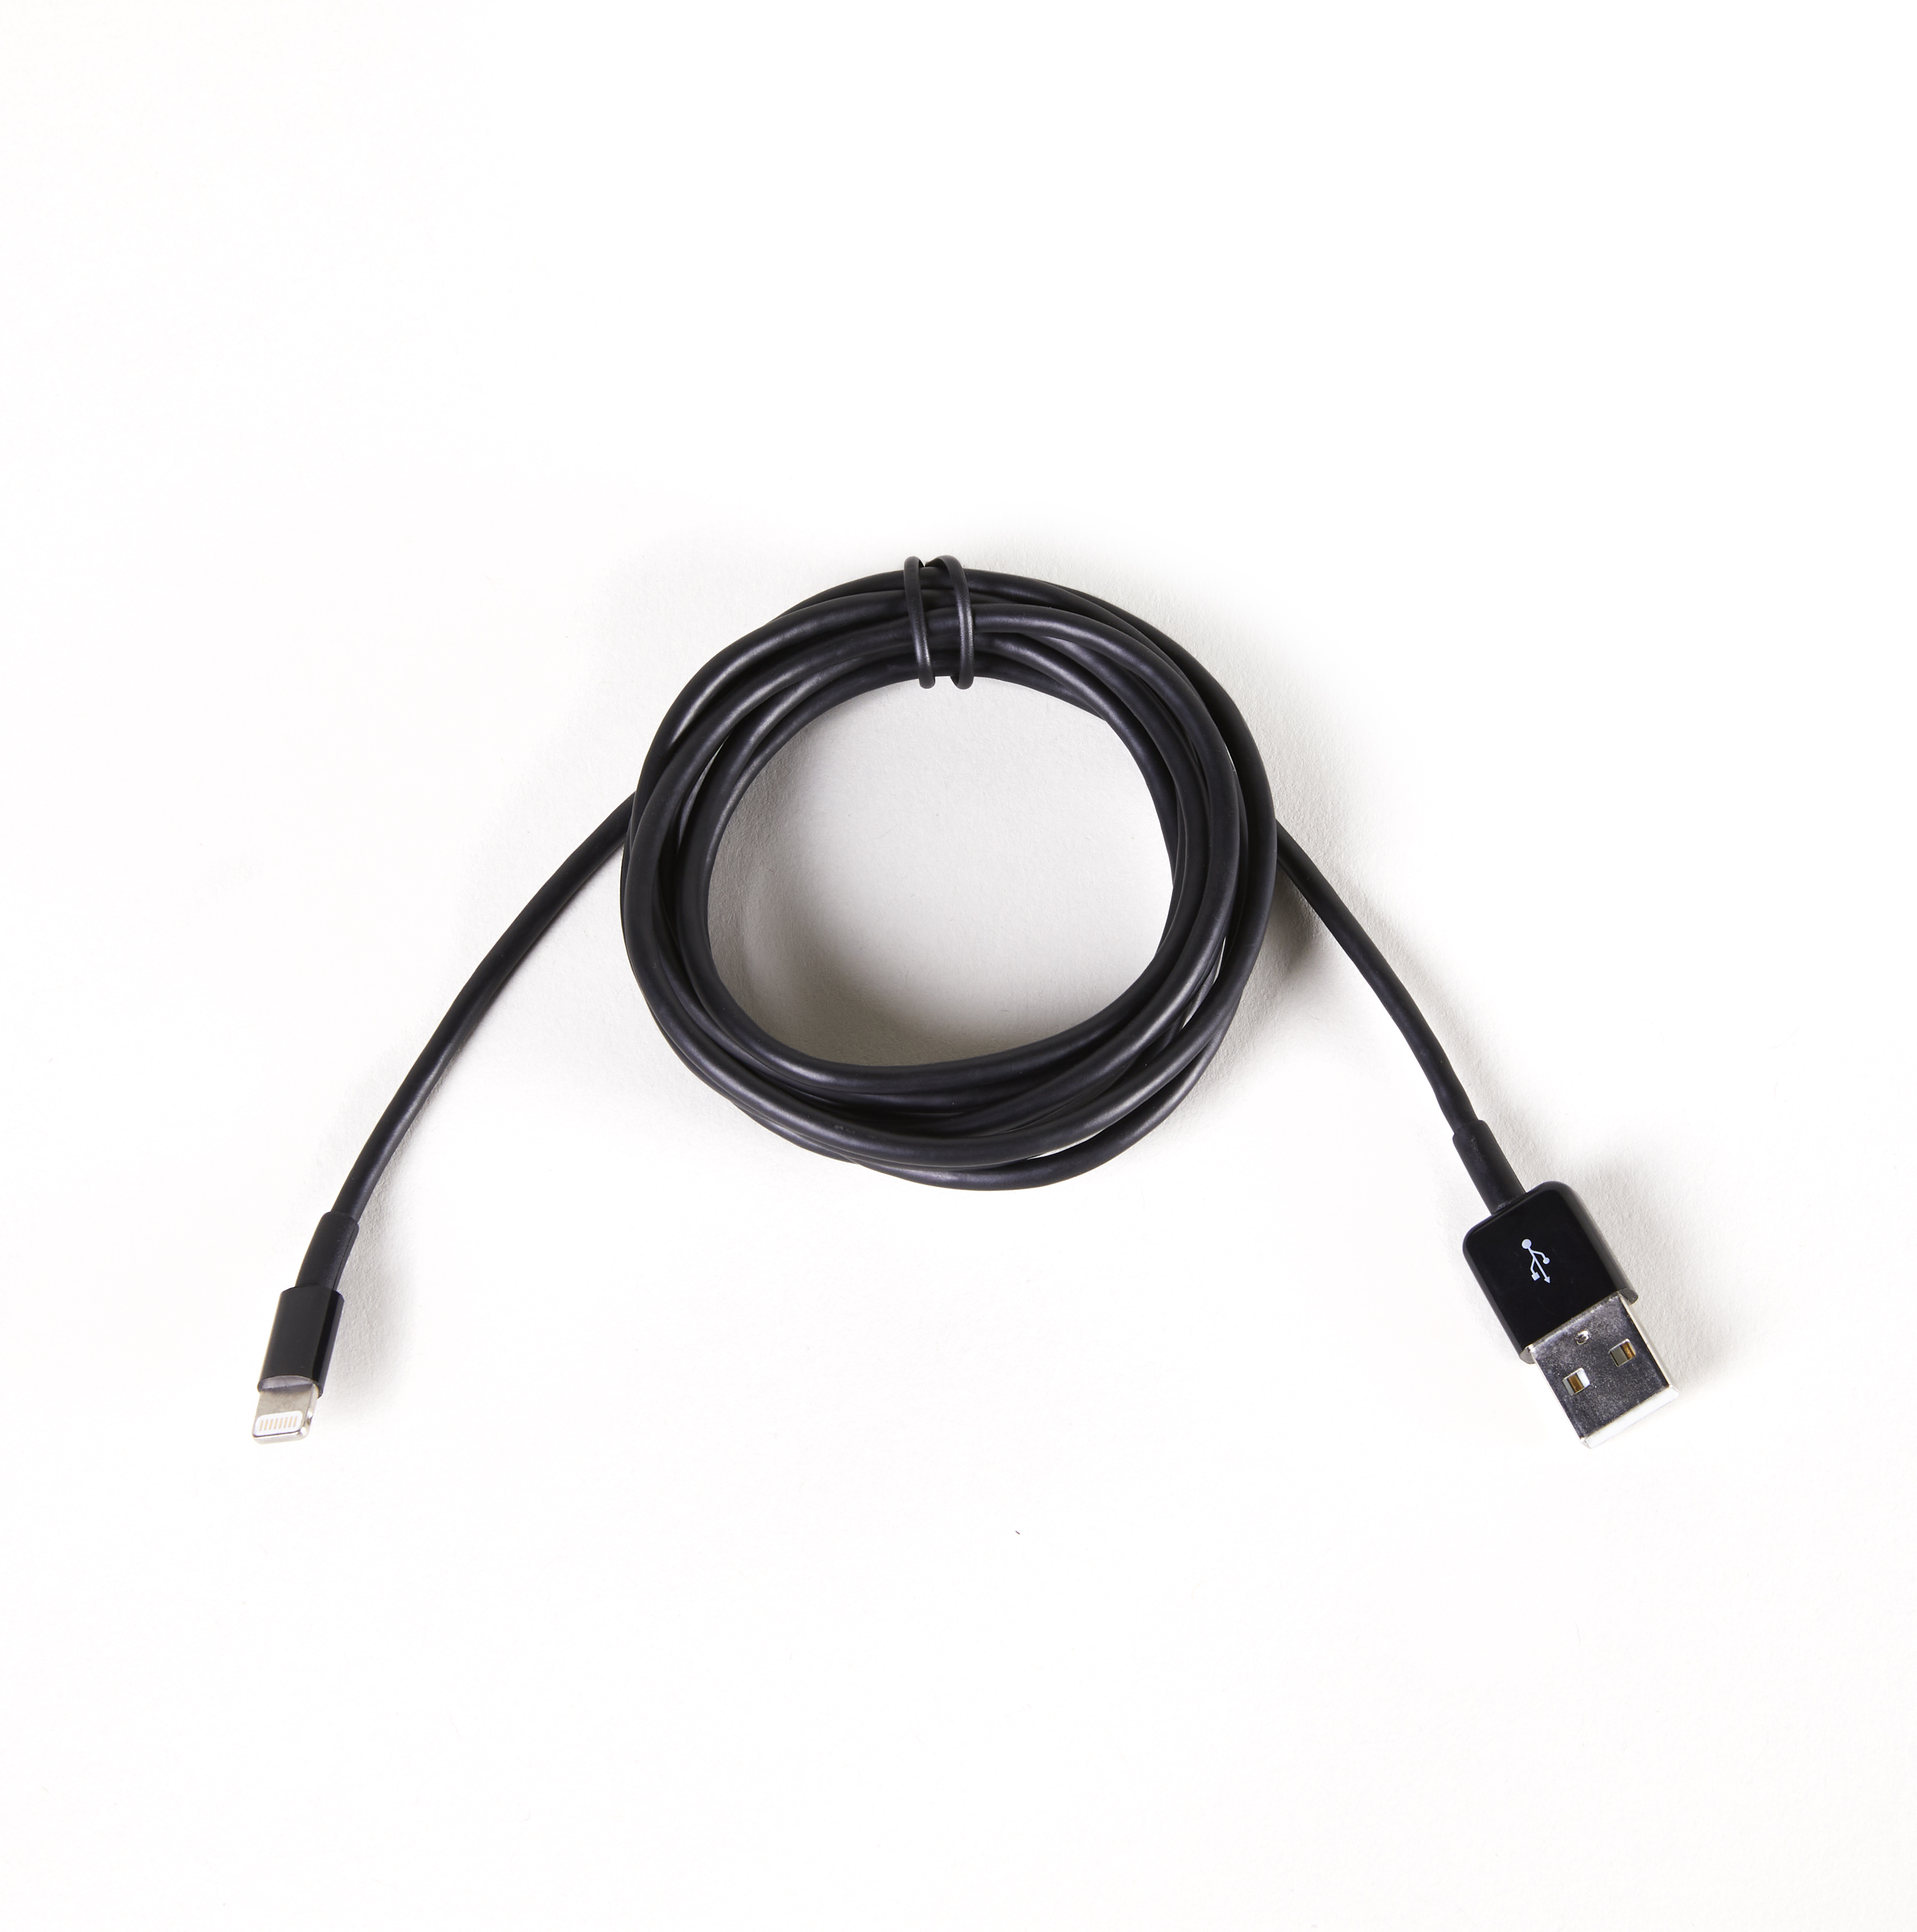
Lightning to USB cable
- Use cable that is pre-routed through your iPad stand (NoAm)
- Use cable that came with your iPad (EMEA)
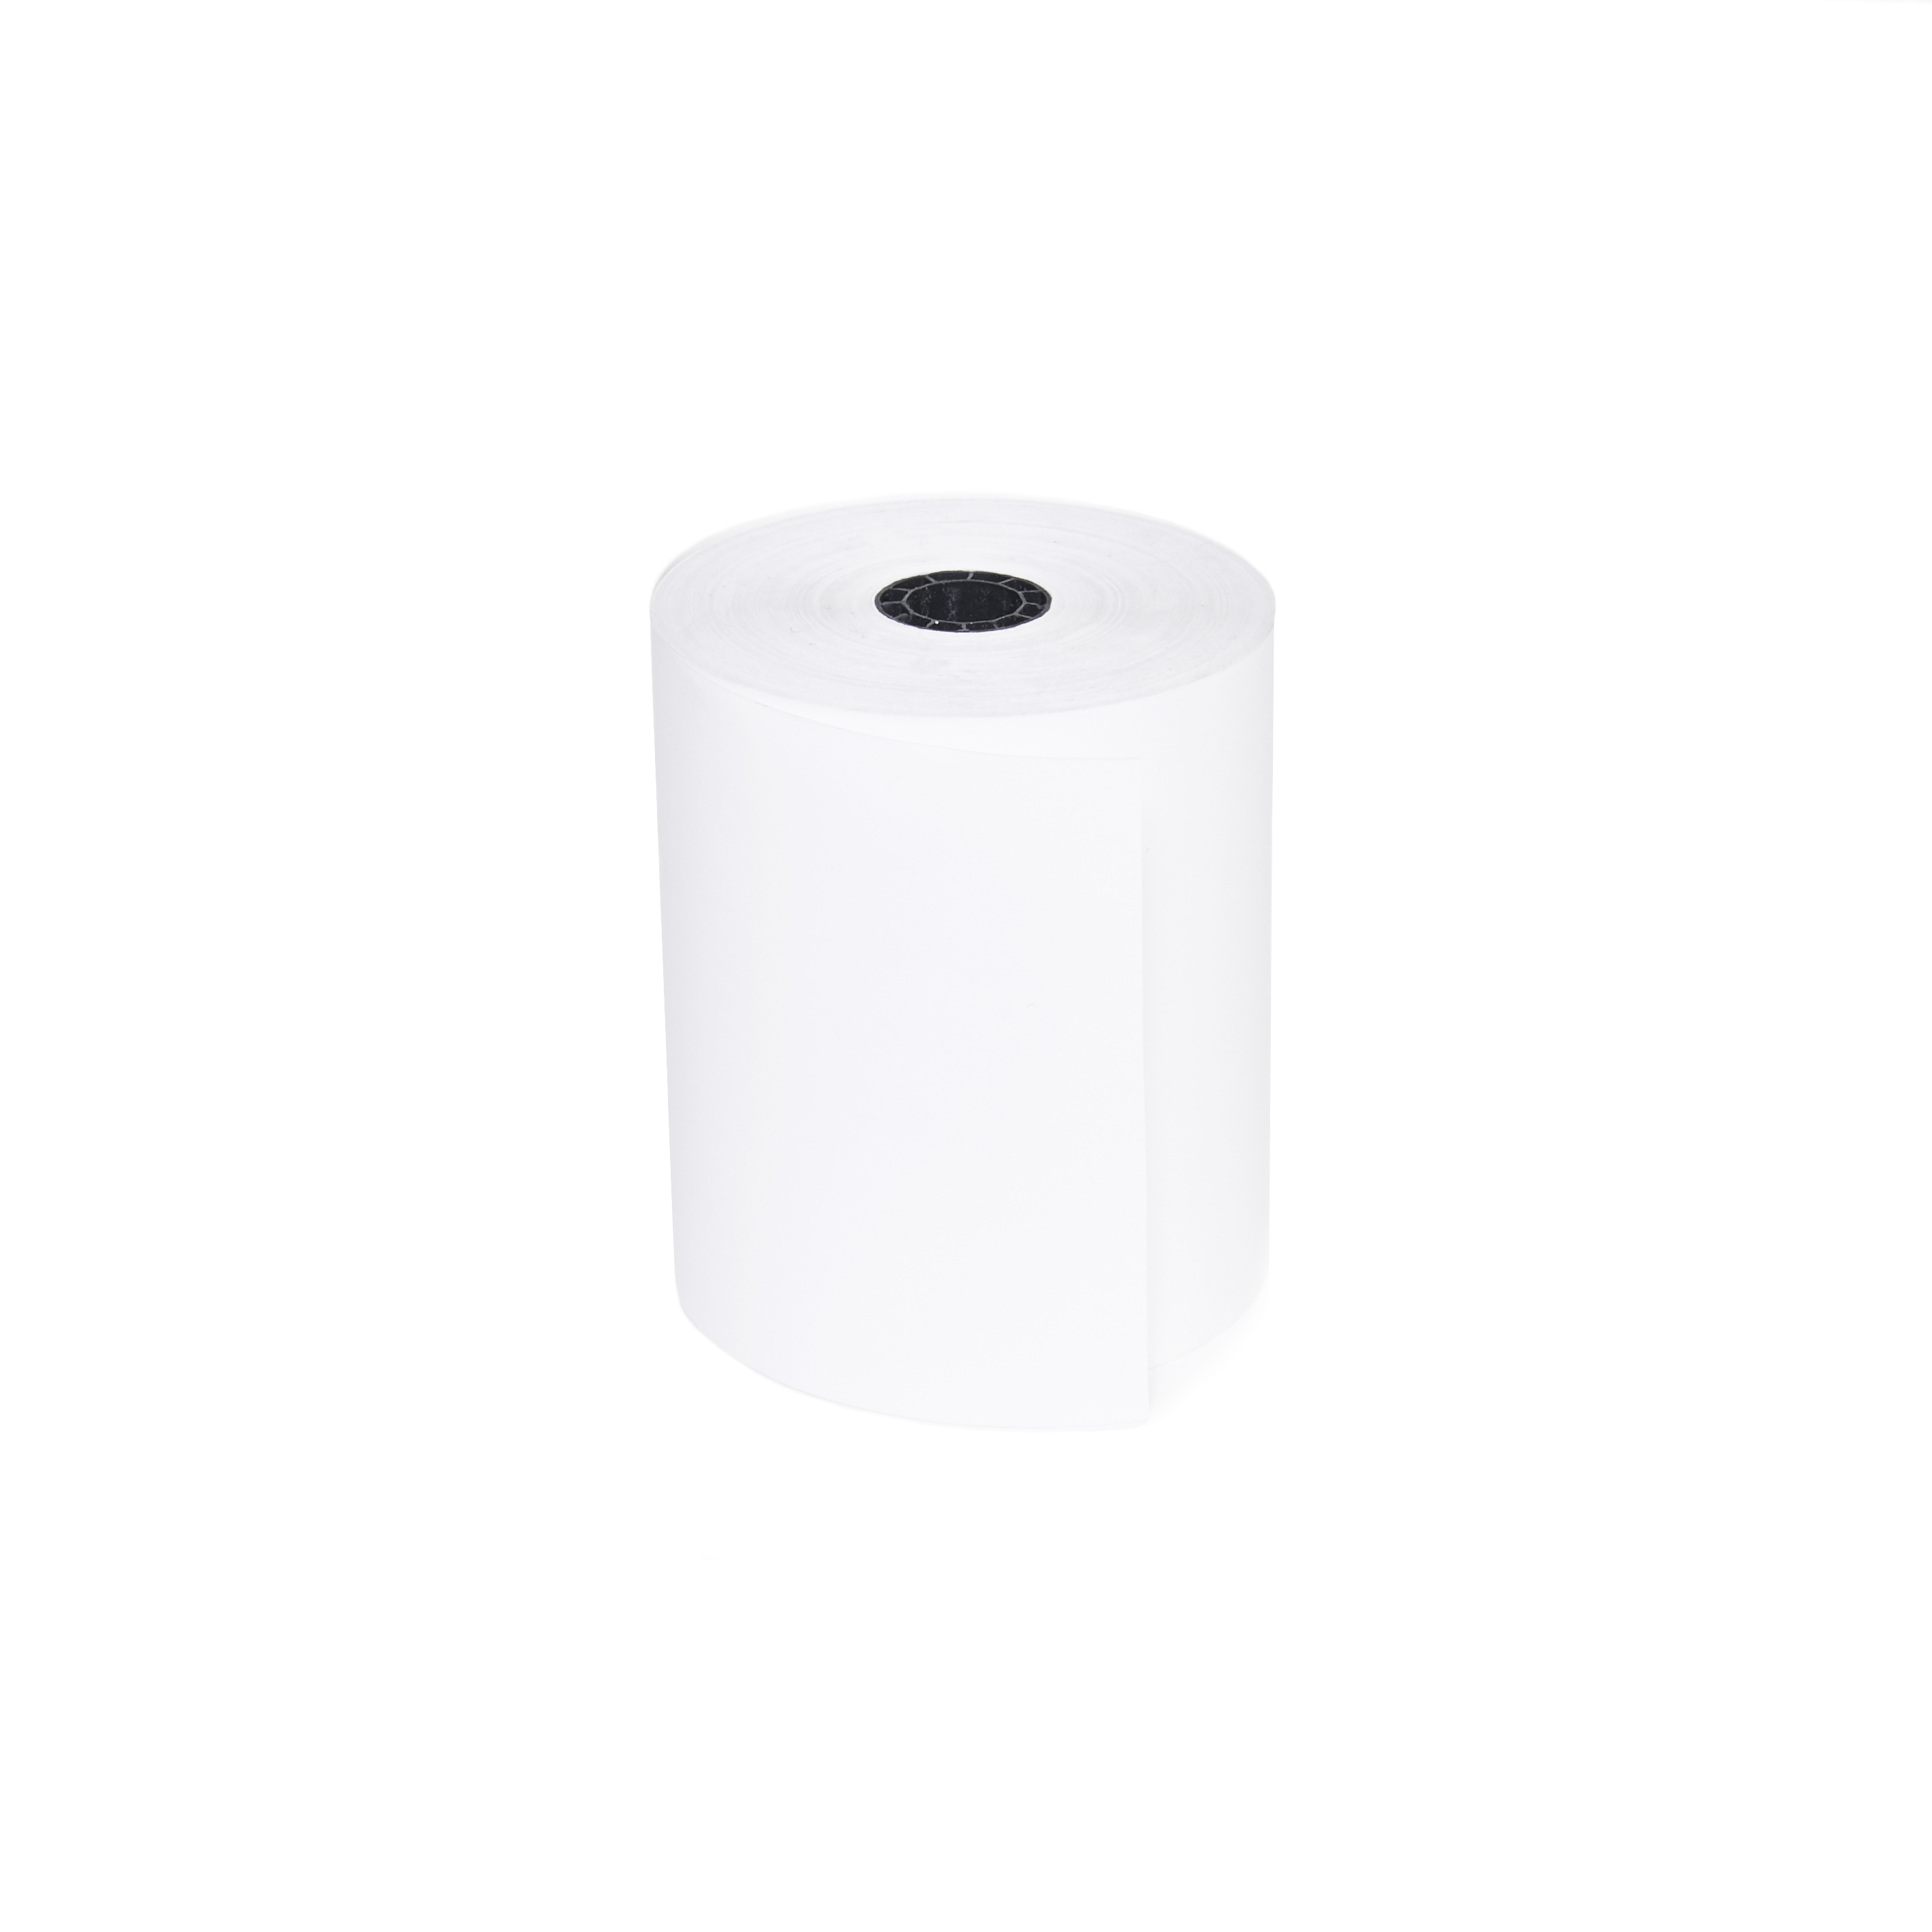
Paper roll
- Test roll, or
- Full roll from box of 10 rolls (included for NoAm, sold separately for EMEA)
Connecting your printer to your iPad with a Lightning to USB cable involves the following steps:
1. Connect your printer
To connect your printer, you need its AC adapter, AC cable and Lightning to USB cable.
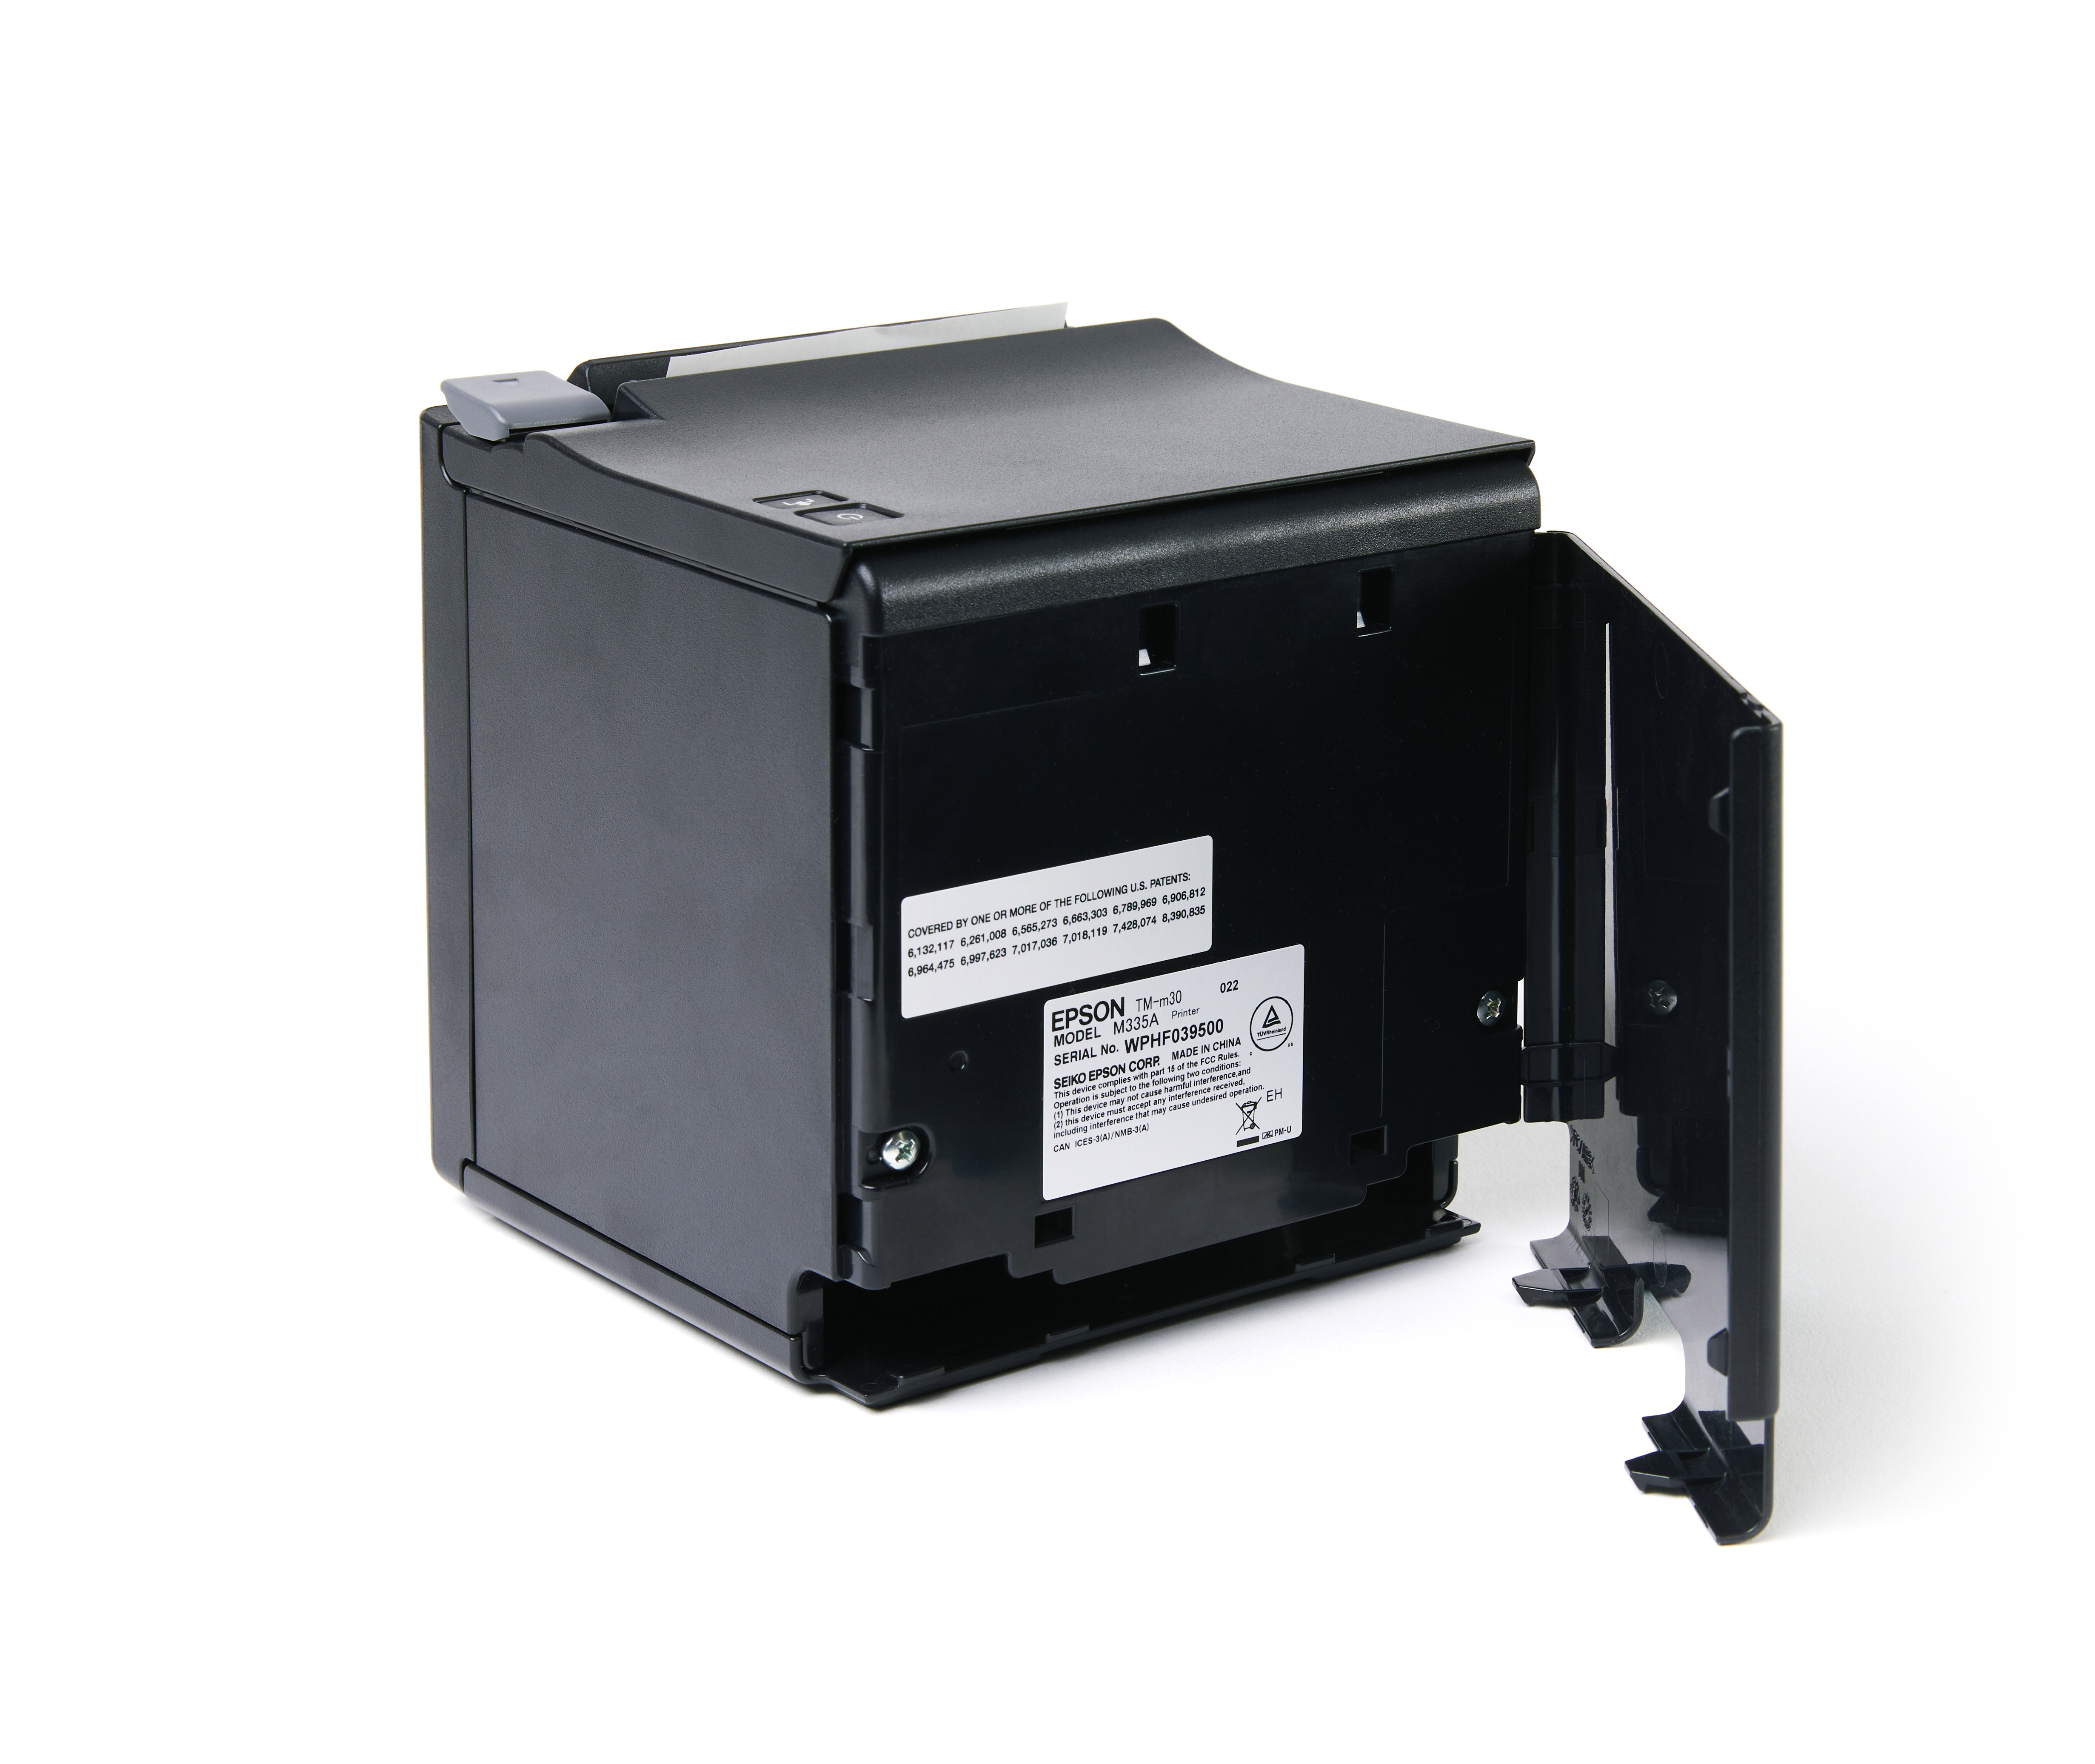
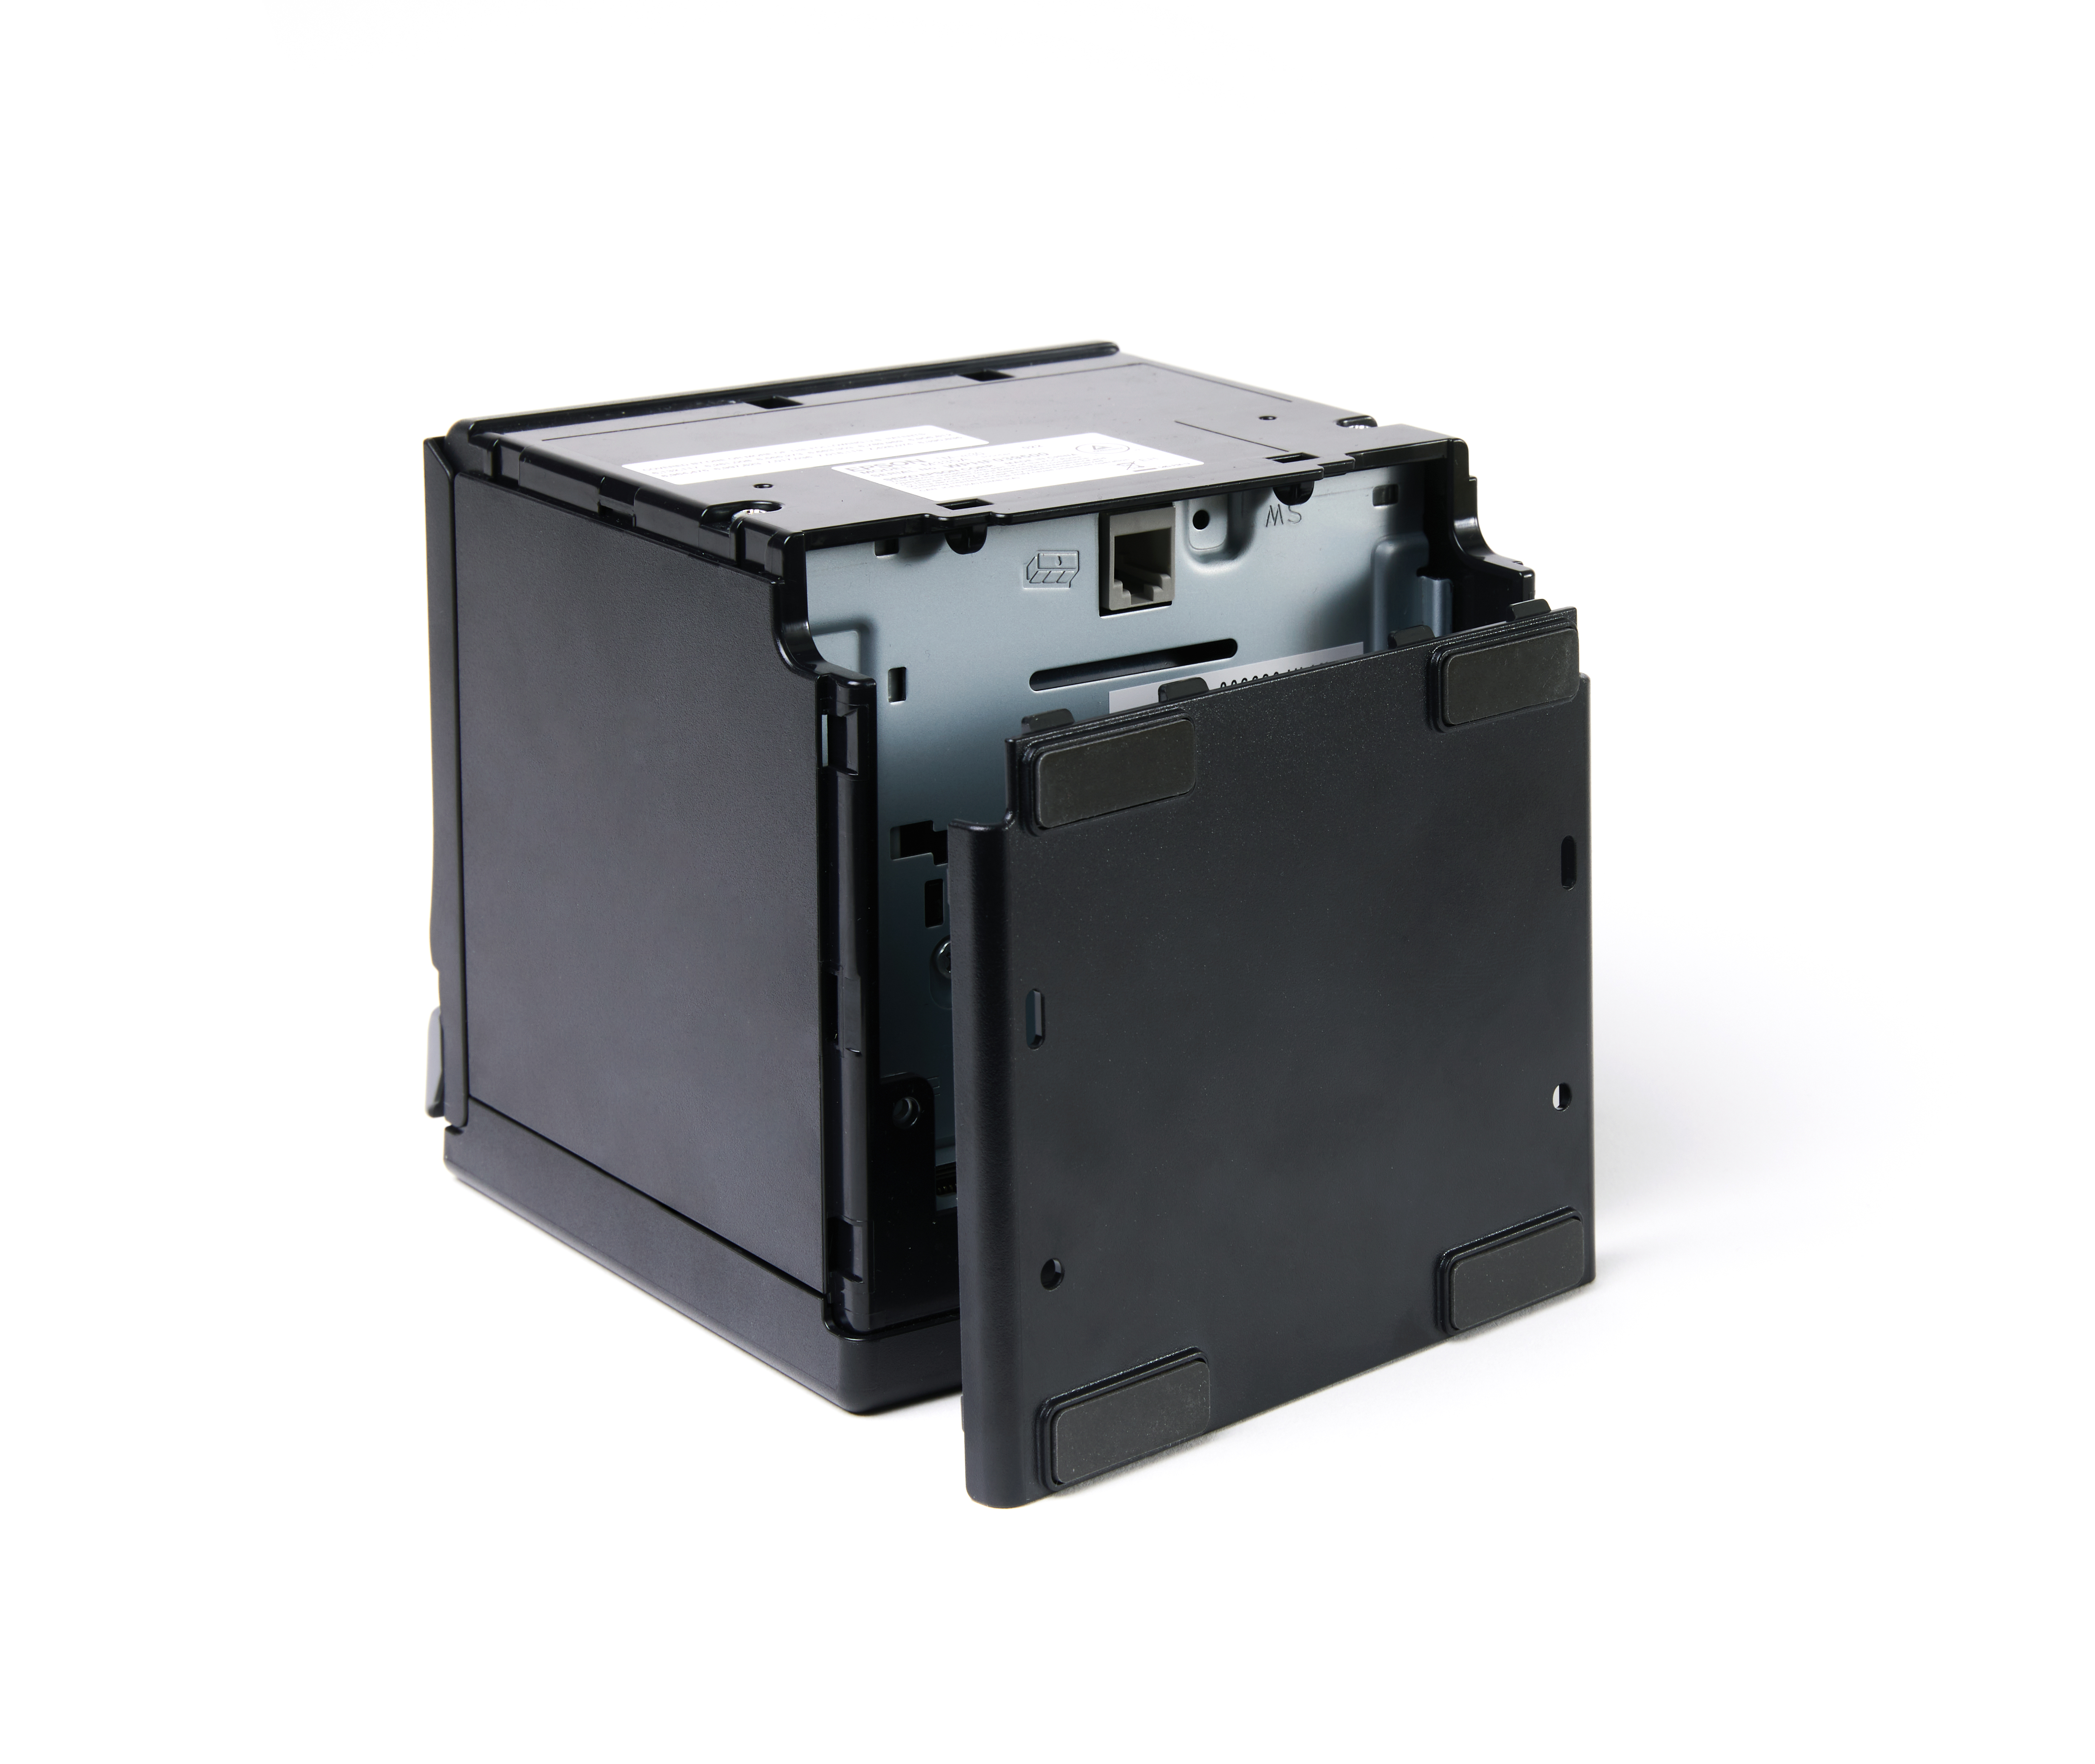
- Remove the back and bottom covers of your printer.
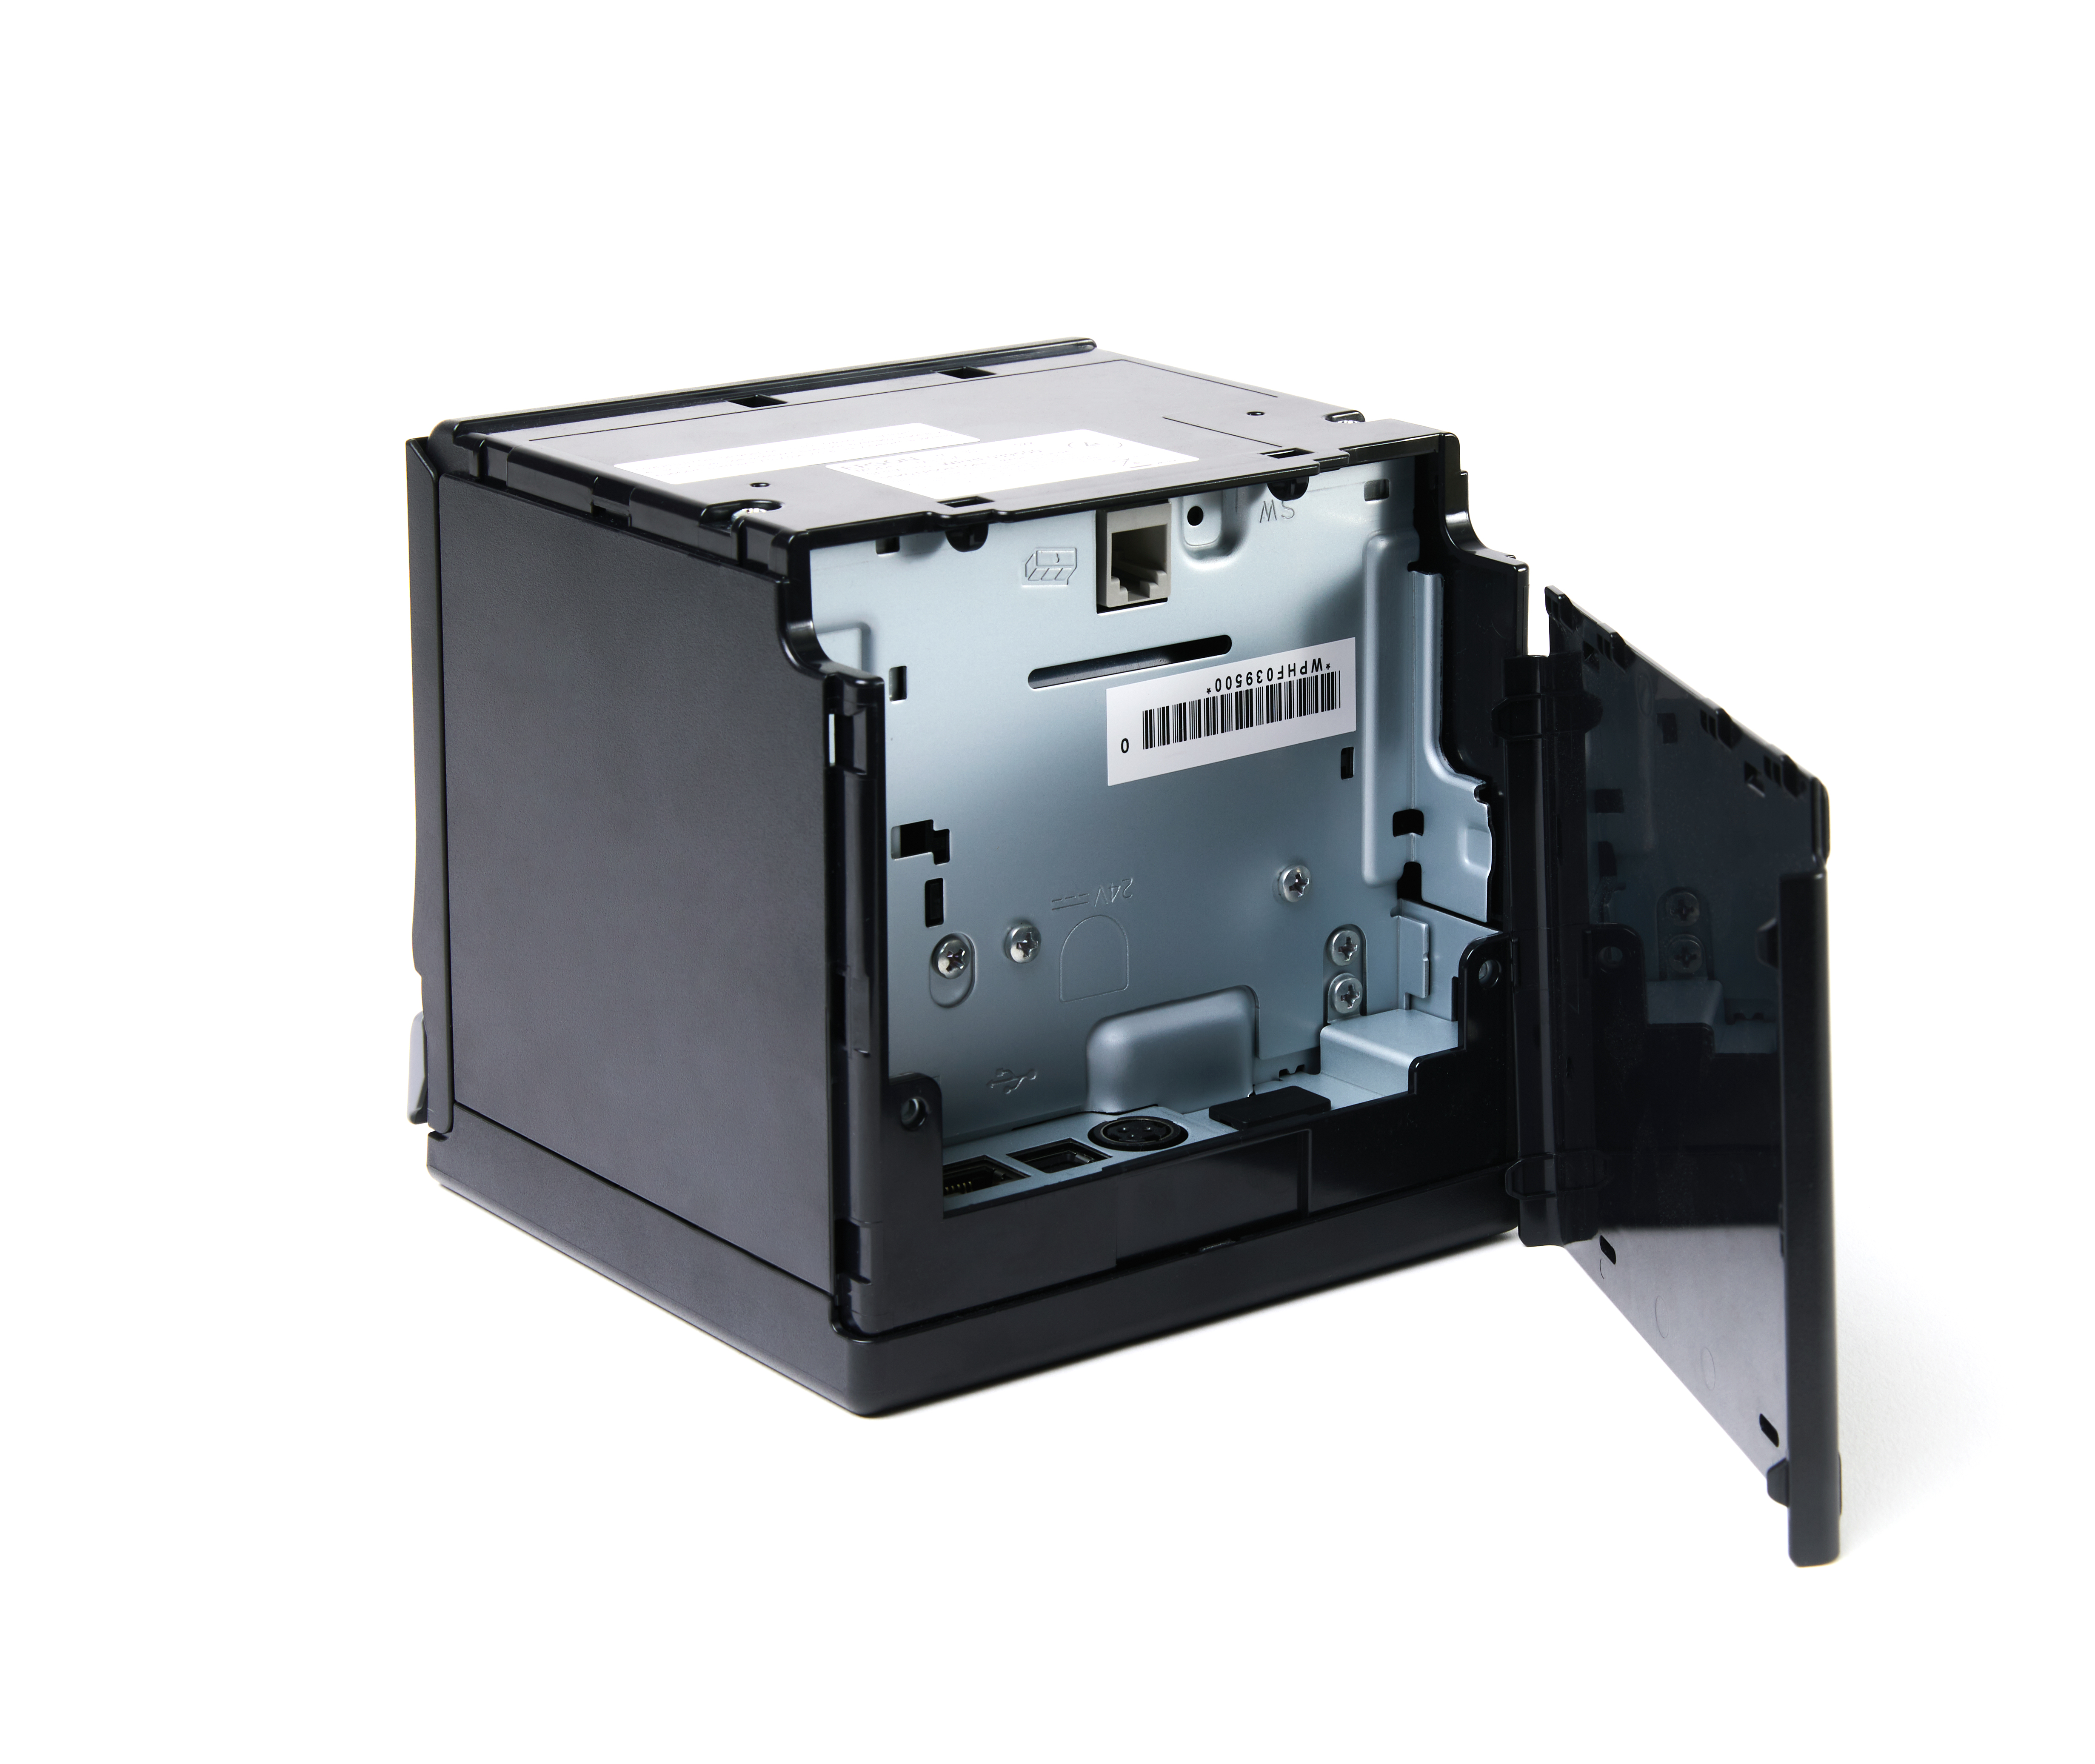
- Connect the Lightning to USB cable to your printer and iPad.
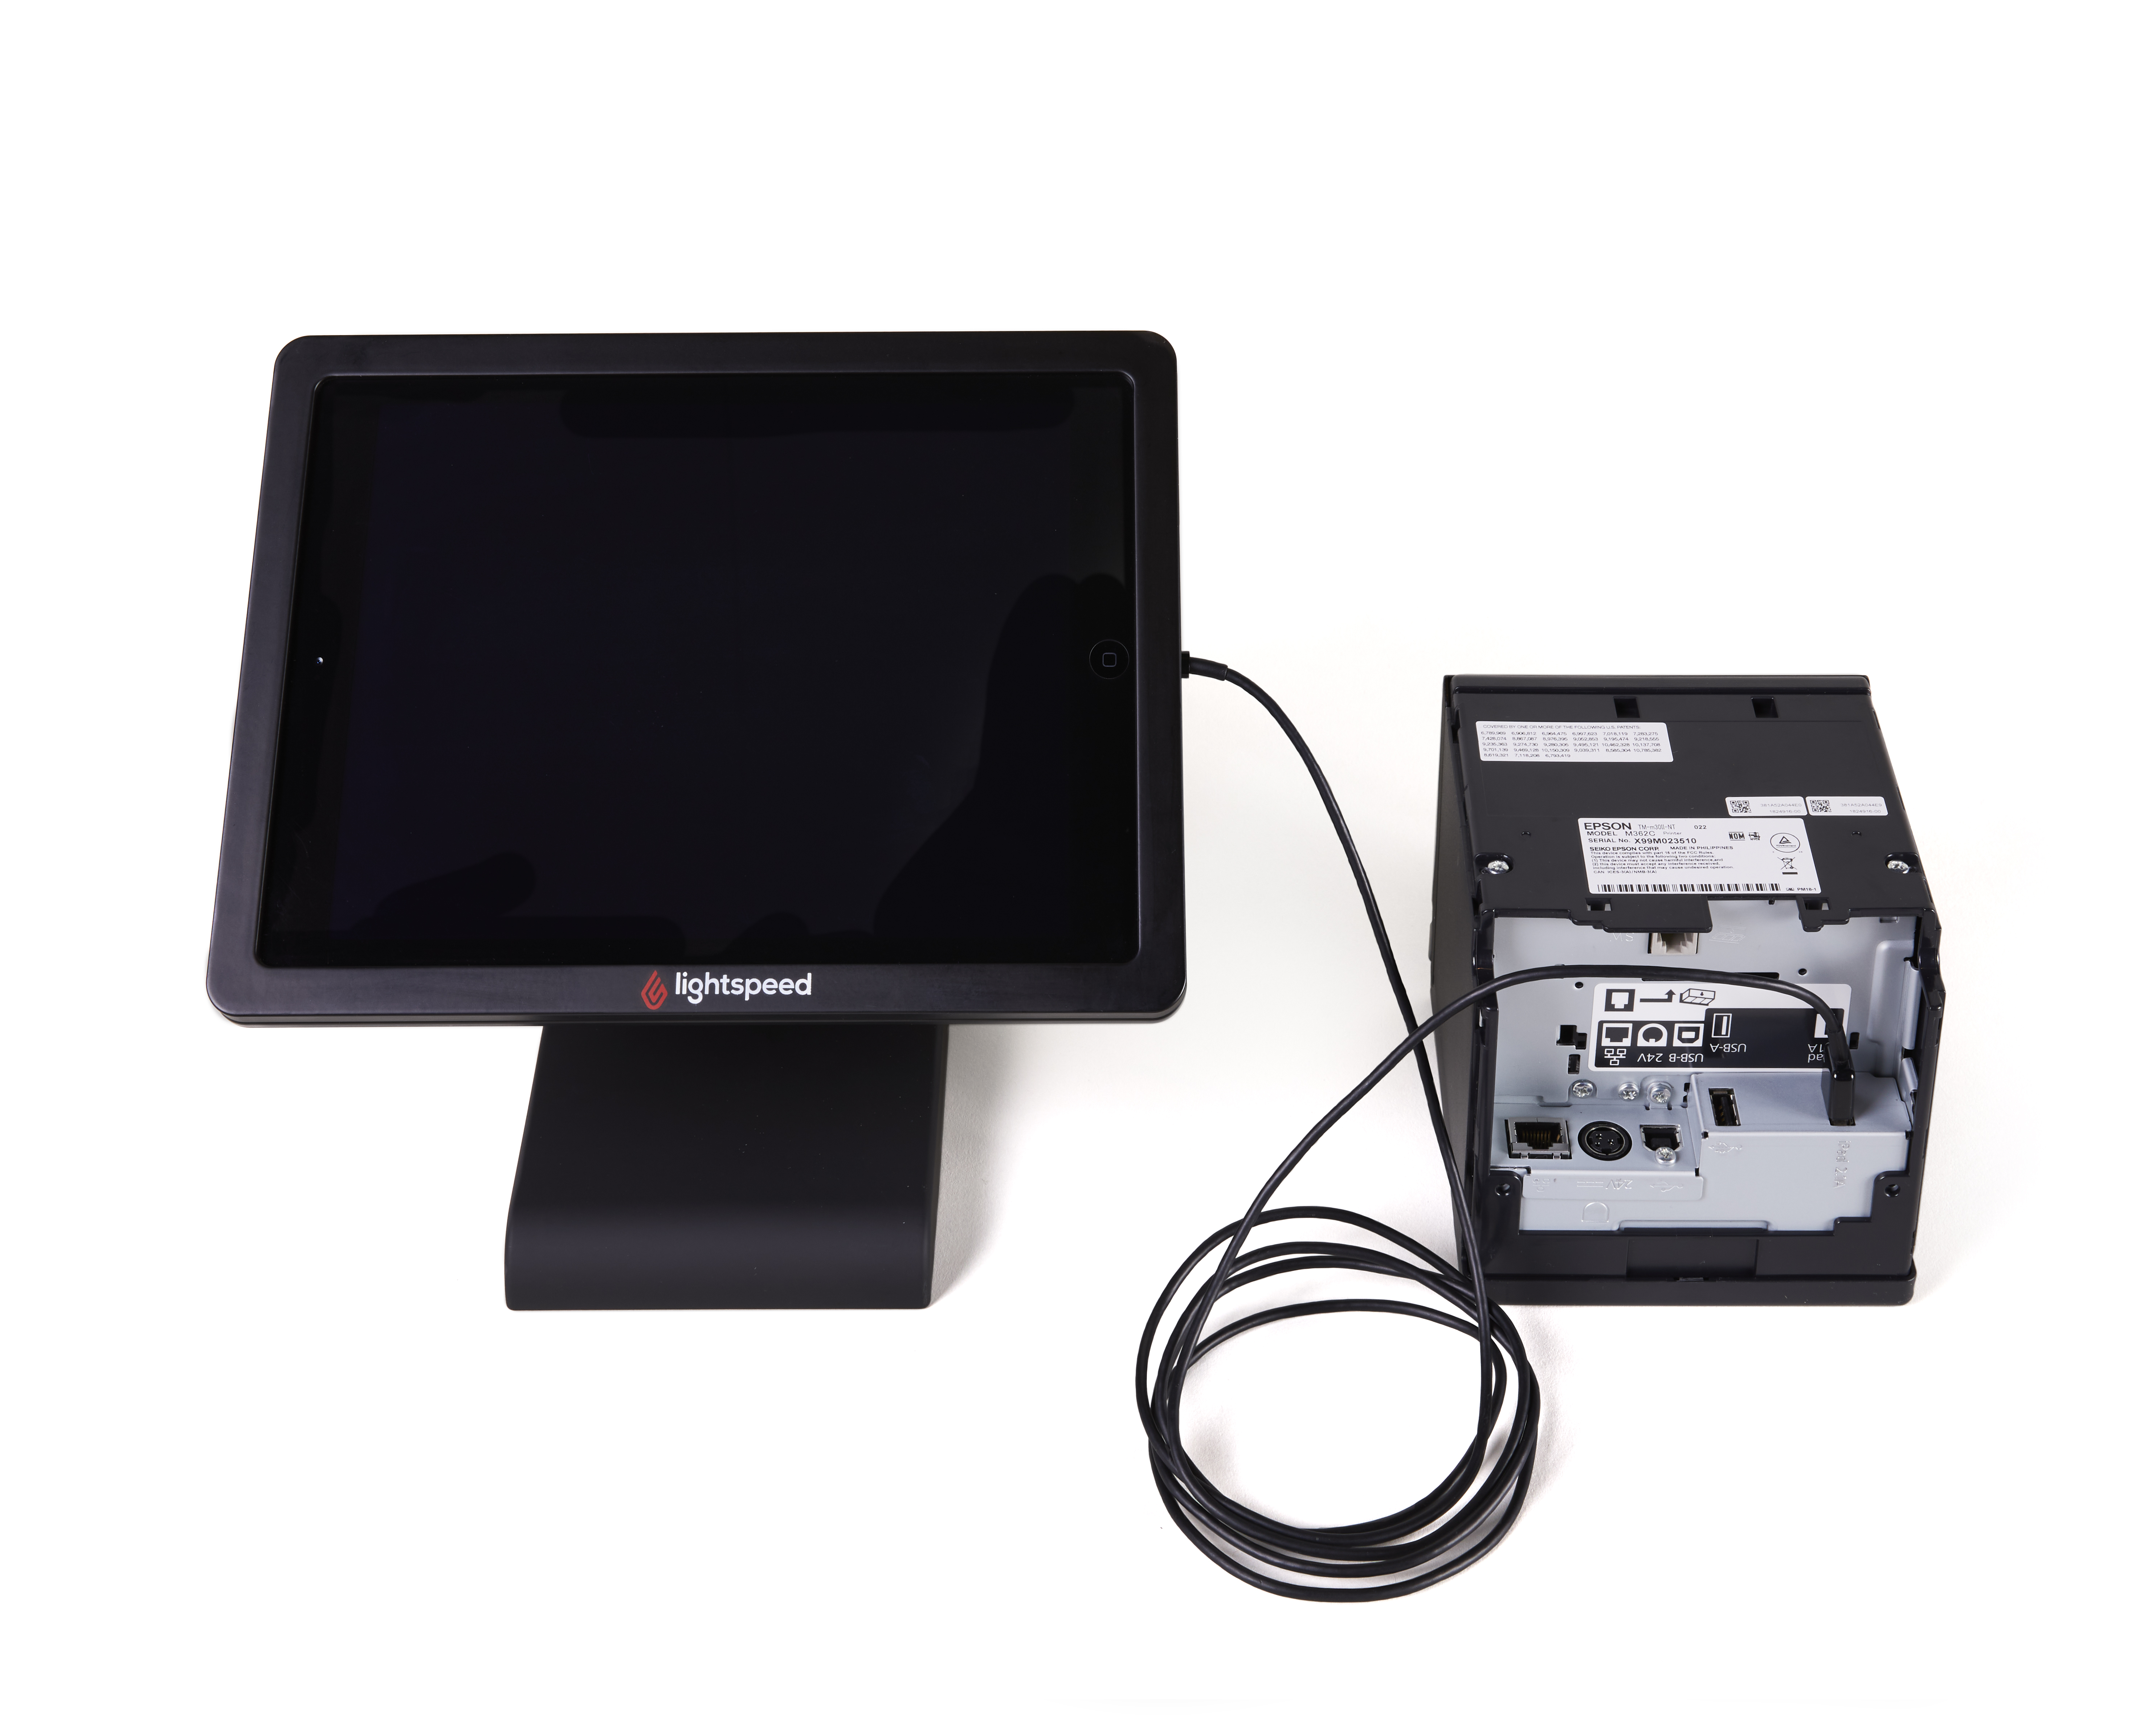
- Connect the AC adapter to your printer.
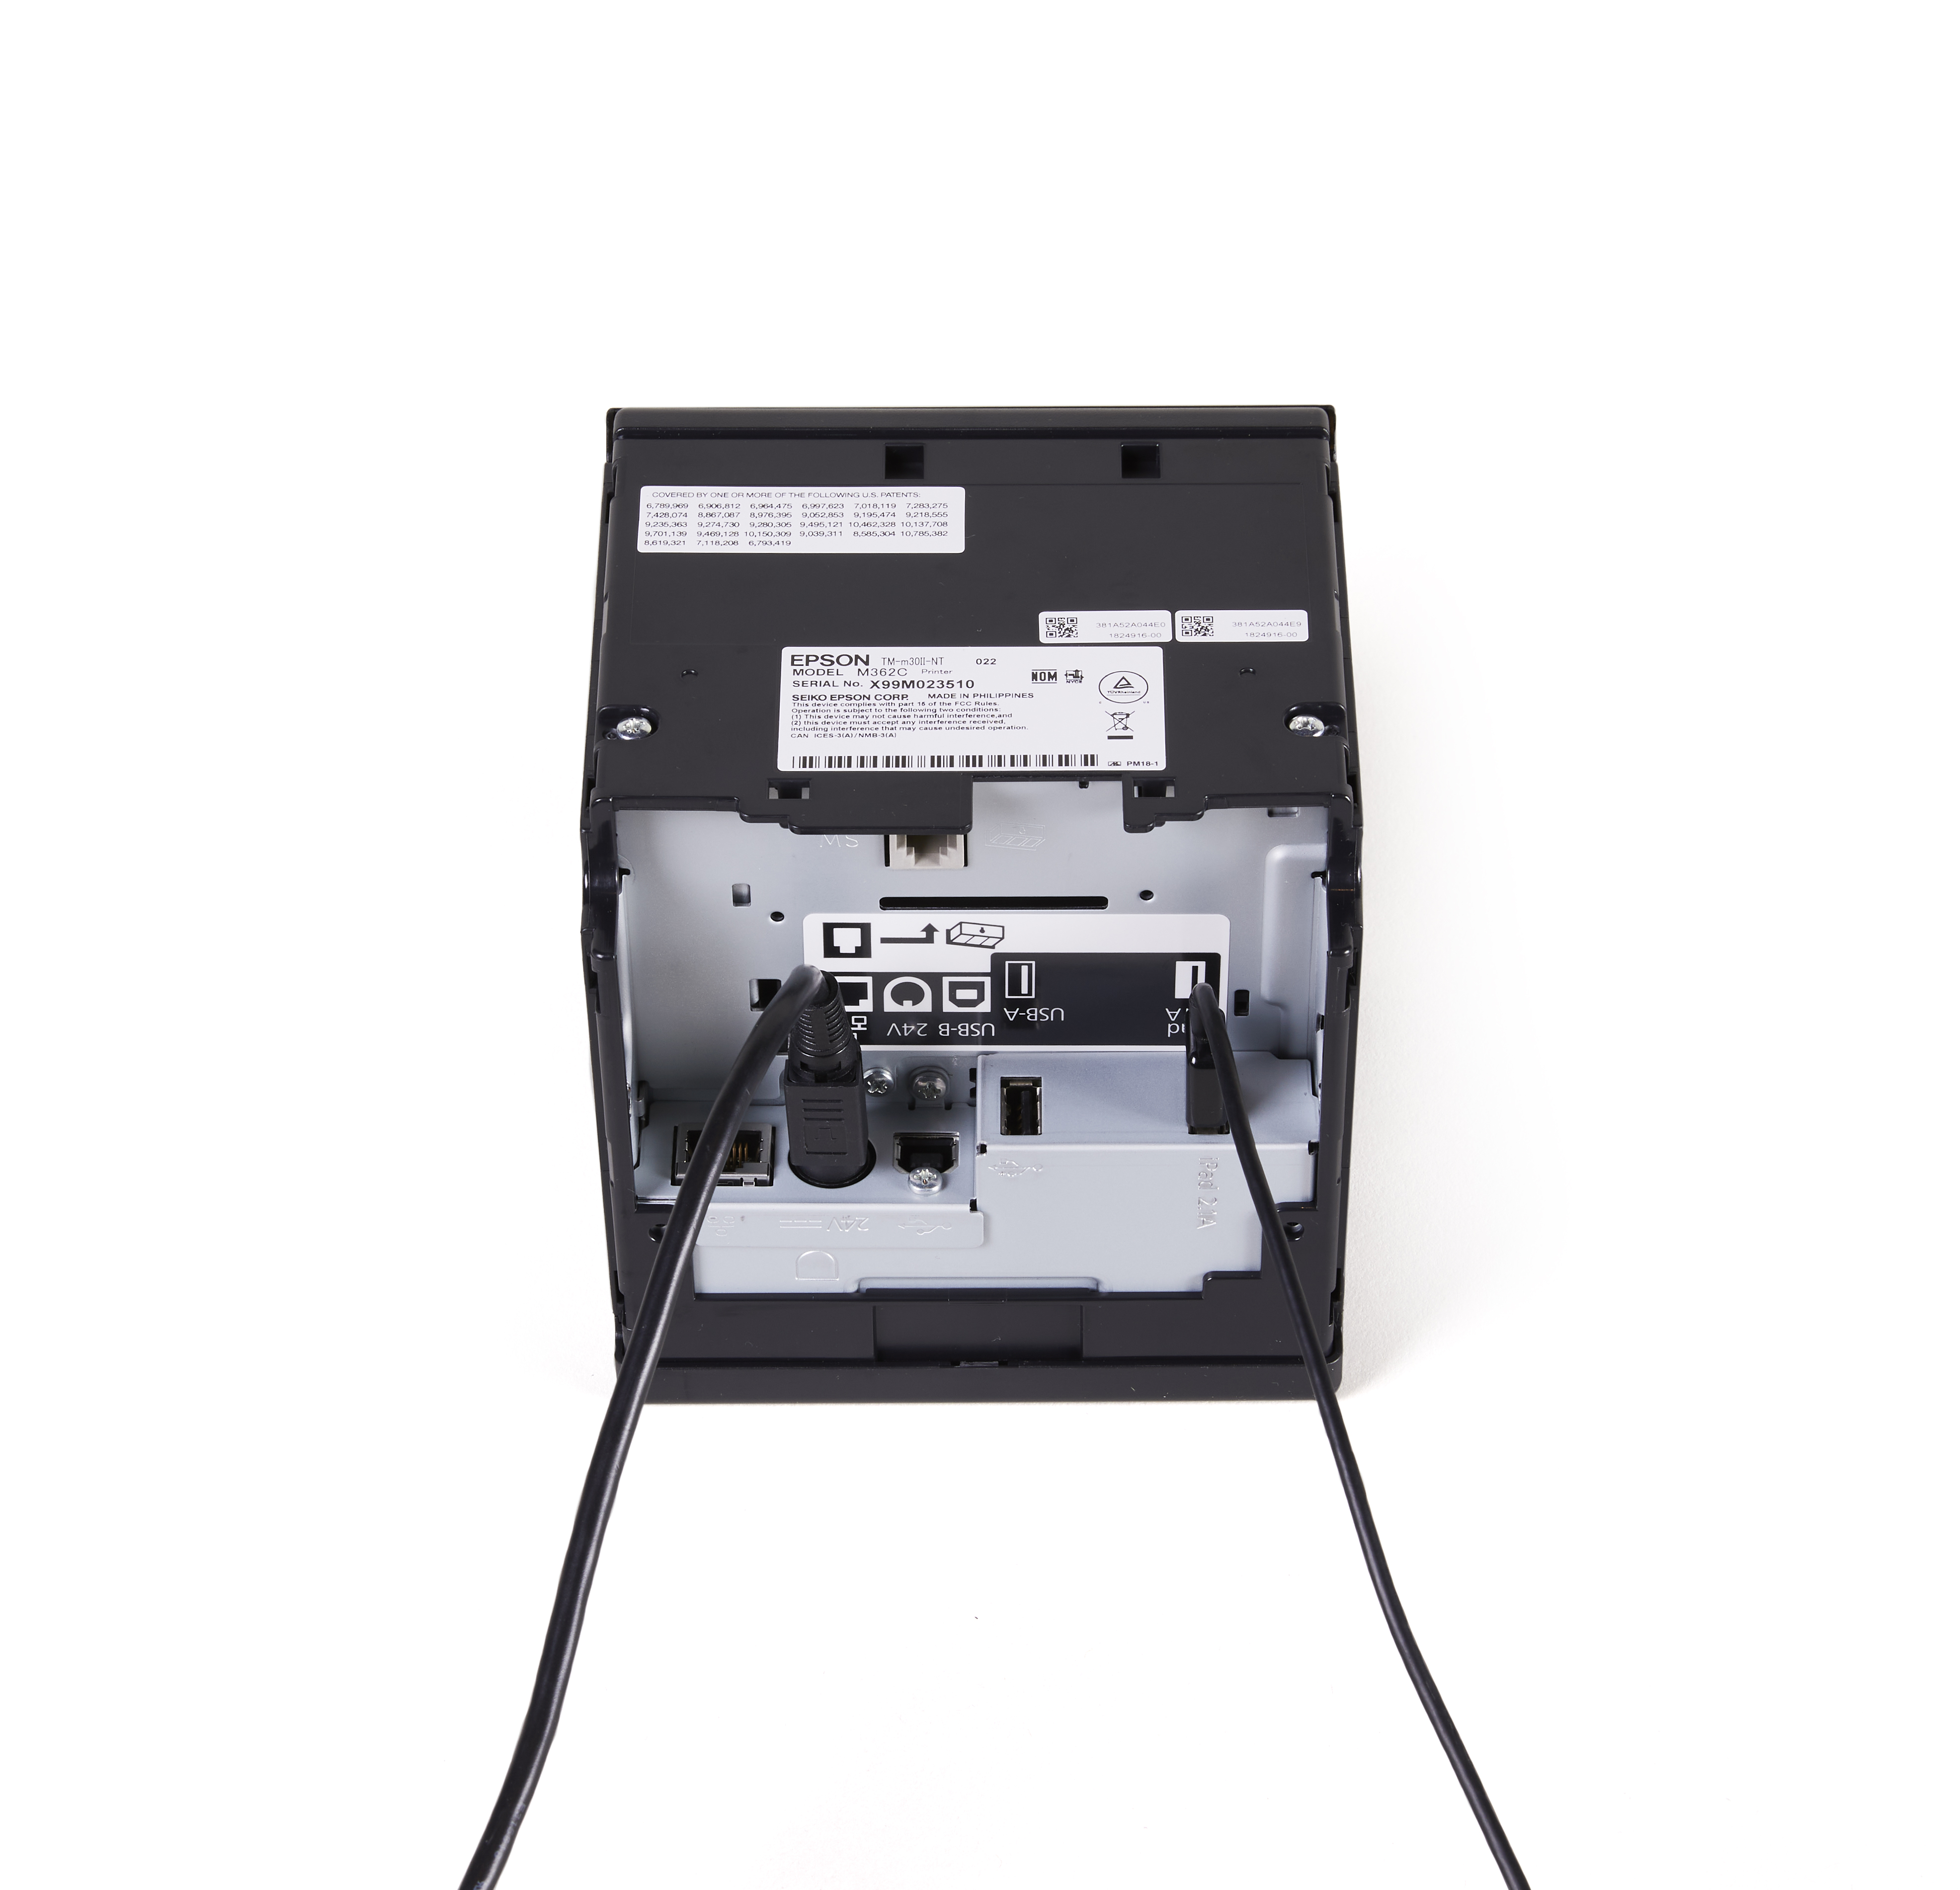
- Connect the AC cable to the AC adapter and an electrical outlet.
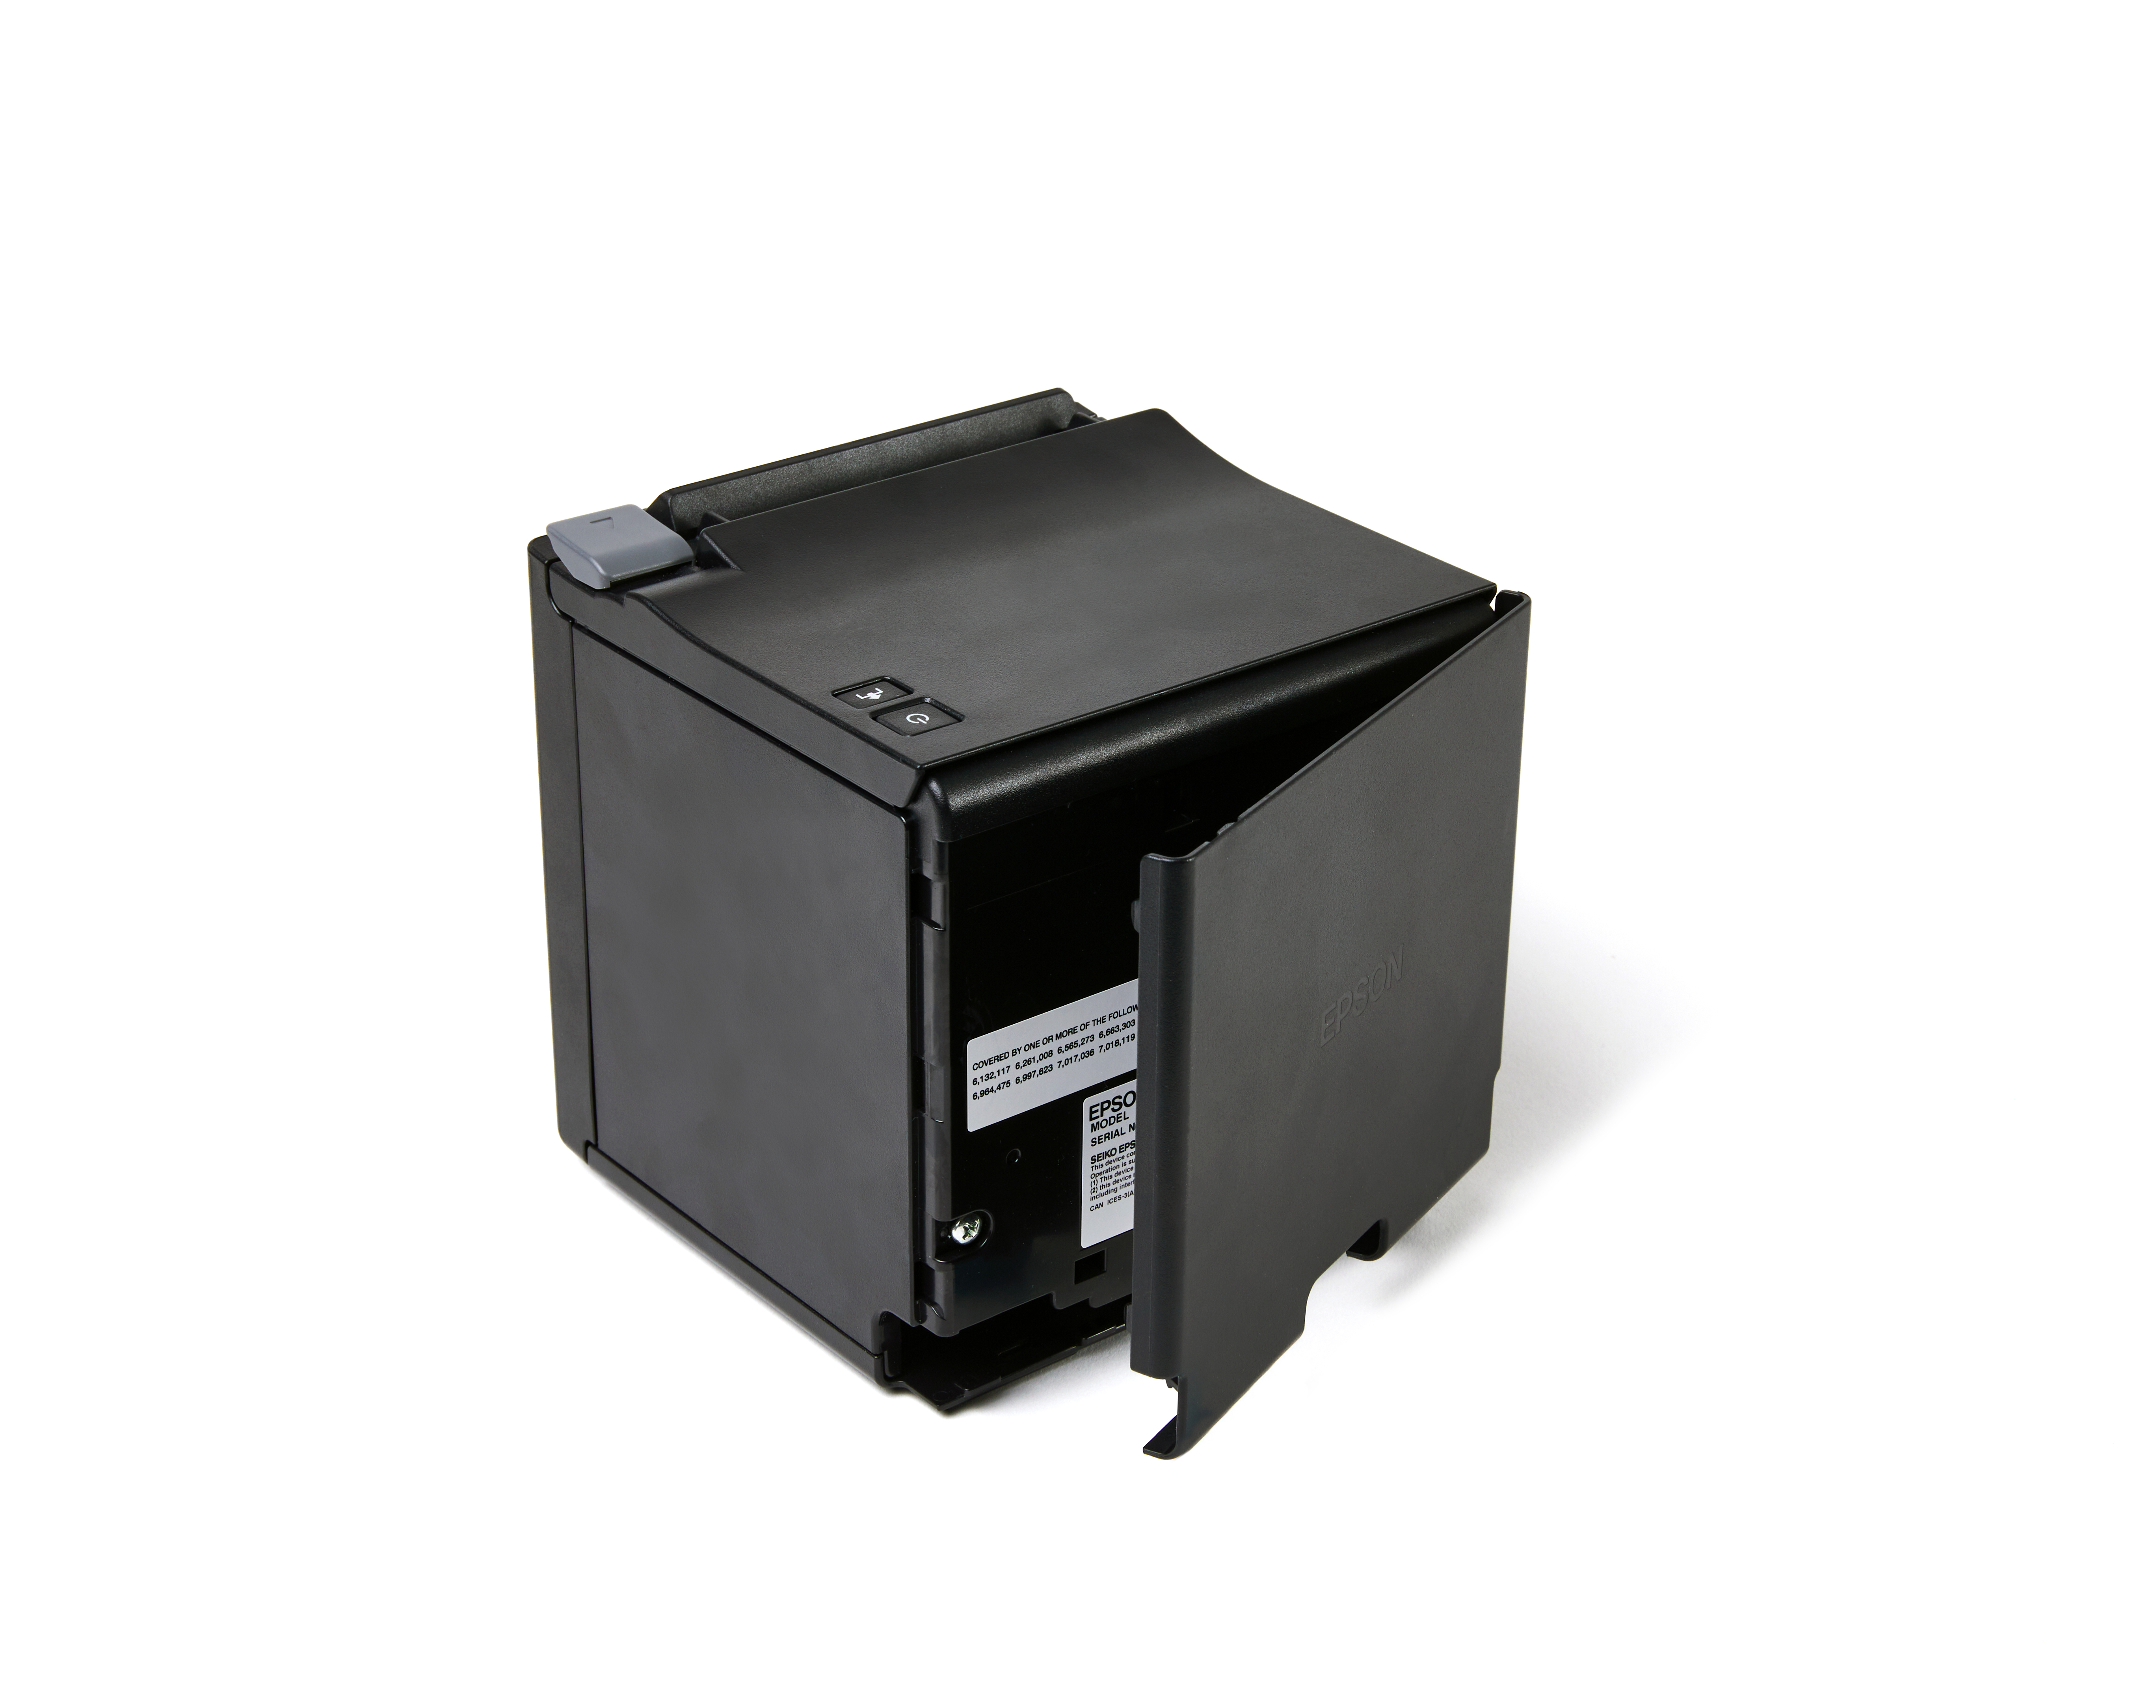
- Attach the bottom and back covers to your printer.
- Turn on your printer.
The LED lights will stop blinking and become solid once your printer is ready.
2. Insert a paper roll
- To open the printer's cover, push the lever on the right-hand side of the cover away from you and lift the cover upwards.
- Insert the paper roll in the following orientation. While doing so, make sure the paper roll stays taut and doesn't unroll.
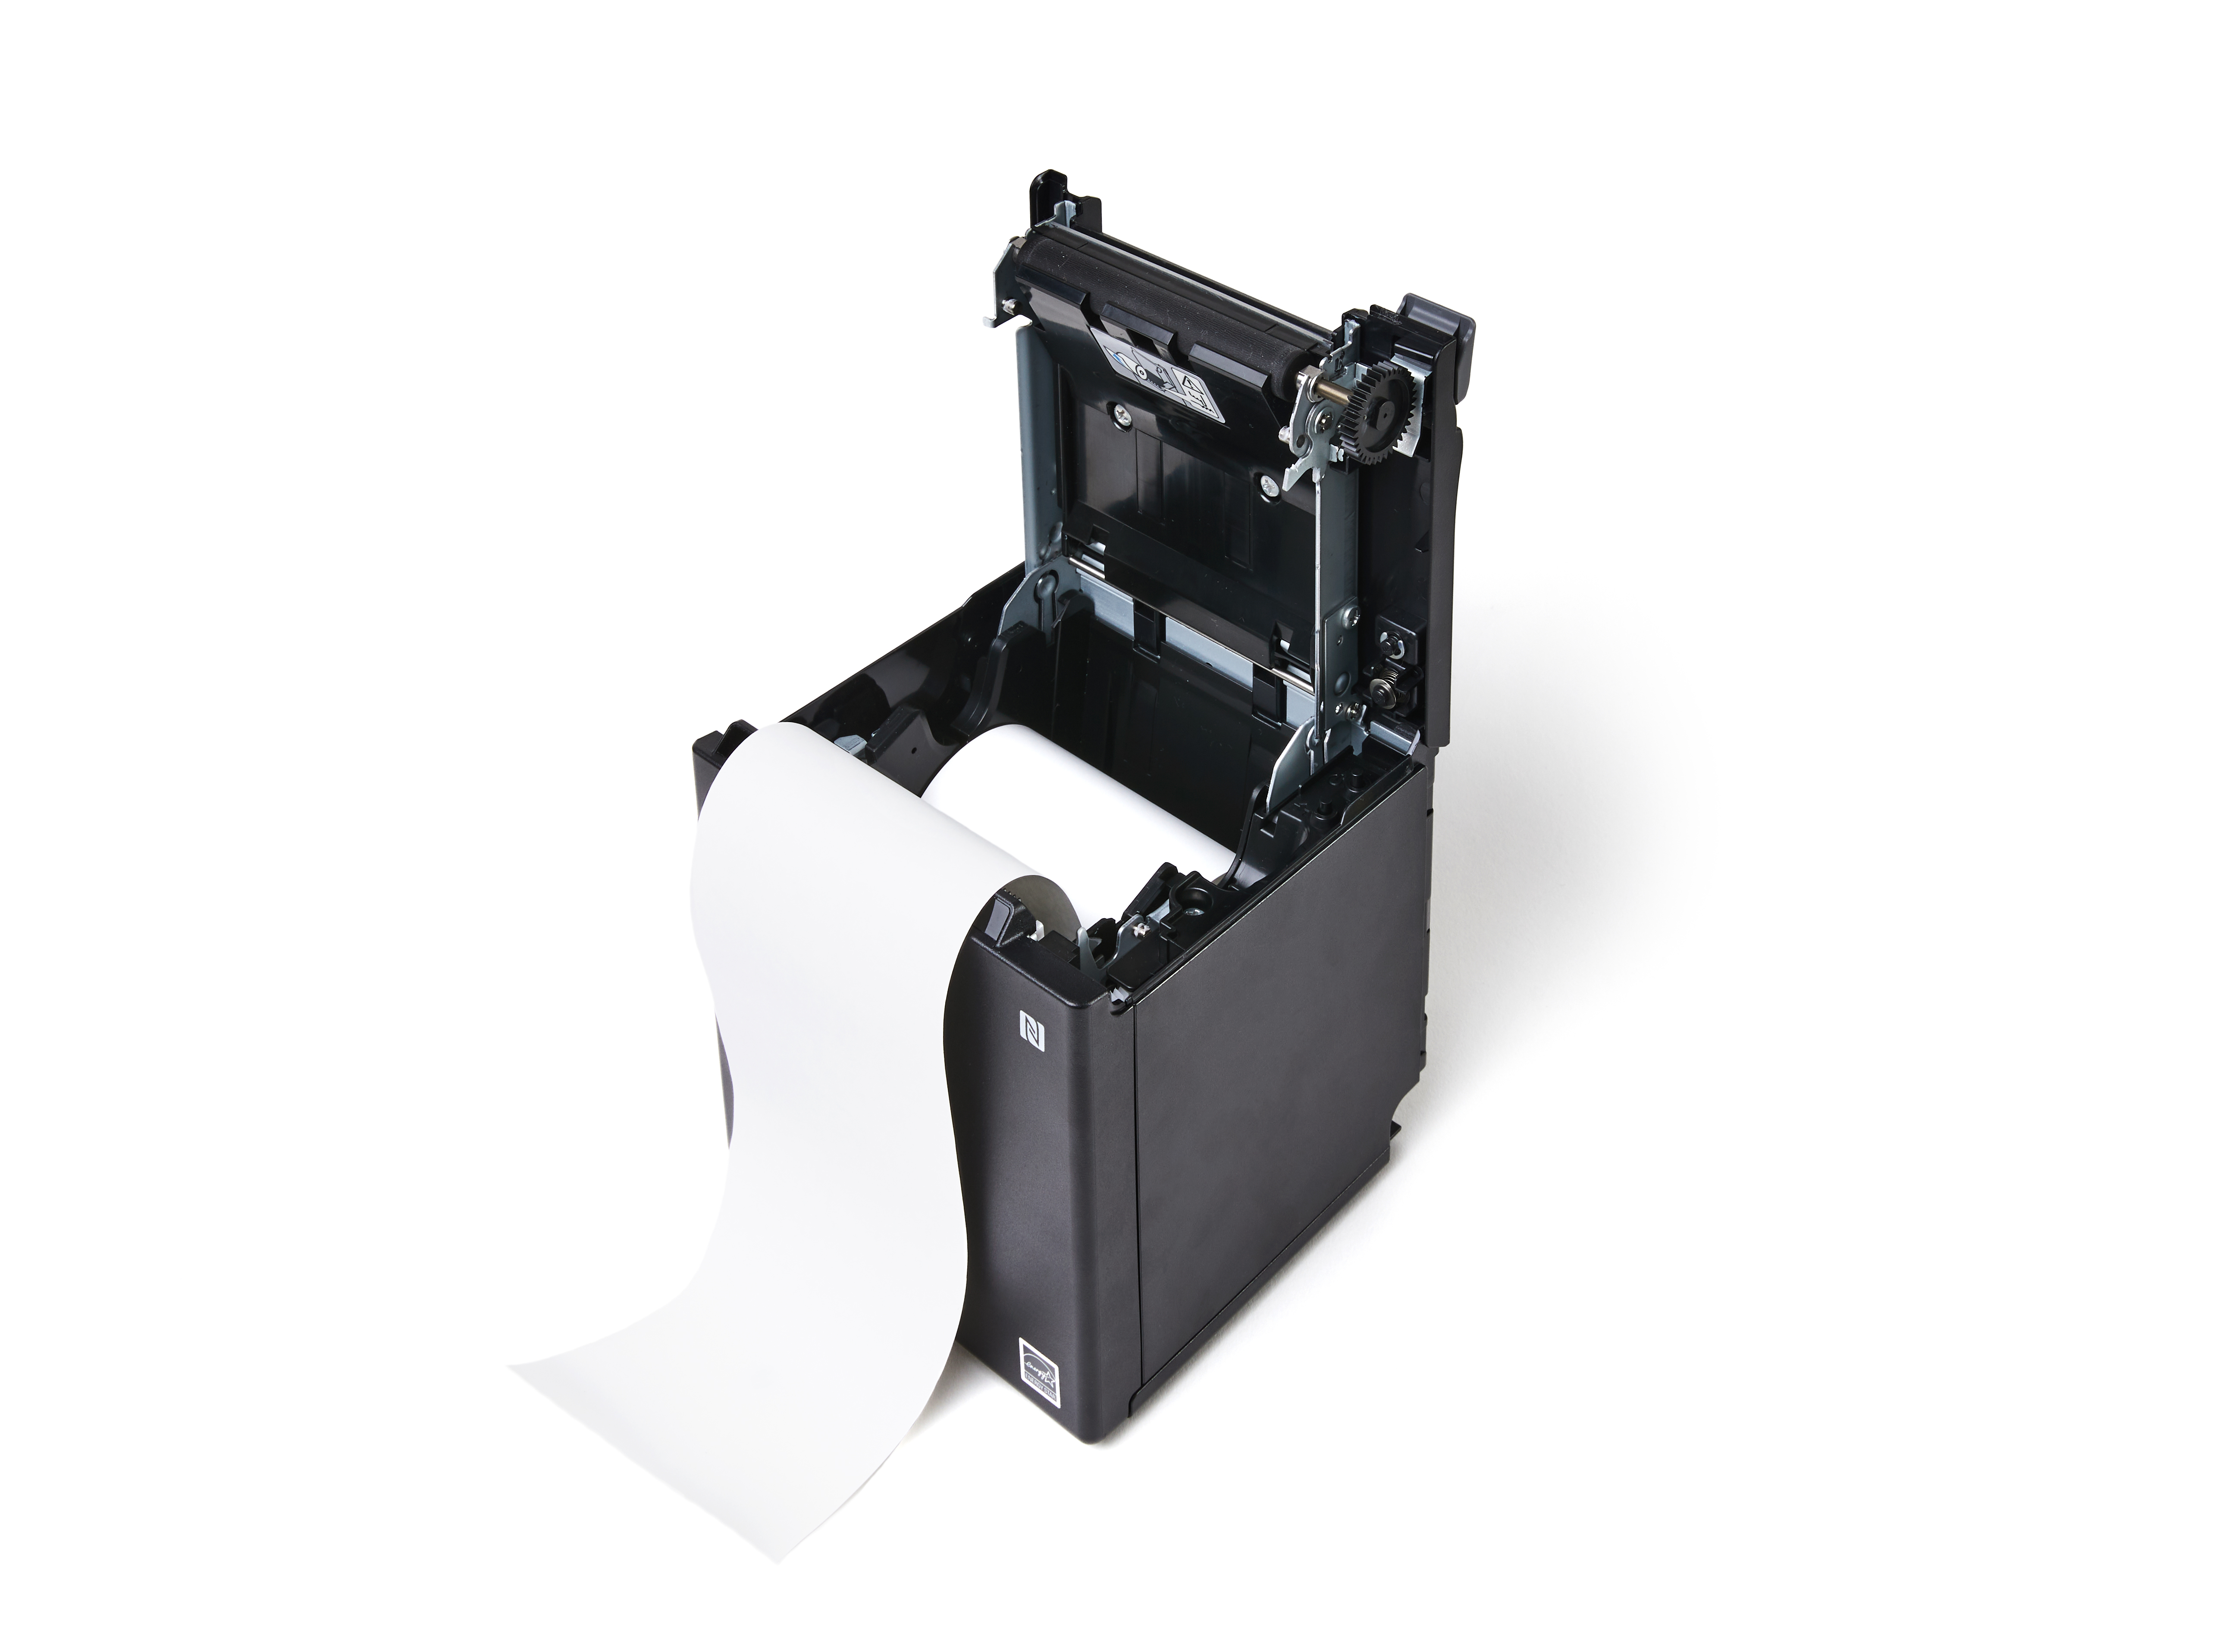
- Pull the paper out past the cutter at the front of the printer.
- Push the cover down to snap the lever shut.
3. Add your receipt printer in the Retail POS app
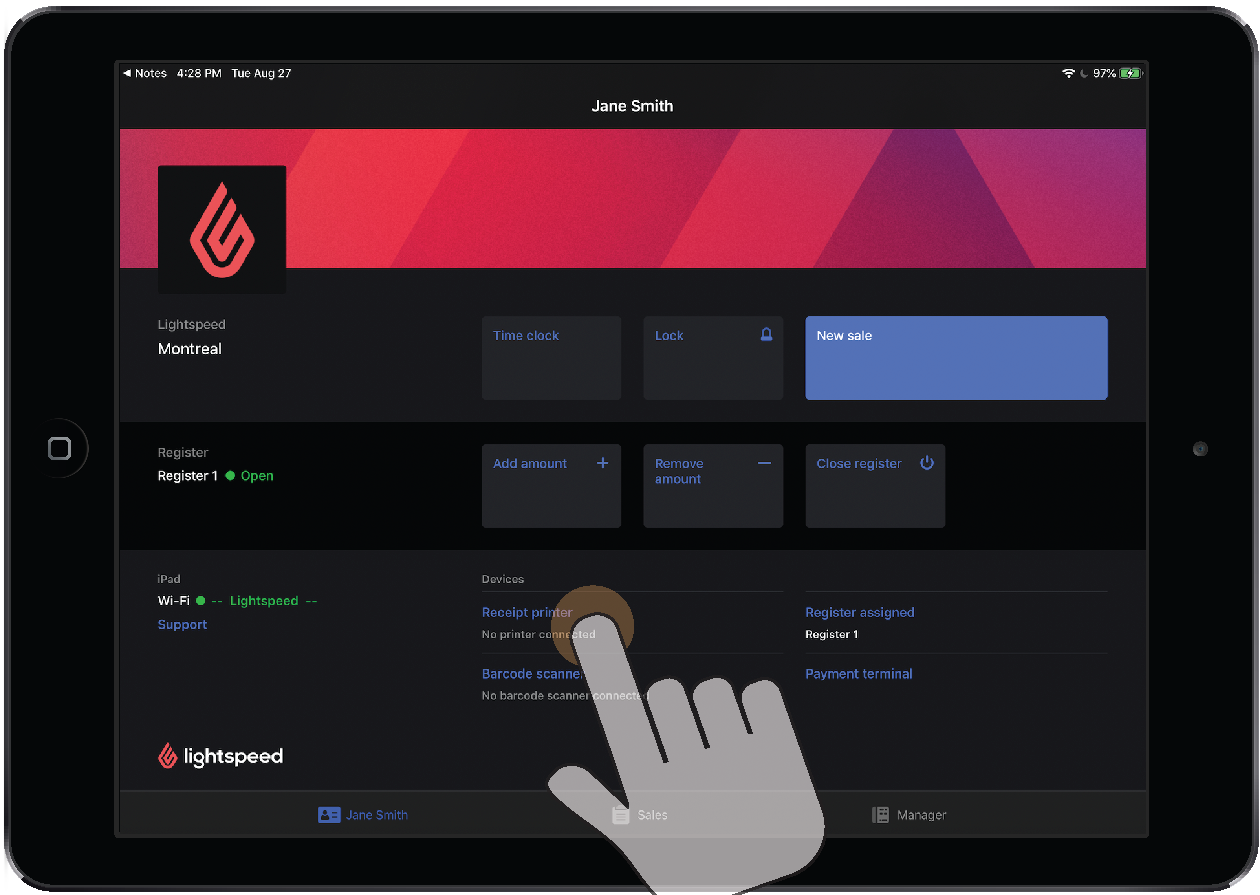
- On your iPad, open the Retail POS app.
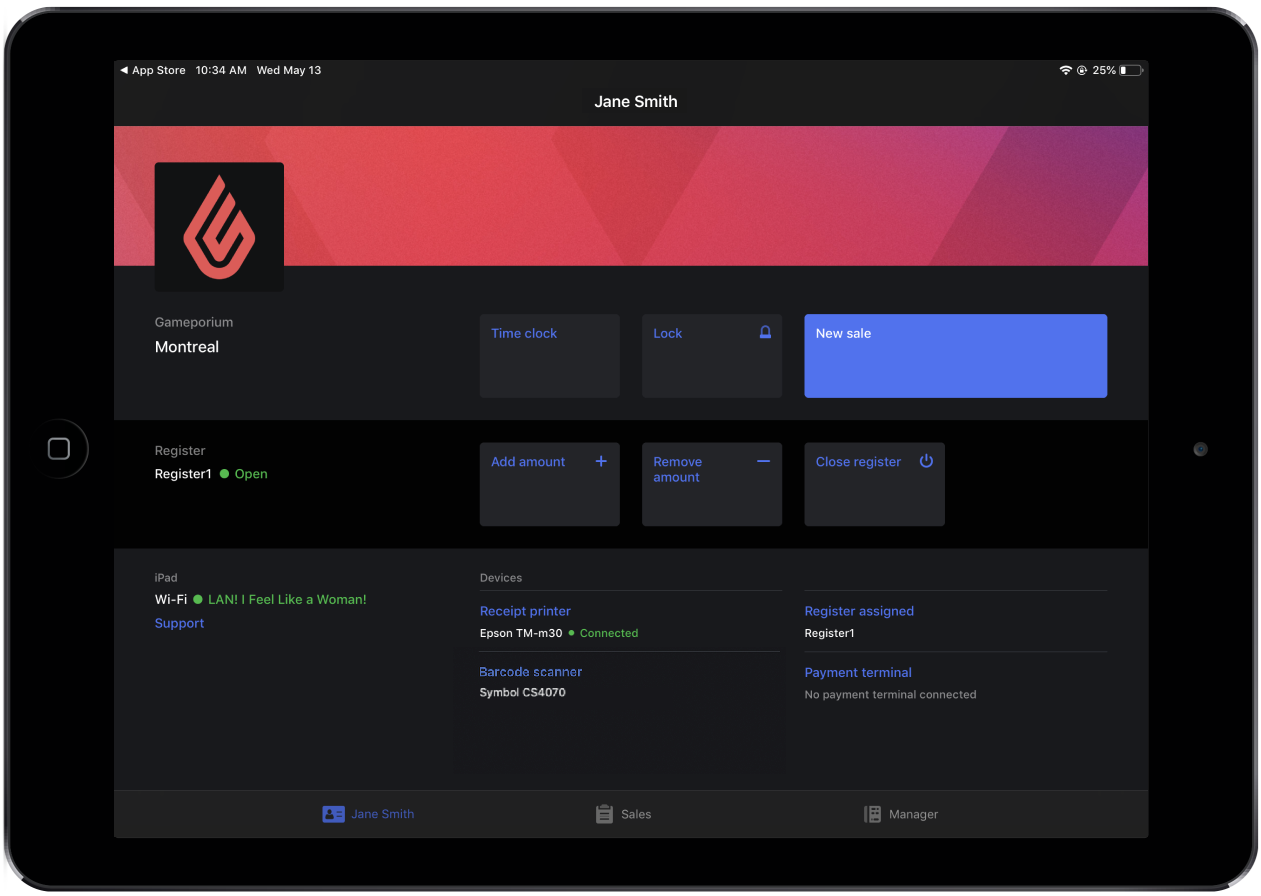
- From the Profile screen under Devices, tap Receipt printer.
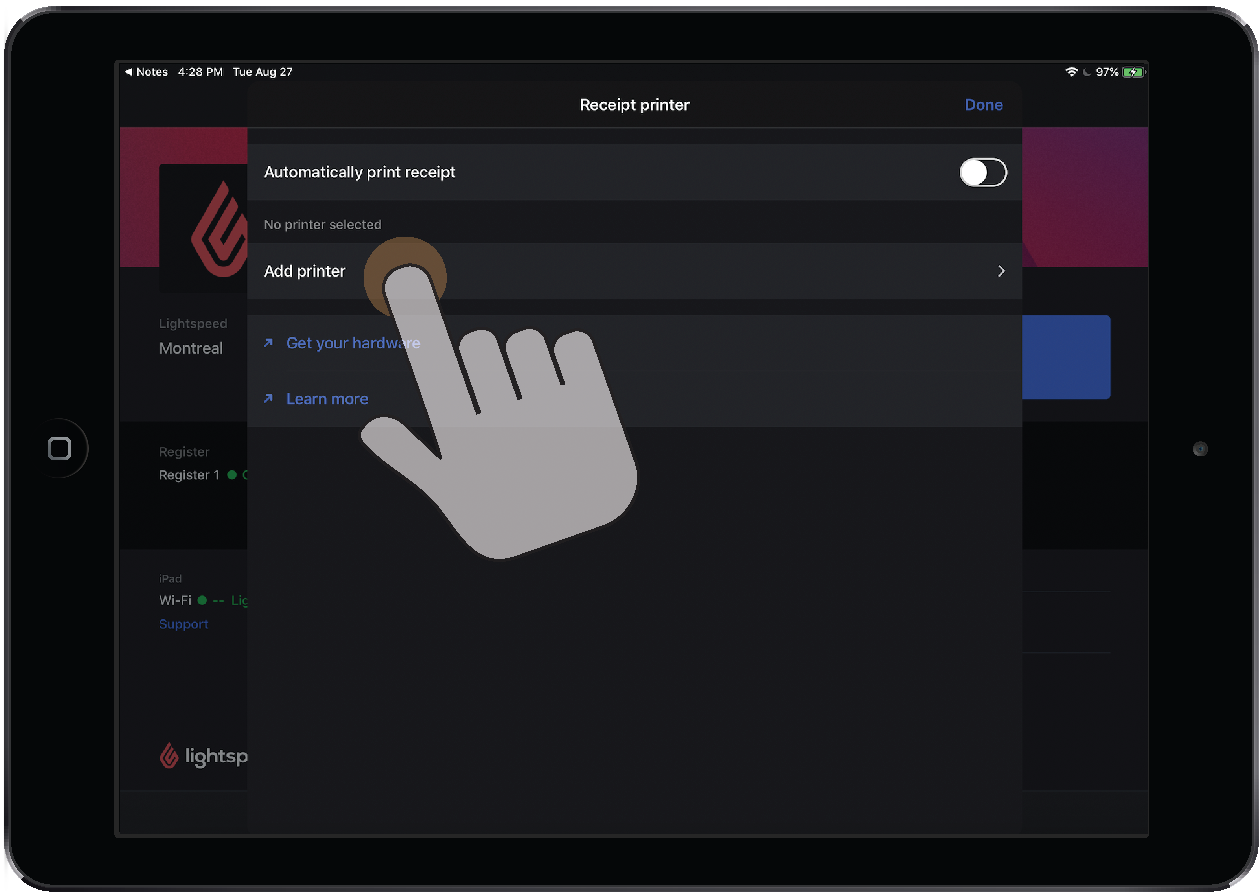
- Tap Add printer.
- Under Printers on your network, tap your Epson TM-m30II-NT receipt printer. It could take a few seconds for your receipt printer to appear.
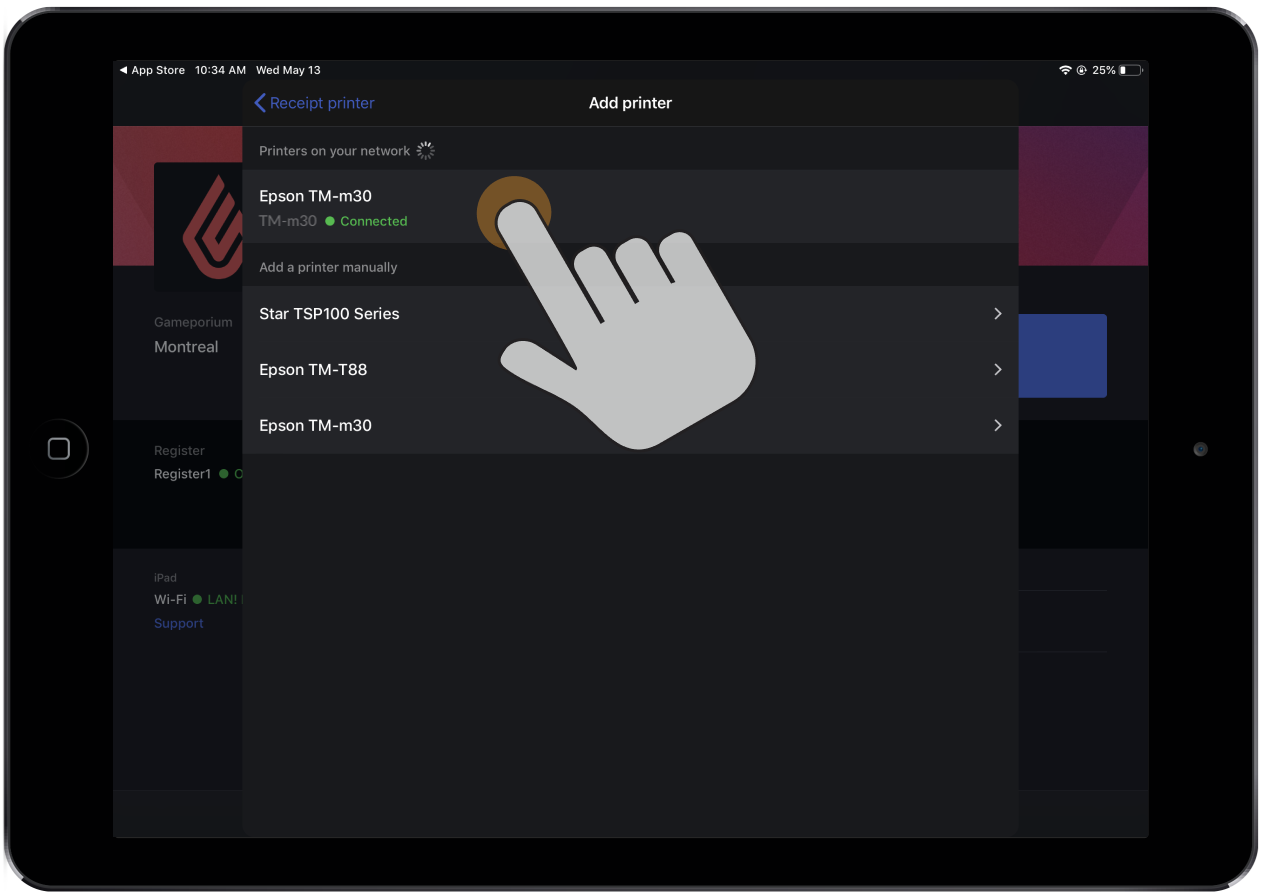
- Optionally, enable Automatically print receipt switch if you want receipts to print automatically when you complete a sale. Alternatively, leave it disabled if you want to print receipts manually at the end of a sale.
- Tap Done. Your receipt printer will display as online on the Profile screen under Devices.