Effort in this section contributes directly to tasks in the next six sessions. To ensure you can proceed through each session, make sure to complete each step in this article.
All the getting started steps for Retail/eCom are summarized in this getting started checklist.
-
Check your eCom version
The two versions of Lightspeed eCom are identified by whether or not they're connected to Lightspeed Retail. These getting started instructions are different for each version. Complete this step to ensure you're reading the correct instructions.
Checking your eCom version
- Login to your eCom Back Office.
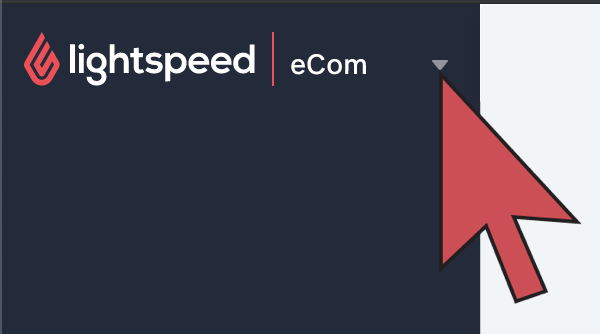
- In the sidebar at the top left-hand side of the screen, check for the down arrow (▽) symbol.
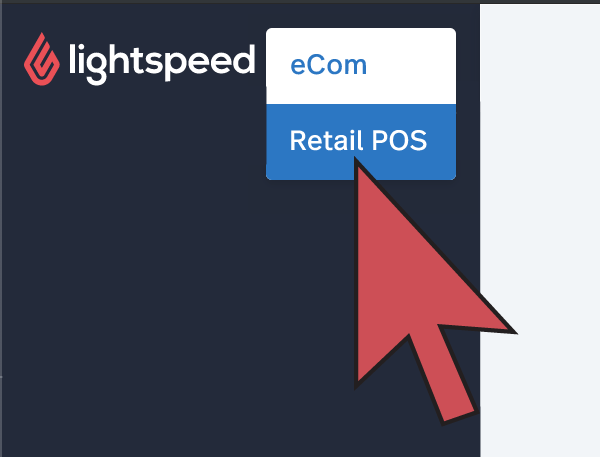
If you have a down arrow that when clicked expands to show eCom and Retail, continue with the steps in this article.
If you don't see a down arrow, read this article instead. -
Ensure Lightspeed eCom is installed
From inside your current Retail POS, you can check to make sure an eCom store is connected successfully to your Retail account.
Prerequisites
Before installing Lightspeed eCom:
- Make sure you've completed all the topics covered in the Retail - Guided setup.
- If you have multiple Retail stores in your account, read Selecting the best location.
- If you have more than 250 products in Retail and/or may prefer to set the default product visibility before syncing to eCom, read Deciding later which items to publish.
Installing Lightspeed eCom
- From your Retail account's main menu at the top, click Retail POS > eCom.
- Review the information displayed on the page.
- Select Decide later which items to publish in step 7.
- Click Install Lightspeed eCom.
For help finding the specific settings in your Retail account and for the full step-by-step on how to install your eCom store, please see our Installing Lightspeed eCom article.
-
Select 8 items for eCom
For expediency, showcase only a few of your best products. More products can be added later. In this step, focus only on creating products as further product setup will be completed in a future session.
Prerequisites
Before you begin, please make sure you have items in your Retail inventory. If you haven't created items in Retail account yet, please see the Inventory - Introduction of our Retail - Guided Setup.
When selecting items from Retail, make sure you:
- think they are related or similar to at least some of the other products being showcased.
- can sell them online.
- can ship the products.
- have them in inventory.
- can find or create at least one image for each item.
- can create a short description (1 - 2 sentences) for each item.
- can create content (1 - 2 paragraphs) for each item.
Deciding on 8 items
- Note the name of 8 products you would like to showcase in your eCom store and how to locate them in your Retail account. You will need to access them again.
- If you have an established Retail store, go through your sales records and select your best sellers.
- If you are opening a new Retail store, select products that best represent your store's marketing strategy. For example, if you are a bicycle or apparel retailer, you could strategically select 8 items that are commonly bought together.
- Often enough, a product will come in multiple sizes or colors. This is what we call a matrix item. To familiarize yourself with how to create them and their benefits, we recommend including at least one matrix item in your selection.
NOTE: For more information on matrix items and how to create them, please see our Creating matrices article.
-
Publish 8 products to eCom
In order to properly setup eCom, you need to publish some products so they're synced to your eCom Back Office.
Prerequisites
Make sure you've already selected the items from your Retail POS.
Publishing products
- From the main menu in your Retail account, click Inventory.
- Click the item description of an item you want to publish to eCom.
- From left menu section Details, select the Publish to eCom checkbox.
- Click the Save Changes button.
For more information on the topic, please see our Publishing, filtering and deleting items in eCom article.
-
Make the selected products visible in eCom
Designing the look and feel of your eCom store, requires some products on the webpage.
Prerequisites
Make sure you've already selected and published items from your Retail POS.
Making products visible
- From your eCom Back Office, click Products.
- Select a product by clicking its title.
- From the Visible drop-down, select Visible when in stock
-
Make categories visible
Categories on your eCom store are the main navigation and how your customers will locate your products from your homepage.
Prerequisites
In your Lightspeed Retail POS you need to have:
- Created categories
- Assigned the categories to the products you're showcasing in your eCom store.
Making categories visible
- From your eCom Back Office, click Products.
- Click Categories from the menu on the left-hand side of your screen.
- Select a category by clicking its title.
- At the bottom of the page, turn on the switch labeled Include in catalog.
For more information on making categories visible, click here.
-
Make Brands visible
In order to have a complete looking eCom store, you should make sure the products have their brands assigned to them.
Prerequisites
In your Lightspeed Retail POS you need to have:
- Created brands
- Assigned the brands to the products you're showcasing in your eCom store.
Making brands visible
- From your eCom Back Office, click Products.
- Click Brands from the menu on the left-hand side of your screen.
- Select a brand by clicking its title.
- At the top of the page, turn on the switch labeled Include in Catalog.
-
Choose a payment processor and request credentials
A payment method makes it possible for your customers to pay for their orders. Sign up during this session to make credentials available for a future session.
- Click here to review the payment providers available in your region.
- Visit the payment provider's website and shop for rates.
- Once you've chosen a payment provider, sign up with them.
- When you receive your credentials, save them in a safe place as they will be required later.
-
Purchase or confirm your custom web address
A custom web address, also known as your custom domain, is a very important part of your eCom store. It's your eCom store's internet identity and is required to rank highly in search results from search engines. Obtain a domain from a domain provider.
Obtaining your custom web address
- If you already own a custom web address, make sure you can login to the domain provider. This will be required later.
- If you need a custom domain, you can purchase one from a domain provider. Common domain providers are:
For more information about buying your domain, click here.
-
Gather images
Quality images greatly impact the conversion of traffic into purchases.
Requirements
- For product images:
- Image quantity: up to 12 images.
- File type: .png, .jpeg or .jpg as they will upload and load the quickest.
- File size: 5MB as anything larger will not upload.
- File name: only use letters and numbers, no special characters.
- Browser: use Firefox or Chrome.
Gathering images
- Save the following images to a file on your computer that you can access later:
- A good quality logo that represents your business well.
- At least one good quality image to be used as a banner on your homepage.
- Product images from the manufacturers
- Photos you've taken of your eight products you're showcasing.
- Images to represent the category that are visible on your website
- Brand logos
- For product images:
-
Decide on shipping strategy
The way you choose to ship orders depends on your shipping strategy. To facilitate future sessions, decide on your shipping strategy now.
Deciding on a shipping strategy
- Read the article located here to:
- Learn about the available shipping types
- Select a shipping strategy
- Research shipping providers
- Source packaging materials
- Note your preferred shipping strategy.
- Read the article located here to:
You've completed Session 1, begin Session 2 here.